Ecosyste.ms: Awesome
An open API service indexing awesome lists of open source software.
https://github.com/react-native-village/datastore
https://github.com/react-native-village/datastore
Last synced: about 14 hours ago
JSON representation
- Host: GitHub
- URL: https://github.com/react-native-village/datastore
- Owner: react-native-village
- Created: 2020-04-06T14:42:33.000Z (over 4 years ago)
- Default Branch: master
- Last Pushed: 2023-01-26T19:01:27.000Z (almost 2 years ago)
- Last Synced: 2024-04-14T13:56:18.014Z (7 months ago)
- Language: JavaScript
- Size: 8.86 MB
- Stars: 1
- Watchers: 1
- Forks: 2
- Open Issues: 20
-
Metadata Files:
- Readme: README.md
Awesome Lists containing this project
README
# DataStore AWS Amplify
## Step 1 - Fast start example
Clone repository
`git clone [email protected]:react-native-village/dataStore.git`
Let's go to the example folder
`cd dataStore`
Install dependencies
`yarn`
or
`npm install`
## Step 2 - Register your AWS account
We register according to this [instruction](https://aws-amplify.github.io/docs/) 📃 and check all 5 steps according to the video tutorial..
Attention!!! You will need a bank card 💳, where should be more than 1 $ 💵
There we look and put the Amplify Command Line Interface (CLI)
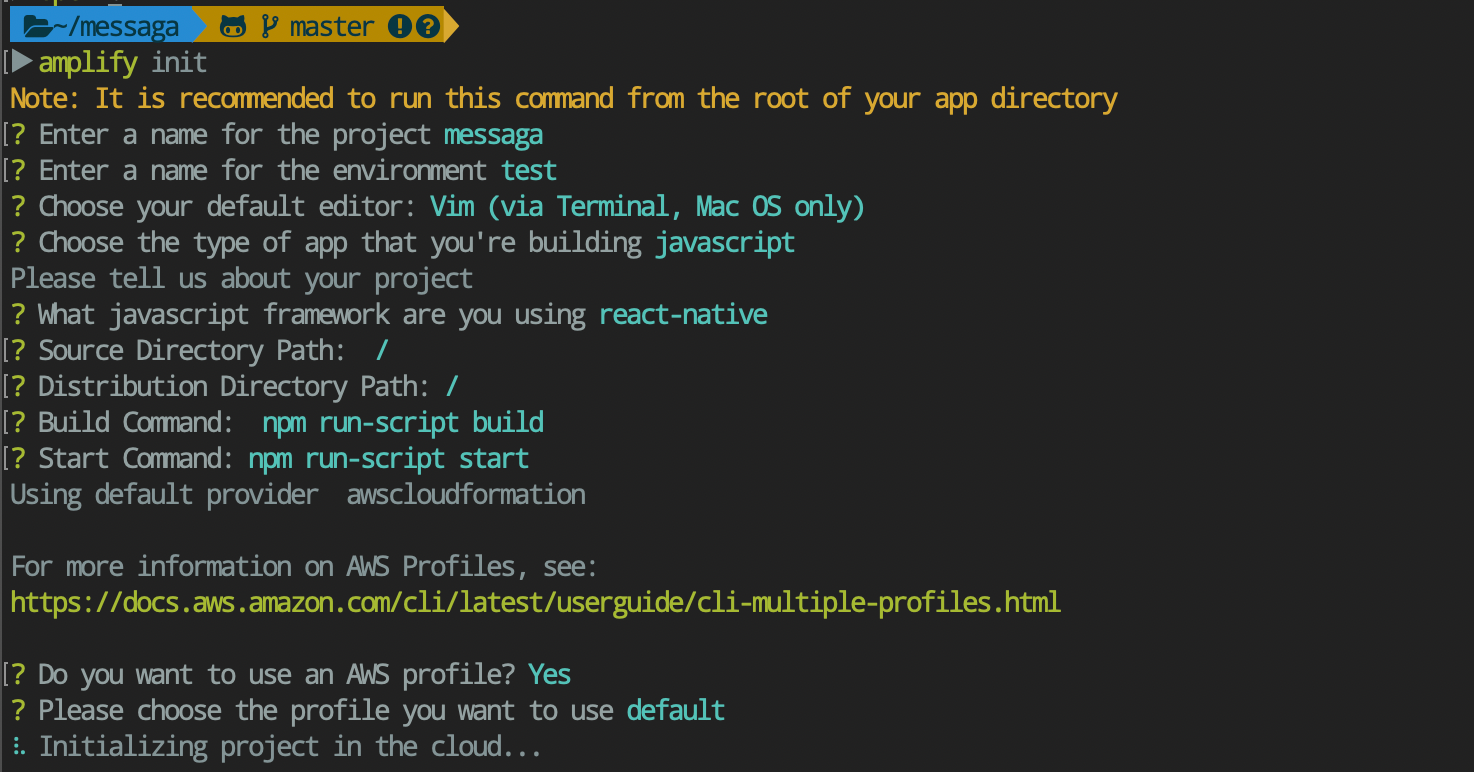
## Step 3 - Init Amplify
`amplify init`

## Step 4 - Connecting Authentication Plugin — Auth 🔐
Now that the application is in the cloud, you can add some features, such as allowing users to register with our application and log in.
We connect the authentication plugin.
`amplify add auth`
Select the default configuration. This adds auth resource configurations locally to your amplify/backend/auth directory.
Select the profile we want to use. default. Enter and how users will log in. Email (write off money for SMS).

Successfully added resource yourname locally
Send changes to the cloud 💭
`amplify push`
✔ All resources are updated in the cloud
[Details](https://dev.to/playra/crud-create-read-update-delete-aws-amplify-graphql-react-native-4m2b)
## Stap 5 - Backend - Create an API
We will now create the GraphQL API, which interacts with the DynamoDB NoSQL database to perform CRUD operations (create, read, update, delete).
`amplify add api`

After the selected items, a diagram will open, which is always available for editing at ./amplify/backend/api/messaga/schema.graphql
Where we add the following code:
```graphql
type Job
@model
@auth(
rules: [
{allow: owner, ownerField: "owner", operations: [create, update, delete]},
])
{
id: ID!
position: String!
rate: Int!
description: String!
owner: String
}
```
This is a GraphQL schema. GraphQL Transform provides an easy-to-use abstraction that helps you quickly create server parts for web and mobile applications in AWS. Using GraphQL Transform, you define the data model of your application using the GraphQL Schema Definition Language (SDL), and the library handles the conversion of the SDL definition to a set of fully descriptive AWS CloudFormation templates that implement your data model.
It's time to test it in practice! Therefore, we write the command in the console
`amplify mock api`

With this team, you can quickly test your achievements of change without the need to allocate or update the cloud resources that you use at each stage. In this way, you can configure unit and integration tests that can be performed quickly without affecting your cloud backend.
Send changes to the cloud 💭
`amplify push`
✔ All resources are updated in the cloud
[Details](https://dev.to/playra/crud-create-read-update-delete-aws-amplify-graphql-react-native-4m2b)
## Step 6 - We start the project 🚀
iOS
`react-native run-ios`
Android
`react-native run-android`
# Troubleshooting
If incomprehensible errors appear, it means that somewhere you made a mistake in the configuration, so it is better to start from the beginning.
1. Delete the amplfy folder
`rm -rf amplify`
2. Delete the amplfy configuration file
`rm -rf aws-exports.js`
3. We go through these [steps](https://github.com/react-native-village/dataStore#step-3---init-amplify) again
## Done ✅