https://github.com/redtachyon/battlestax
Repo for the JamStack webinar
https://github.com/redtachyon/battlestax
Last synced: 10 months ago
JSON representation
Repo for the JamStack webinar
- Host: GitHub
- URL: https://github.com/redtachyon/battlestax
- Owner: RedTachyon
- License: apache-2.0
- Created: 2021-02-24T17:38:26.000Z (over 5 years ago)
- Default Branch: master
- Last Pushed: 2021-02-24T19:43:36.000Z (over 5 years ago)
- Last Synced: 2025-03-18T08:49:22.934Z (over 1 year ago)
- Language: JavaScript
- Size: 28.4 MB
- Stars: 0
- Watchers: 1
- Forks: 0
- Open Issues: 0
-
Metadata Files:
- Readme: README.md
- Contributing: CONTRIBUTING.md
- License: LICENSE.md
- Code of conduct: CODE_OF_CONDUCT.md
Awesome Lists containing this project
README
# BattleStax
*50 minutes, Advanced, [Start Building](https://github.com/DataStax-Examples/battlestax#prerequisites)*
[](https://gitpod.io/from-referrer/)
BattleStax is a stateful JAMStack game that is wholesome fun for the entire crew.
## Objectives
* Deploy a scalable JAMStack app to production
* Leverage a good CI/CD process to manage your JAMStack App
## How this works
The BattleStax players watch a lobby screen while playing the game on their devices.
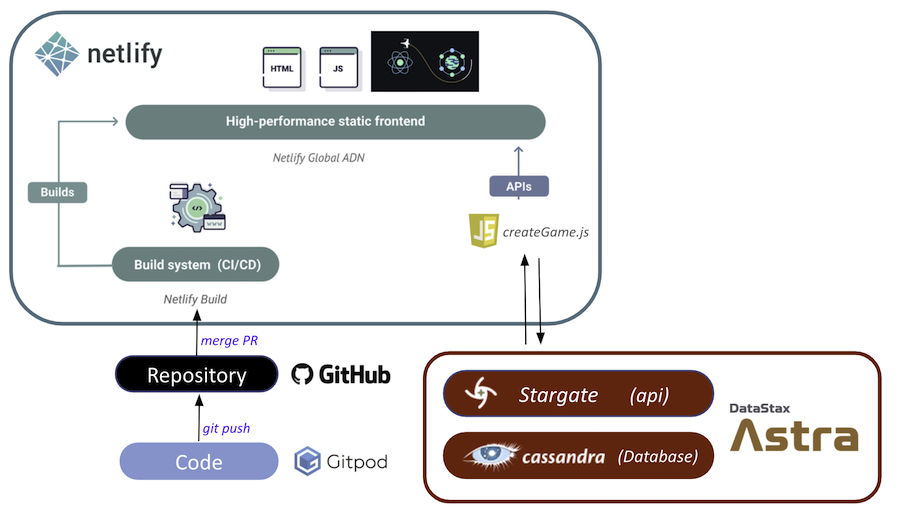
[JAMstack](https://jamstack.org/) is a big leap forward in how we can write web applications that are easy to write, deploy, scale, and also maintain. Using this approach means that newly created content is rendered from a content API, while a static render of it is being built into the site for future.
## Get Started
To build and play with this app, follow the build instructions that are located here: [https://github.com/DataStax-Examples/battlestax](https://github.com/DataStax-Examples/battlestax#prerequisites)
# Running BattleStax
Follow the instructions below to get started.
## Prerequisites
Let's do some initial setup.
### DataStax Astra
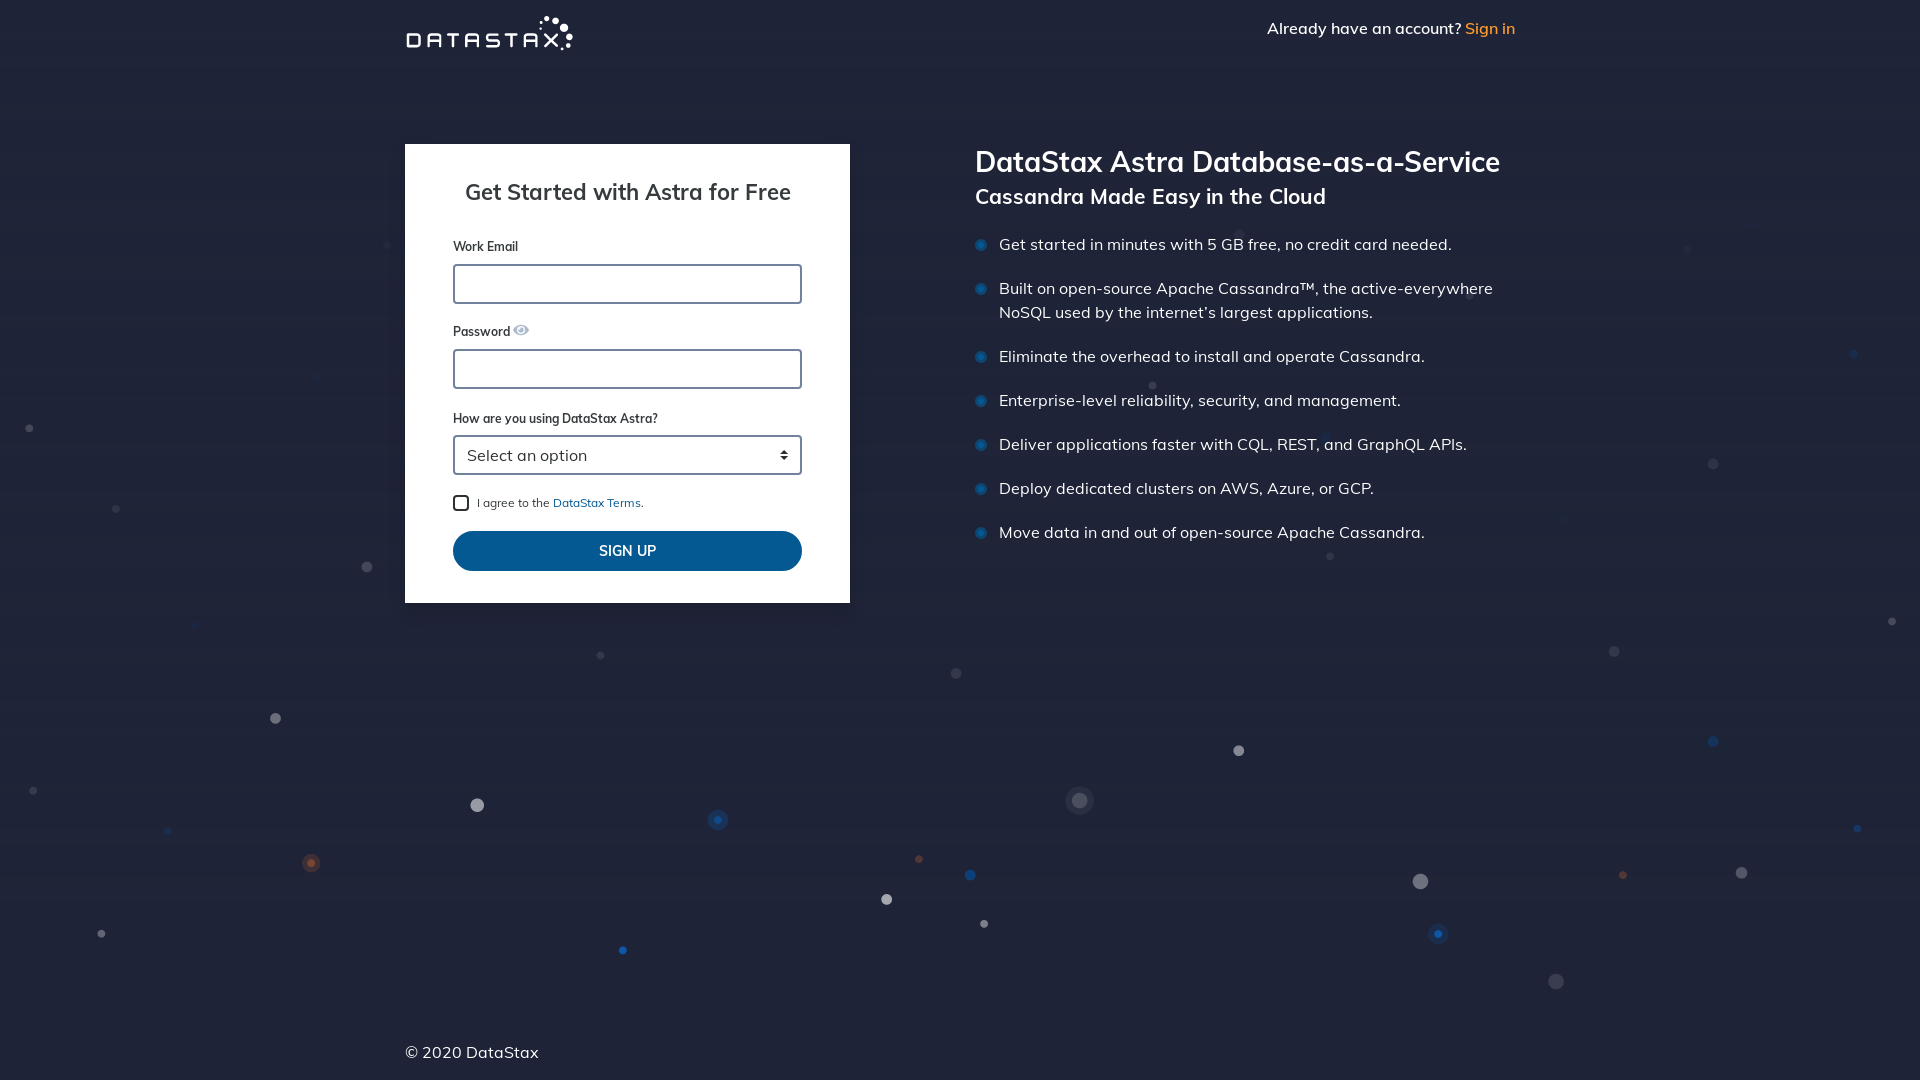
1. Create a [DataStax Astra account](https://astra.datastax.com/register?utm_source=github&utm_medium=referral&utm_campaign=battlestax) if you don't
already have one:
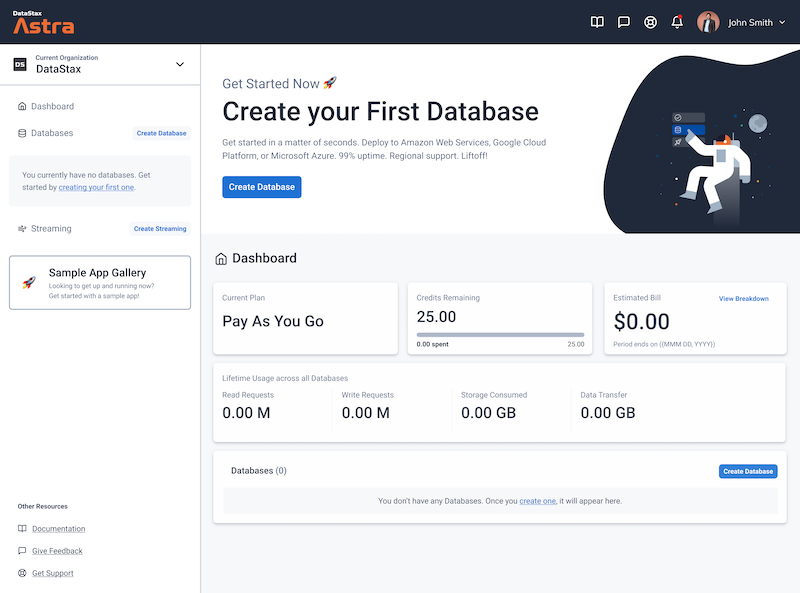
2. On the home page. Locate the button **`Add Database`**
3. Pick **free plan** and a **region** close to you, click configure.


4. Define a **database name**, **keyspace name** and **credentials** (Take note of the DB Password)

5. Your Astra DB will be ready when the status will change from *`Pending`* to **`Active`** 💥💥💥
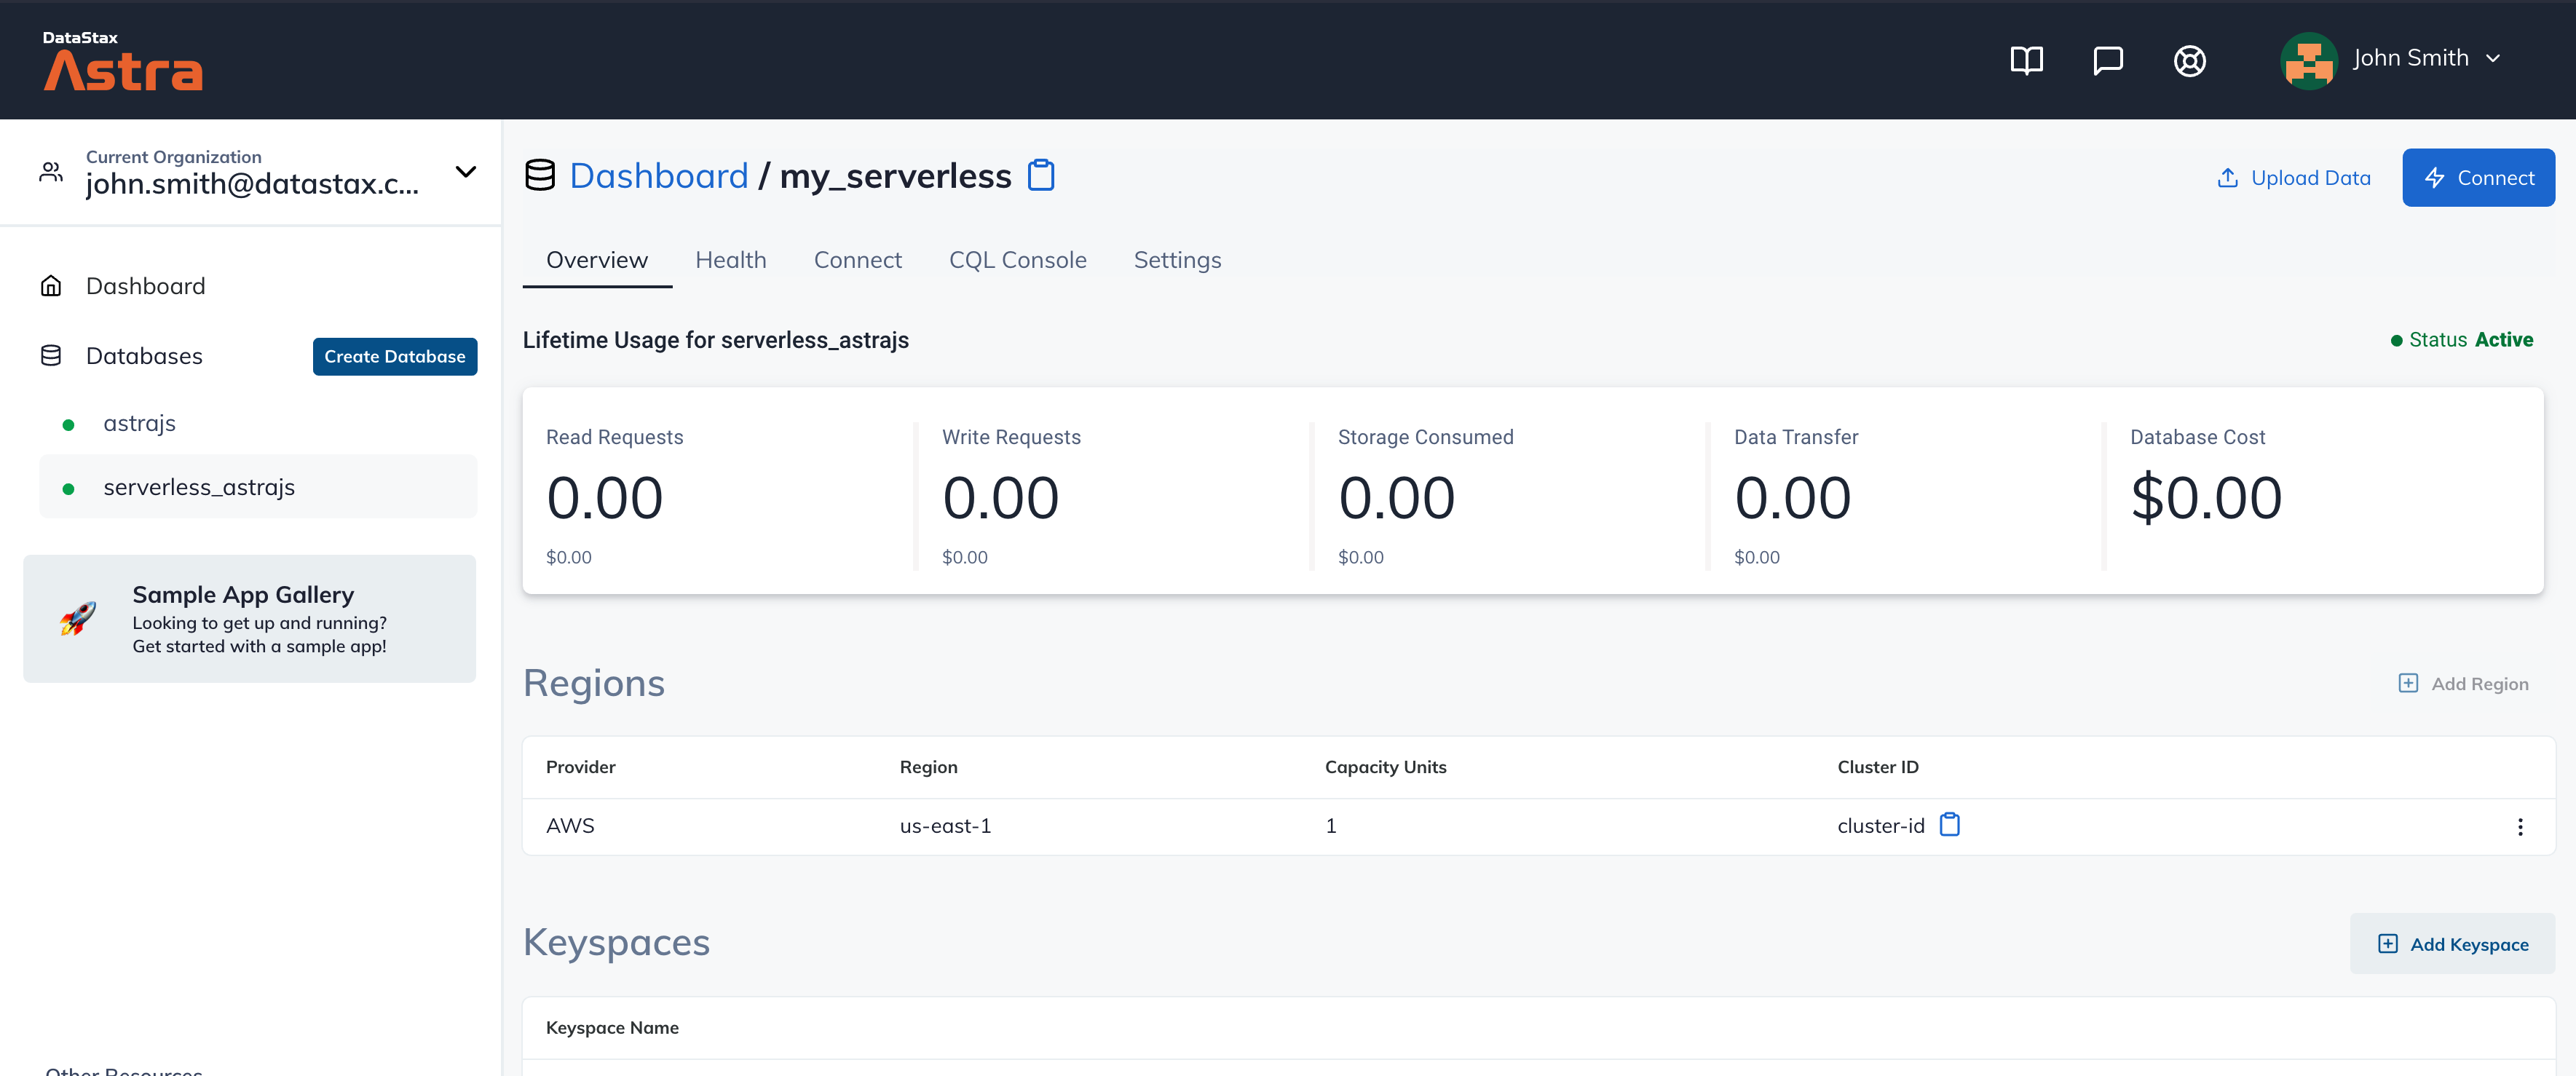
6. After your database is provisioned, head to the `Connect` screen and copy your connection
information (we'll need this later!):

### Github
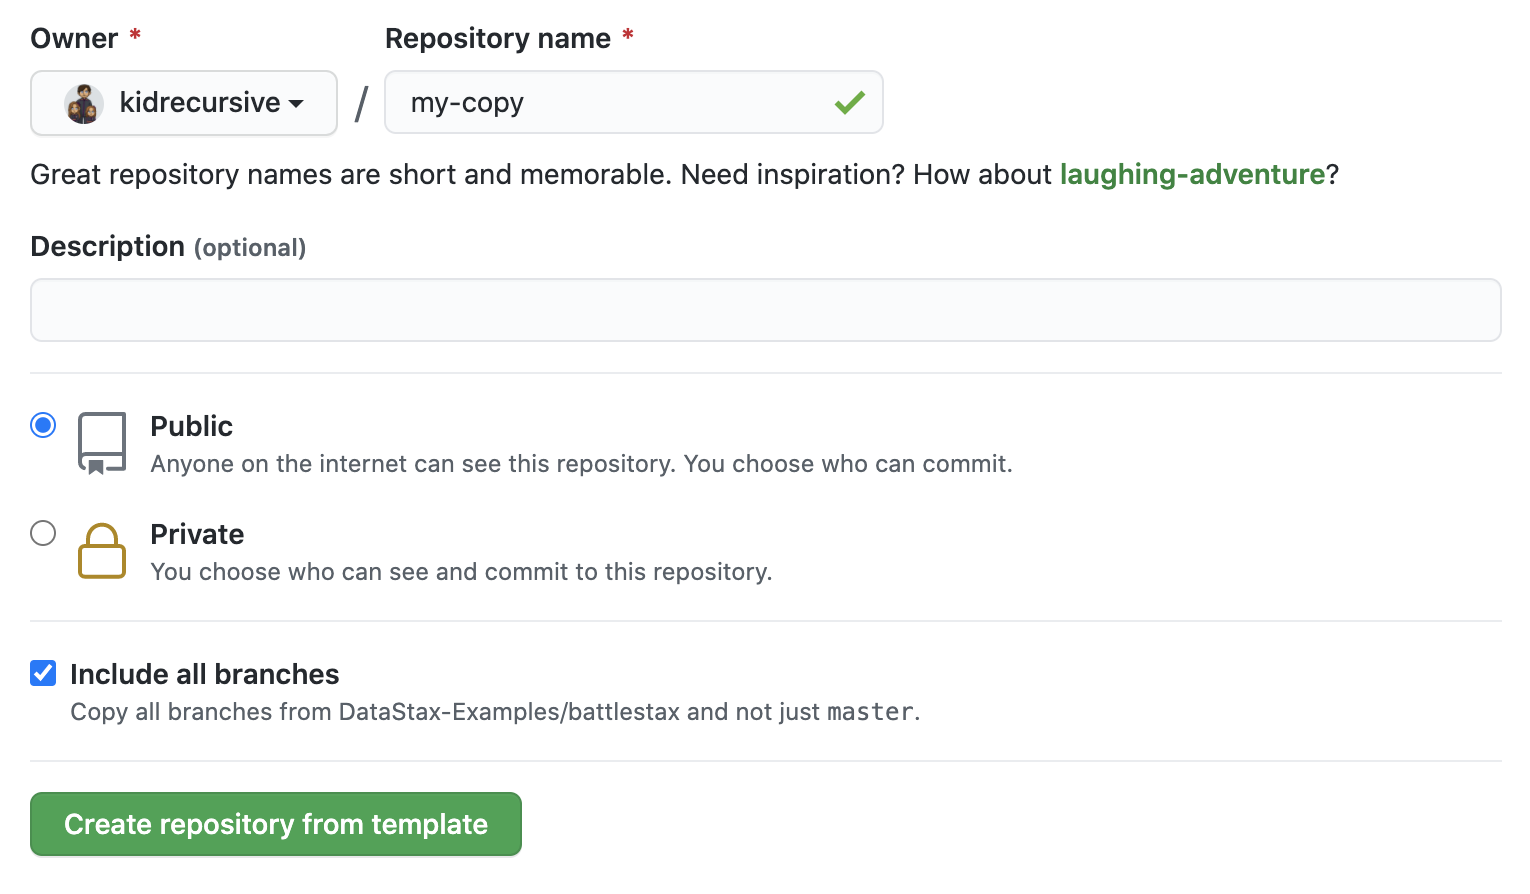
1. Click `Use this template` at the top of the [GitHub Repository](https://github.com/DataStax-Examples/battlestax):

2. Enter a repository name and click 'Create repository from template':
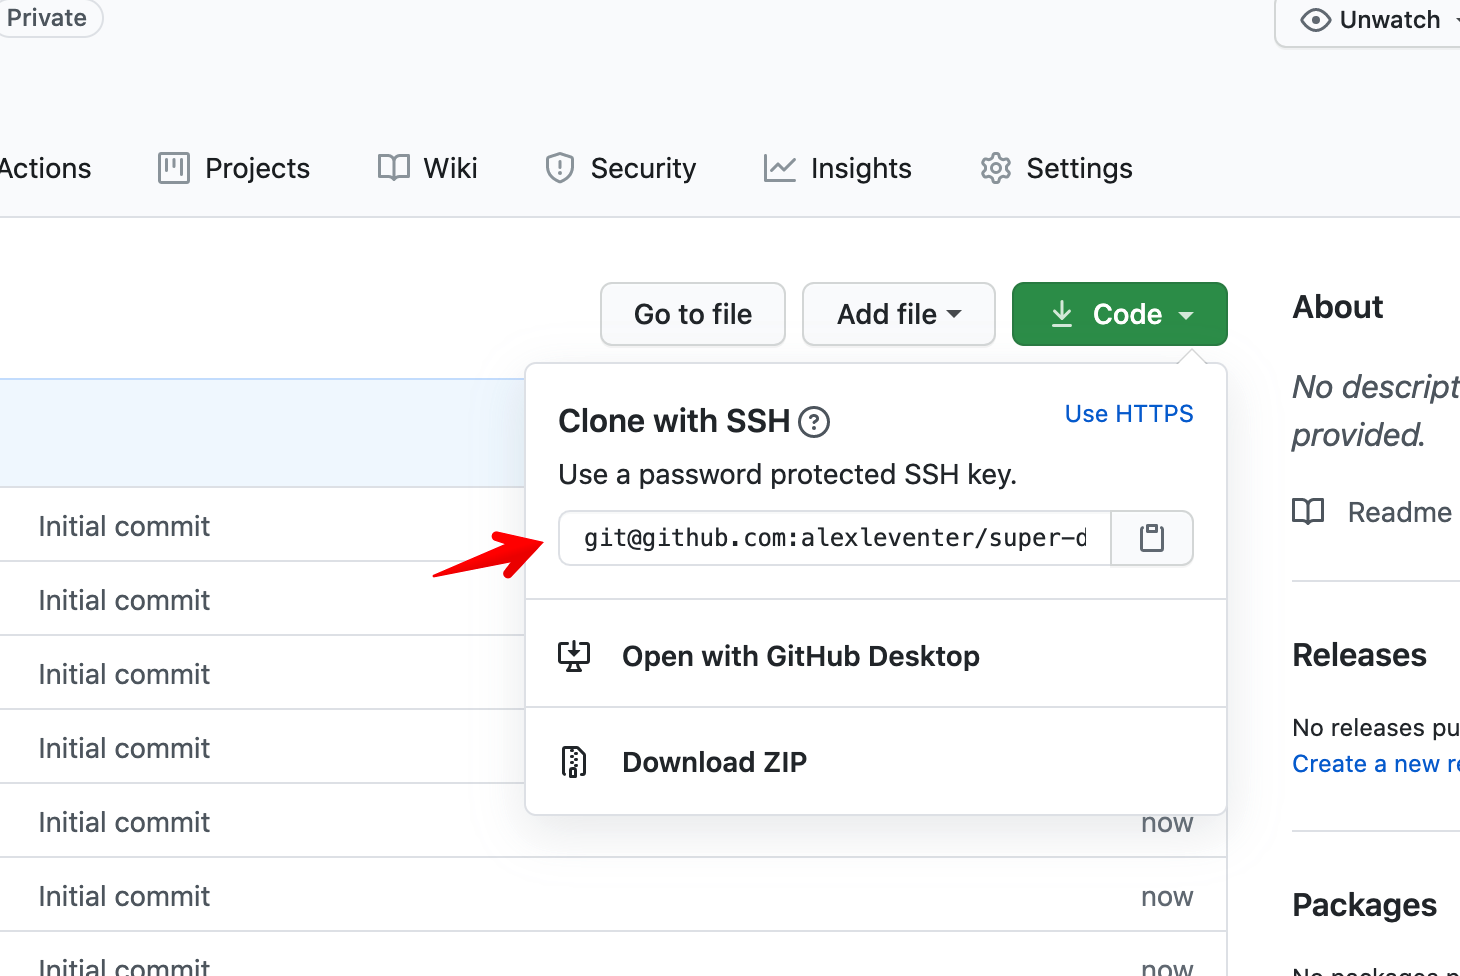
3. Clone the repository:
## Running the full game
*Make sure you've completed the [prerequisites](#prerequisites) before starting this step*
- [Running on your local machine](#running-on-your-local-machine)
### Running on your local machine
1. Check out the `full-game` branch
```sh
git fetch
git checkout full-game
```
2. Create a `.env` file and fill it with values from the `.env.example` file.
3. Make sure the package dependencies are installed
```sh
# install dependencies
npm install
```
3. Then, start the app in dev mode. Changes in the `src` or `functions` directories will trigger reloads.
```sh
# start battlestax in dev mode
npm run dev
```
## Tutorial Steps
The above instructions are great to get you up and running pretty quickly, but if you would like to learn how to fully deploy the application to production with JAMStack then click the button below to get started.