Ecosyste.ms: Awesome
An open API service indexing awesome lists of open source software.
https://github.com/rolv-apneseth/just-a-tracker
A bug tracker web app created in Python using Flask
https://github.com/rolv-apneseth/just-a-tracker
databases flask python webapp
Last synced: 2 months ago
JSON representation
A bug tracker web app created in Python using Flask
- Host: GitHub
- URL: https://github.com/rolv-apneseth/just-a-tracker
- Owner: Rolv-Apneseth
- License: mit
- Created: 2021-02-27T14:24:50.000Z (almost 4 years ago)
- Default Branch: main
- Last Pushed: 2022-07-05T13:05:58.000Z (over 2 years ago)
- Last Synced: 2023-03-10T00:52:09.607Z (almost 2 years ago)
- Topics: databases, flask, python, webapp
- Language: Python
- Homepage: https://just-a-tracker.herokuapp.com/login
- Size: 220 KB
- Stars: 1
- Watchers: 1
- Forks: 0
- Open Issues: 0
-
Metadata Files:
- Readme: README.md
- License: LICENSE
Awesome Lists containing this project
README
# just-a-tracker

## Description
A bug tracker web app created in Python using Flask. A live demo can be found [here](https://just-a-tracker.herokuapp.com/login) hosted on Heroku.
- Note: If you don't want to make an account and instead just want to see what the program is like, in the login screen, click the `Demo` button
- Also please note that since the demo is hosted on Heroku, it may take a minute or two to initially load the site (Heroku puts apps to sleep after 30 minutes of inactivity)
## Run locally
You can use the following steps if you want to run the server locally:
1. Requires python 3.6+ to run. Python can be installed from [here](https://www.python.org/downloads/)
2. To download, click on 'Code' to the top right, then download as a zip file. You can unzip using your preferred program.
- You can also clone the repository using: `git clone https://github.com/Rolv-Apneseth/just-a-tracker.git`
3. Install the requirements for the program.
- In your terminal, navigate to the project's root folder and run: `python3 -m pip install -r requirements.txt`
4. To run the server, navigate further into the `just-a-tracker/website/` folder and run: `python3 main.py`
5. The webapp should then be accessible via your local host (`http://127.0.0.1:5000/` for example)
## Usage
1. To start off, either sign up by creating a new account (just make any fake email address and name as you please as there is no verification) OR use one of the test accounts with the following details:
```
Username: Tester1
Password: Password123
```
2. After signing up you should be redirected to the home page, which is the workspace hub. Here you can see all the workspaces you are associated with (none to begin with), and you can create a new workspace by filling out the form at the bottom of the page. You can then click on any workspace in the list and it will bring you to that workspace's page.
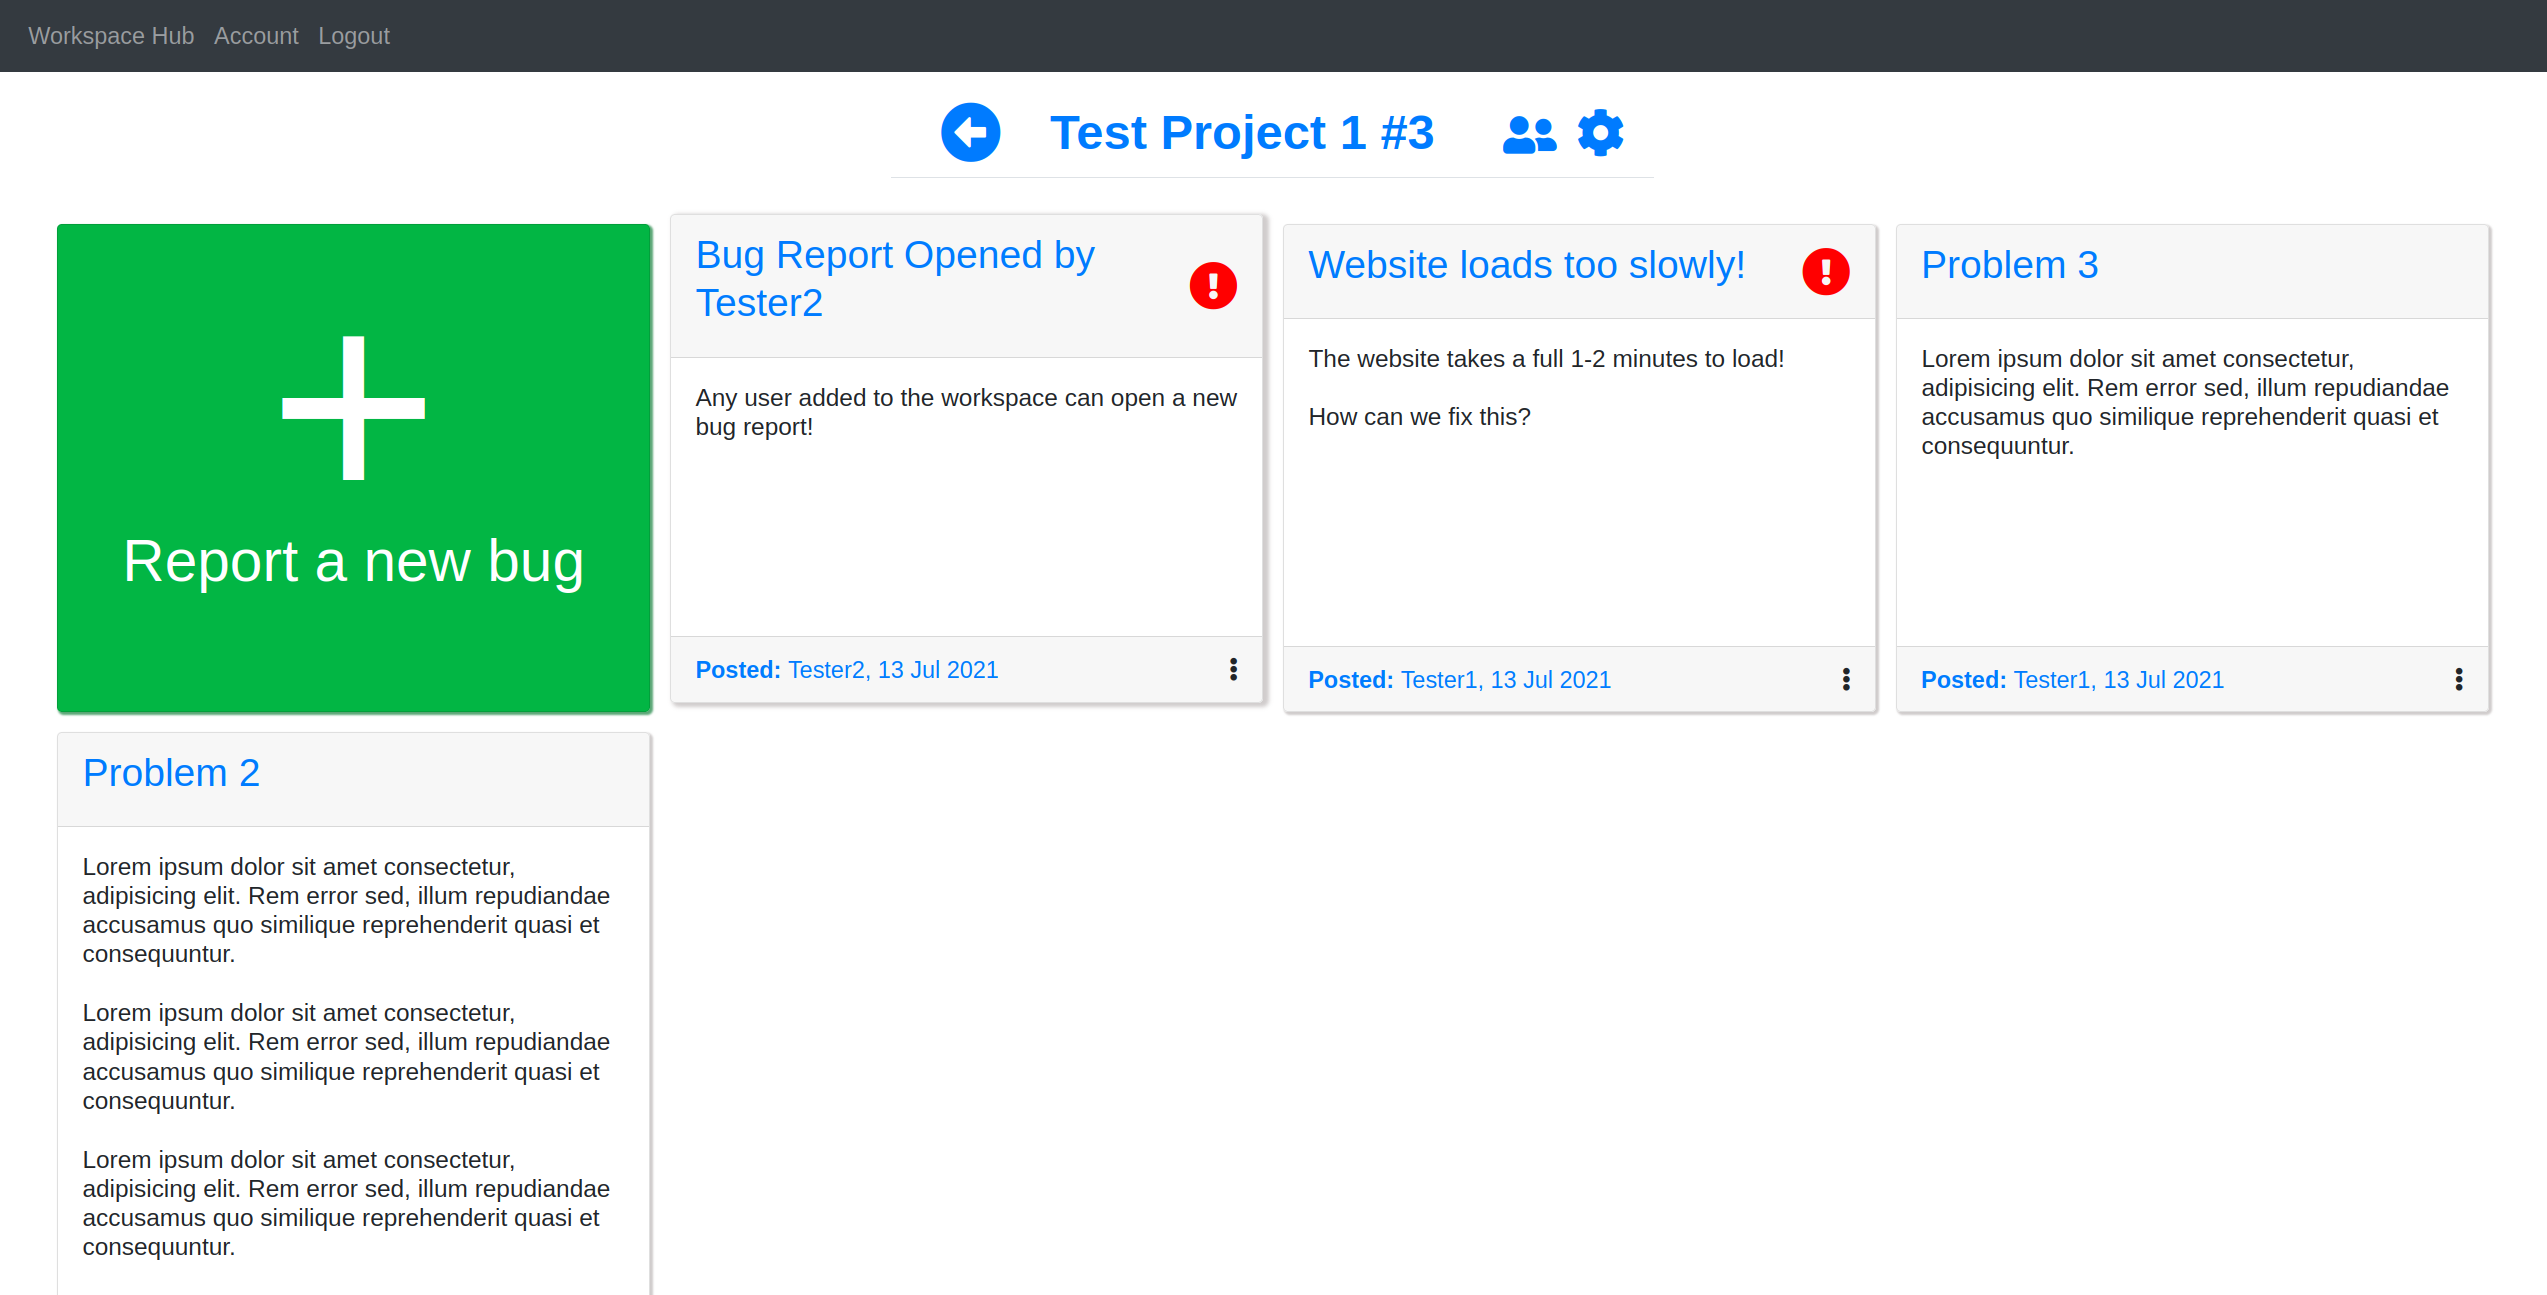
3. On this page, you can see currently open bug reports. You can also open a new bug report by clicking on the first card, which will open up a form to be filled out. On this page you can also:
- View who is currently associated with the workspace and add/remove other users if you have permission to do so
- Reveal all the closed bug reports
- If you are the owner of the workspace, you also have the option to delete it
- Mark any bug as important, or close the bug report if the issue has been solved
- Clicking on the title of the workspace will also open a new tab to the link provided for the project (if one was in fact provided)
4. By clicking on the body of one of the bug reports you can reach the page for that bug report. On this page, you can view the discussion on the bug and comment on it yourself. You also have the same options for that bug report that were available on the workspace page.