https://github.com/samco182/SwiftyXBee
⚡️ A Swift library for communicating with XBee radios in API mode
https://github.com/samco182/SwiftyXBee
iot library raspberry-pi rf-module s2c swift swifty uart xbee xbee-api zigbee
Last synced: about 1 year ago
JSON representation
⚡️ A Swift library for communicating with XBee radios in API mode
- Host: GitHub
- URL: https://github.com/samco182/SwiftyXBee
- Owner: samco182
- License: mit
- Created: 2019-07-22T22:09:19.000Z (almost 7 years ago)
- Default Branch: master
- Last Pushed: 2020-01-15T23:26:45.000Z (over 6 years ago)
- Last Synced: 2025-04-05T01:48:47.965Z (over 1 year ago)
- Topics: iot, library, raspberry-pi, rf-module, s2c, swift, swifty, uart, xbee, xbee-api, zigbee
- Language: Swift
- Size: 69.3 KB
- Stars: 21
- Watchers: 0
- Forks: 2
- Open Issues: 0
-
Metadata Files:
- Readme: README.md
- License: LICENSE
Awesome Lists containing this project
- awesome-embedded-swift - SwiftyXBee - ⚡️ A Swift library for communicating with XBee radios in API mode (Communication / Networking, IoT, Bus Protocols, …)
README
# SwiftyXBee
⚡️A Swift library for communicating with XBee (ZigBee Series 2) radios in API mode.


## Summary
This is a [SwiftyGPIO](https://github.com/uraimo/SwiftyGPIO) based library for communicating with XBee radios in **API mode**, with support for Series 2 **only**.
This is a **work in progress**. I started coding the library for a project I am currently working on, so, as of now, it only supports ATCommand, ATCommandResponse, Tx, Rx, and Transmit Status API Frames. If you want to contribute to this noble cause, please submit a PR and I will be more than happy to review it and merge it :smile:.
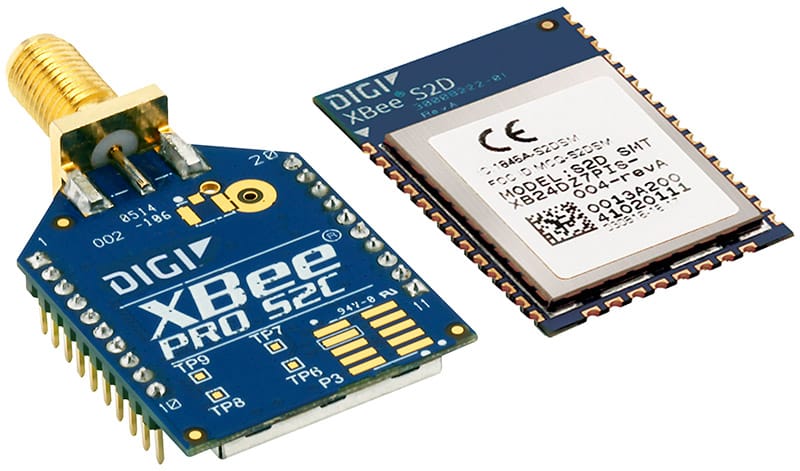
For more information regarding the RF module, you can consult its [datasheet](https://www.digi.com/resources/documentation/digidocs/pdfs/90002002.pdf).
## API Mode
XBees support two operation modes: API and AT. API mode requires that the device communicate through a structured interface (that is, data is communicated in frames in a defined order). The API specifies how the device sends and receives commands, command responses, and module status messages using a serial port Data Frame. On the other hand, in AT (transparent) mode, the XBee radio simply relays serial data to the receiving XBee, as identified by the DH+DL address.
According to the documentation:
> The XBee firmware supports two API operating modes: without escaped characters and with escaped characters. Use the AP command to enable either mode. To configure a device to one of these modes, set the following AP parameter values:
> - AP = 1: API operation.
> - AP = 2: API operation (with escaped characters—only possible on UART).
⚠️ This library is designed to work only in API mode, it **requires** the **AP mode set to 2 (escape bytes)**, as this setting offers the best reliability.
## Hardware Details
- The XBee should be powered using **3.3 V**.
- This library requires the XBee's **UART** to be configured with compatible settings for the baud rate, parity, start bits, stop bits, and data bits.
This is the pin assignment to manually connect (no XBee shield) the device to any of the compatible boards:
| XBee Pin | Board UART |
| ------------------------ | --------------- |
| VCC = **1** | VCC 3.3V |
| DOUT = **2** | RX / Receive |
| DIN / CONFIG = **3** | TX / Transmit |
| GND = **10** | GND |
The UART pins on the RaspberryPi (pin 14 TXD, pin 15 RXD) need to be enabled via `raspi-config` before you can use them (restart required). By enabling the UART pins, you will lose the ability to access the login shell over serial.
## Supported Boards
Every board supported by [SwiftyGPIO](https://github.com/uraimo/SwiftyGPIO): RaspberryPis, BeagleBones, C.H.I.P., etc...
To use this library, you'll need a Linux ARM board running [Swift 5.x](https://github.com/uraimo/buildSwiftOnARM) 🚗.
The examples below will use a Raspberry Pi 3B+ board, but you can easily modify the examples to use one of the other supported boards. Full working demo projects for the RaspberryPi3B+ are available under the **Examples** directory.
## Installation
First of all, makes sure your board is running **Swift 5.x** ⚠️!
Since Swift 5.x supports Swift Package Manager, you only need to add SwiftXBee as a dependency in your project's `Package.swift` file:
```swift
let package = Package(
name: "MyProject",
dependencies: [
.package(url: "https://github.com/samco182/SwiftyXBee", from: "1.0.0"),
]
targets: [
.target(
name: "MyProject",
dependencies: ["SwiftyXBee"]),
]
)
```
Then run `swift package update` to install the dependency.
## Usage
### Initialization
The first thing is to initialize an instance of `SwiftyXBee` with the same UART configuration as the one you used to setup the XBee devices on the XCTU tool or through the AT command mode. Once you have your `xbee` object initialized, you can send and receive data packets between XBees:
```swift
import SwiftyXBee
let serial = SerialConnection(speed: .S9600, bitsPerChar: .Eight, stopBits: .One, parity: .None)
let xbee = SwiftyXBee(for: .RaspberryPi3, serialConnection: serial)
```
You can also initialize the `XBee` object with the following method:
```swift
import SwiftyXBee
let xbee = SwiftyXBee()
```
This initializer defaults to `.RaspberryPi3` as the selected board and serial connection with `speed: .S9600`, `bitsPerChar: .Eight`, `stopBits: .One`, and `parity: .None)`.
### AT Command Packet
AT-type commands can be sent via API frames to configure your local radio. They can query the settings on the local radio or set parameters. These are all the same commands you typed in transparent/command mode.
For this example, the local radio's *Node Identifier* parameter is been set and read.
Setting AT Command parameter:
``` swift
// The new Node Identifier
let nodeIdentifier = "XBee Test"
xbee.sendATCommand(.addressing(.ni(.write(nodeIdentifier))), frameId: .sendNoACK)
```
Reading AT Command parameter:
```swift
xbee.sendATCommand(.addressing(.ni(.read)))
do {
let atCommandResponse = try xbee.readATCommandResponse()
print("AT Command Response received: \(atCommandResponse.frameData.commandData) = \(atCommandResponse.frameData.commandData.string)")
} catch let error {
print("Error receiving packet: \(error)")
}
```
### Transmit Packets
There a several different types of transmit (TX) packets available. But as mentioned above, as of now, the library only allows **Transmit Request** packets to be sent. A list of all TX packets can be found in the API [documentation](https://www.digi.com/resources/documentation/digidocs/pdfs/90002002.pdf). All classes that end in "Request" are TX packets.
```swift
// The destination XBee 64-bit serial number
let deviceAddress = DeviceAddress(address: 0x0013A20012345678)
// The destination XBee 16-bit network address
let networkAddress = NetworkAddress(address: 0xFFFE)
// The actual message to be sent
let message = "This is my message to send!"
xbee.sendTransmitRequest(to: deviceAddress, network: networkAddress, message: message)
```
When a Transmit Request completes, if configured on the request's Frame Id, the receiver device will send a **Transmit Status** packet out of the serial interface. This message indicates if the Transmit Request was successful or if it failed. If you want to make sure your packet was correctly delivered, call the following code:
```swift
do {
let transmitStatus = try xbee.readTransmitStatus()
print("Status received: \(readingPacket.frameData.deliveryStatus)")
} catch let error {
print("Error: \(error)")
}
```
### Receive Packet
As with transmit (TX) packets, there are also several different types of receive (RX) packets available. But as of now, the library only allows **Receive Packet** API frame to be read.
```swift
do {
let readingPacket = try xbee.readRFDataPacket()
print("Packet received: \(readingPacket.frameData.receivedData)")
} catch let error {
print("Error: \(error)")
}
```
## Note 🔎
If you want to better understand how ZigBee communication protocol works, or the details (in a more comprehensive way) of the most common API frames XBee counts with, you could try reading [this book](https://www.amazon.com/gp/product/0596807732?ie=UTF8&tag=xbapra-20&linkCode=as2&camp=1789&creative=9325&creativeASIN=0596807732Building).