https://github.com/scanmountgoat/smush-lut
Create color grading 3D LUTs for Smash Ultimate
https://github.com/scanmountgoat/smush-lut
Last synced: about 1 year ago
JSON representation
Create color grading 3D LUTs for Smash Ultimate
- Host: GitHub
- URL: https://github.com/scanmountgoat/smush-lut
- Owner: ScanMountGoat
- License: mit
- Created: 2021-01-13T03:22:12.000Z (over 5 years ago)
- Default Branch: master
- Last Pushed: 2023-02-20T02:00:35.000Z (over 3 years ago)
- Last Synced: 2025-03-27T22:42:57.347Z (over 1 year ago)
- Language: Rust
- Size: 1.82 MB
- Stars: 6
- Watchers: 1
- Forks: 0
- Open Issues: 7
-
Metadata Files:
- Readme: README.md
- License: LICENSE
Awesome Lists containing this project
README
# Smush-LUT

Create color grading 3D LUTs for Smash Ultimate. Learn more about how these textures work and the effects that can be achieved on the [color grading lut](https://scanmountgoat.github.io/Smush-Material-Research/post_processing/colorgradinglut/) page of the Smash Ultimate Material Research website. A windows executable is available in [Releases](https://github.com/ScanMountGoat/Smush-LUT/releases).
## Usage Instructions
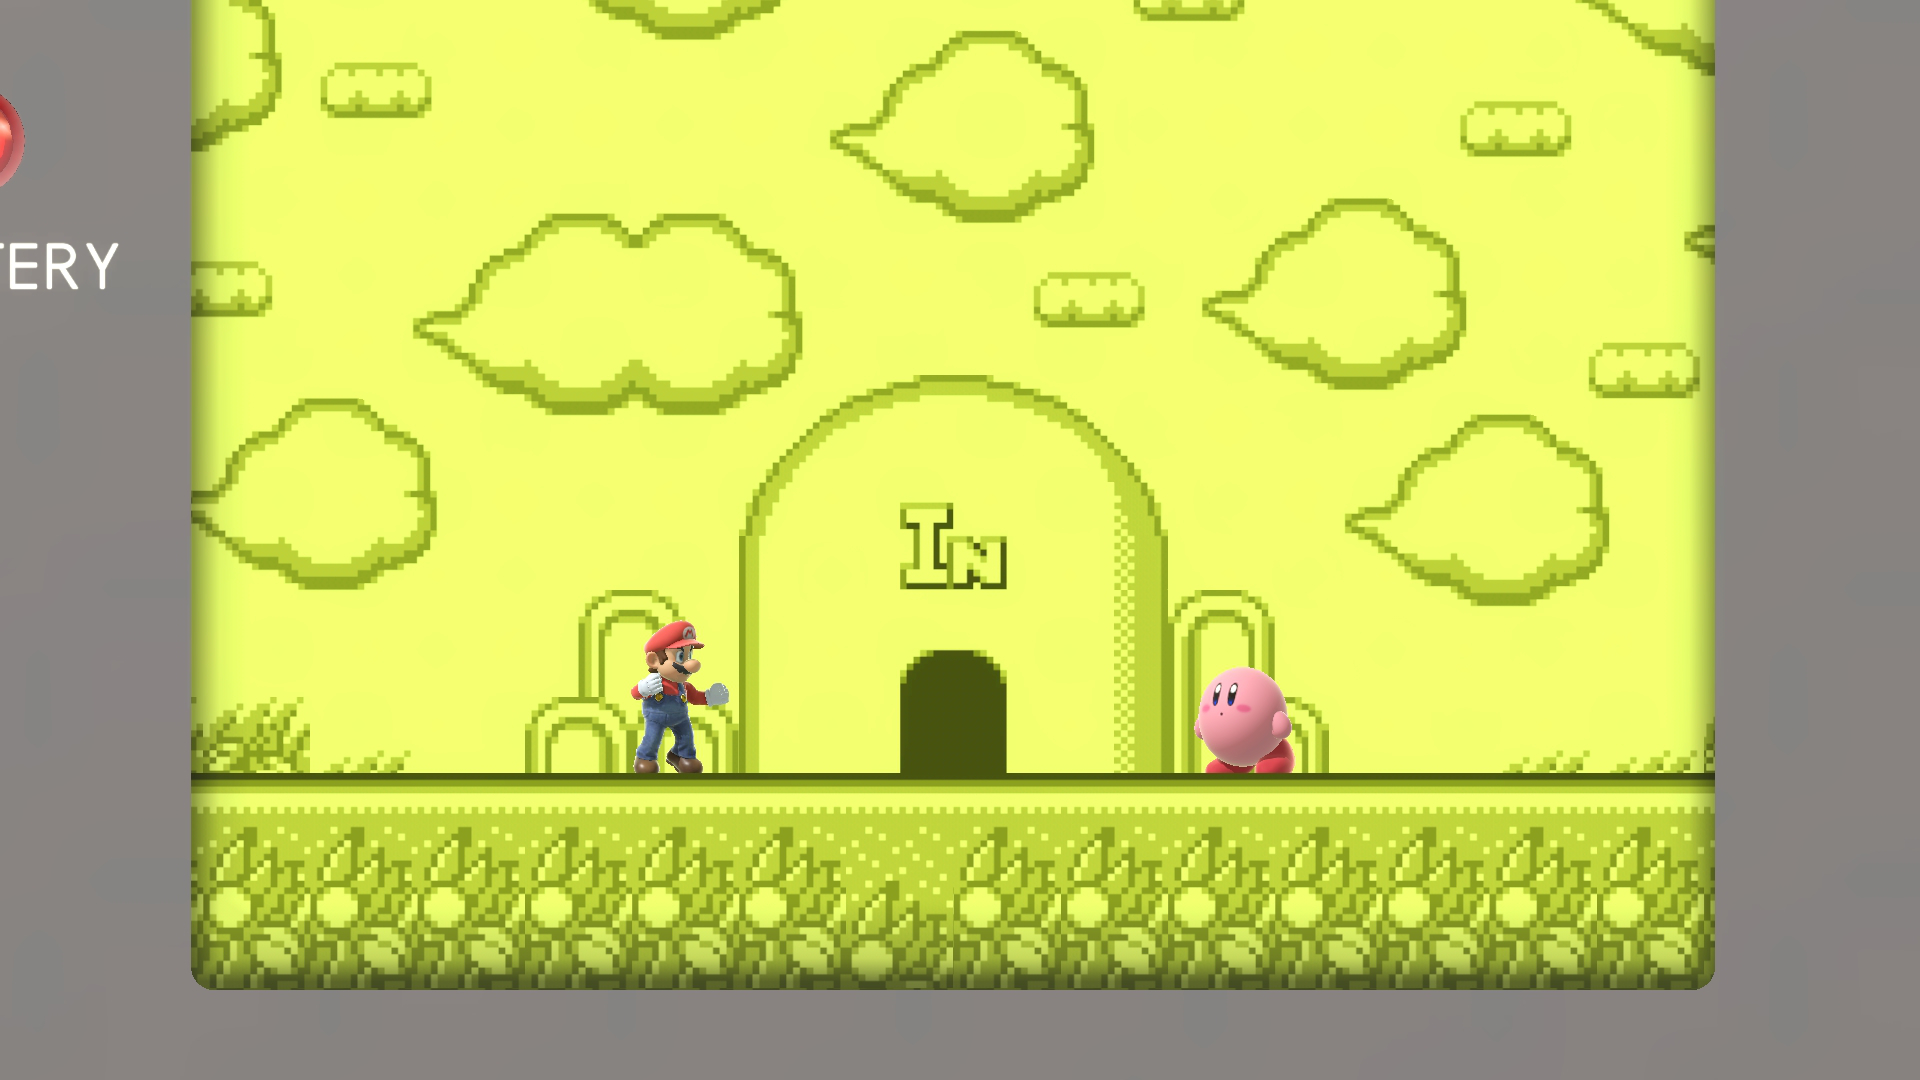
1. Find a screenshot of the stage to edit.
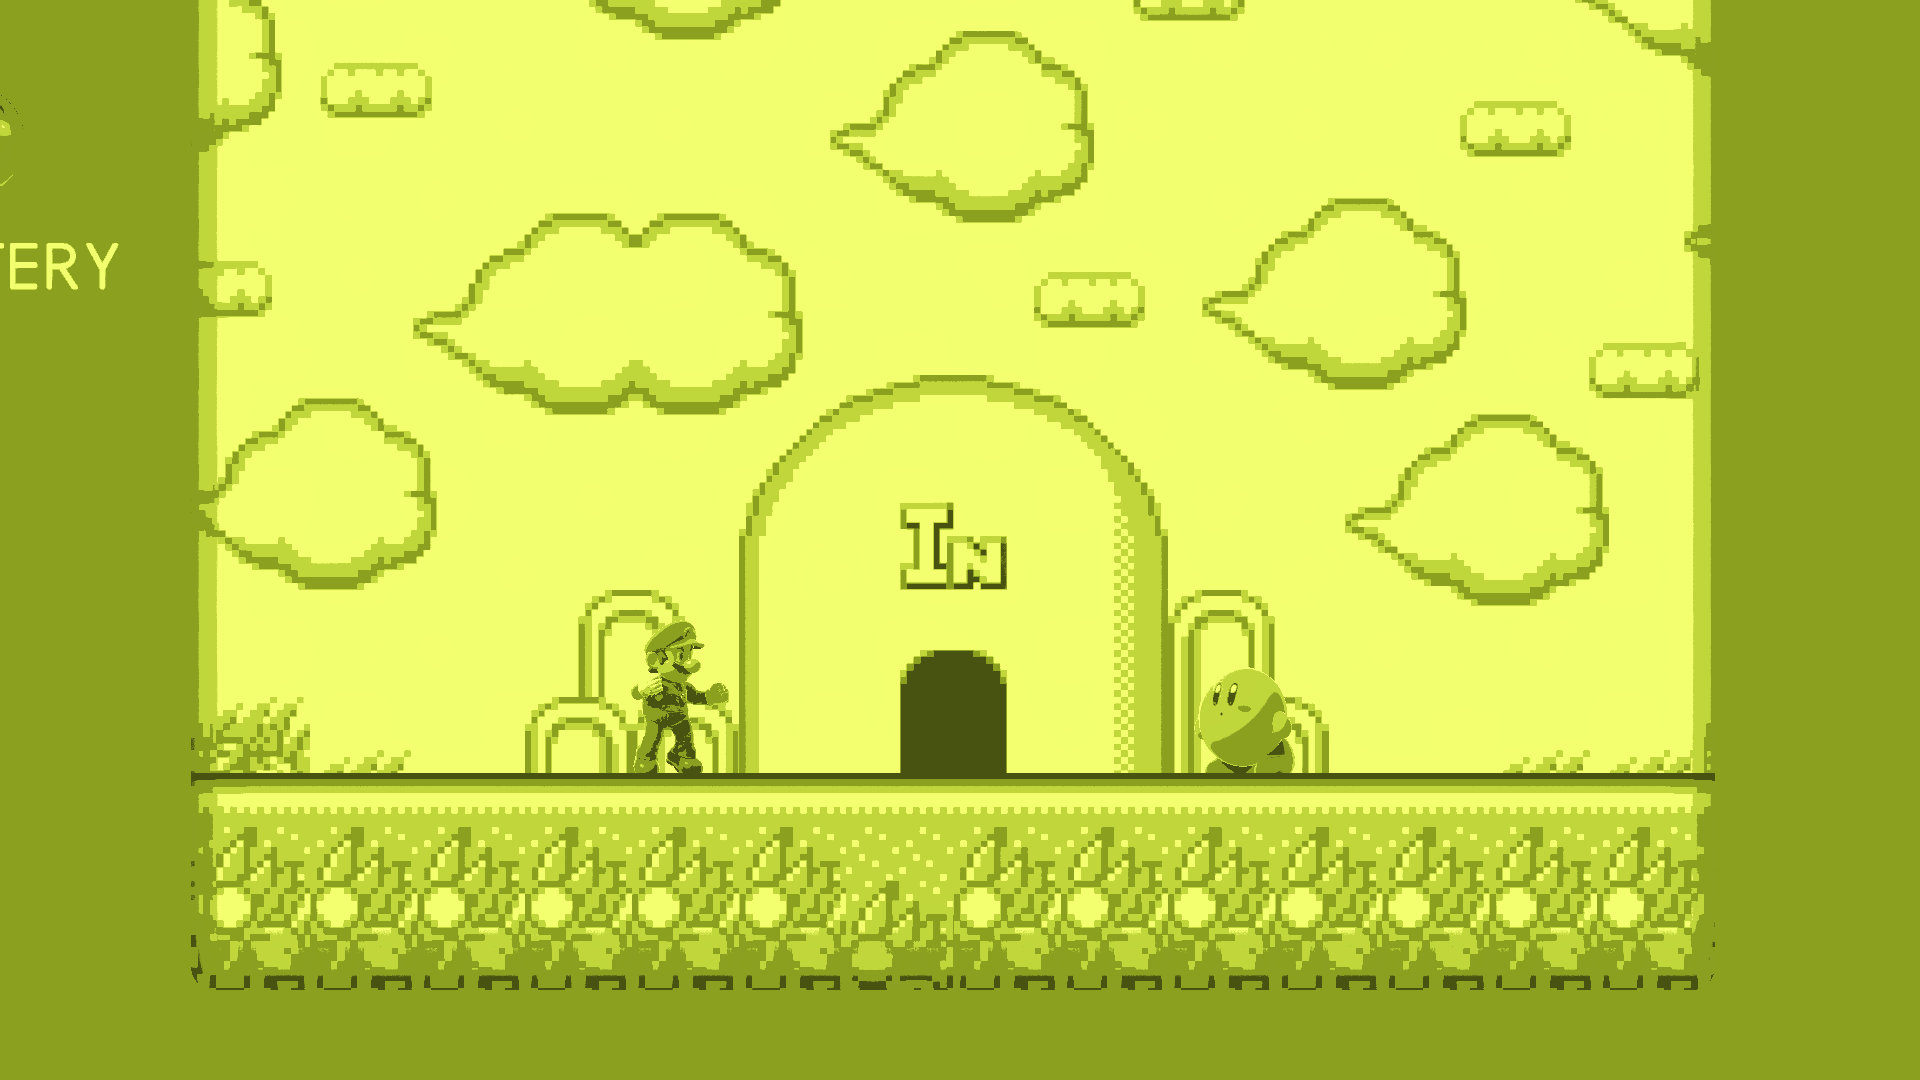
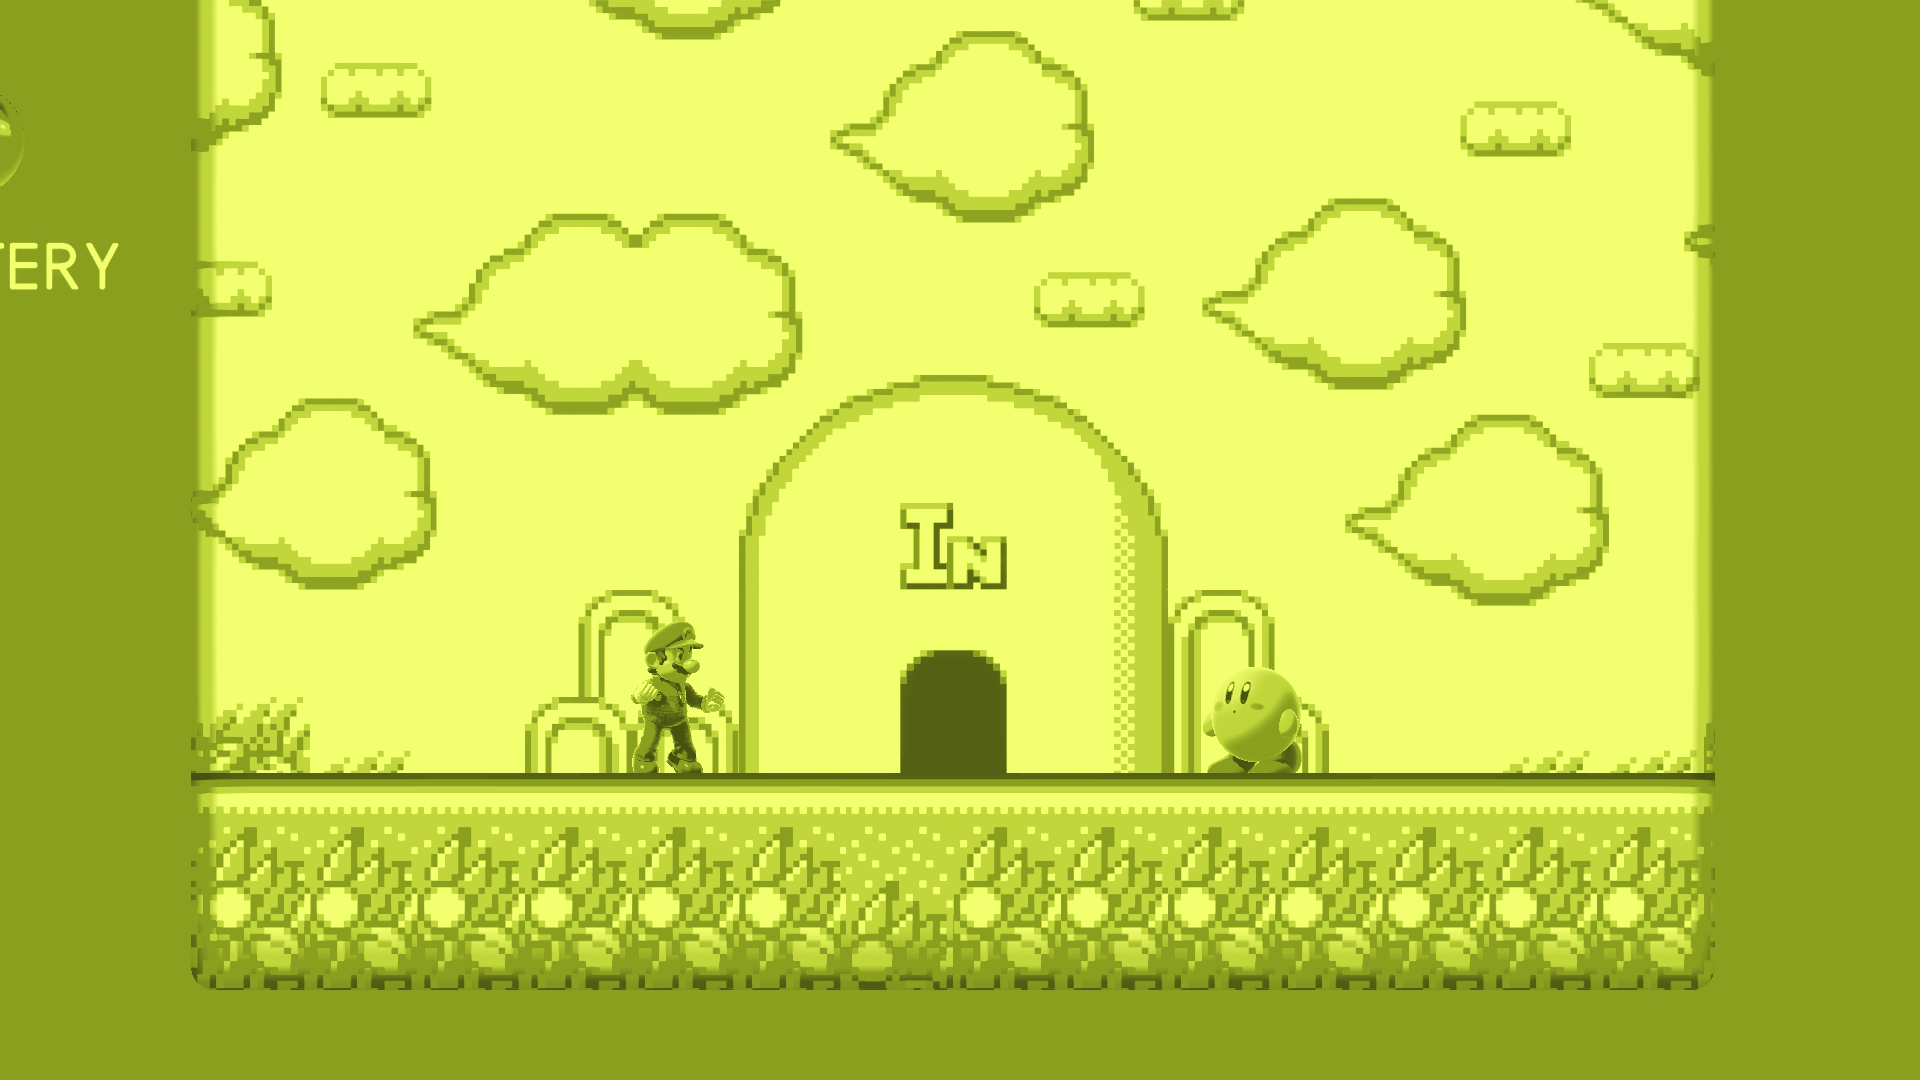
2. Edit the screenshot in any image editor like Photoshop or Gimp. Only use adjustments or layers that affect the entire image such as levels, curves, exposure, gradient maps, etc. The LUT can't store the changes in the image made by brushes or image overlays.
3. Apply the same changes made to the screenshot to the [neutral.png](https://github.com/ScanMountGoat/Smush-LUT/blob/master/neutral.png) file included in this repository. Some programs allow dragging adjustment layers between files or making the LUT its own layer and exporting just that layer to make this step easier.

4. Drag the edited neutral LUT PNG image onto `smush_lut.exe` to create a nutexb. Rename this file to `color_grading_lut.nutexb`. The colors stored in the new file will change slightly to account for the effect of post processing in game.

5. Replace the stage's `color_grading_lut.nutexb` with the one generated by `smush_lut.exe` and check the results in game. The results may not match exactly due to the limited resolution of the LUT or errors in the color compensation step. Note how the shadows on Kirby are slightly softer than intended due to unavoidable interpolation with a 16x16x16 LUT.
## Previewing Color Grading LUTs
Convert the LUT to a 16x16x16 .cube file using the executable.
Example: `smush_lut.exe sepia.png sepia.cube` or `smush_lut.exe sepia.nutexb sepia.cube`.
Cube files can be opened in many video editing and image editing software. Photoshop and Affinity Photo support important and exporting LUTs as .cube files. Other image editing software may have plugins that support .cube files.
### Photoshop (CS6 or later)
Create a new color lookup adjustment layer by clicking the adjustment layer icon on the layers panel and selecting "Color Lookup". Click the "Load 3D LUT" dropdown and then click "Load 3D LUT" again to open a file dialog to select the .cube file exported earlier. Leave the color channel settings at default.
### Affinity Photo
Similar to Photoshop, create a new LUT adjustment layer by clicking the adjustment layer icon and selecting "LUT". Click "Load LUT" and select the .cube file exported earlier.
## Color Correction
The color grading LUT is not the last step applied to the rendered image. Editing the LUT colors directly will result in unexpected colors in game. The color correction step accounts for the post processing passes in game and adjusts the final LUT values to produce the desired output colors as closely as possible. See [color_correction](https://github.com/ScanMountGoat/Smush-LUT/blob/master/color_correction.md) for a mathematical explanation for how this works. Pass the `--raw` flag to read and write LUT values directly without any modifications.