https://github.com/scholarsmate/ibm-pot
IBM Proof Of Technology
https://github.com/scholarsmate/ibm-pot
data-science ibm proof-of-technology
Last synced: 9 months ago
JSON representation
IBM Proof Of Technology
- Host: GitHub
- URL: https://github.com/scholarsmate/ibm-pot
- Owner: scholarsmate
- Created: 2017-03-10T20:43:22.000Z (over 9 years ago)
- Default Branch: master
- Last Pushed: 2017-04-06T16:39:14.000Z (over 9 years ago)
- Last Synced: 2025-02-05T17:11:49.601Z (over 1 year ago)
- Topics: data-science, ibm, proof-of-technology
- Language: Jupyter Notebook
- Size: 7.67 MB
- Stars: 0
- Watchers: 2
- Forks: 1
- Open Issues: 0
-
Metadata Files:
- Readme: README.md
Awesome Lists containing this project
README
# IBM Proof of concept - Data Science Experience
# Instructions:
# Step 1. Get on IBM Data Science Experience (DSX).
## Create an account.
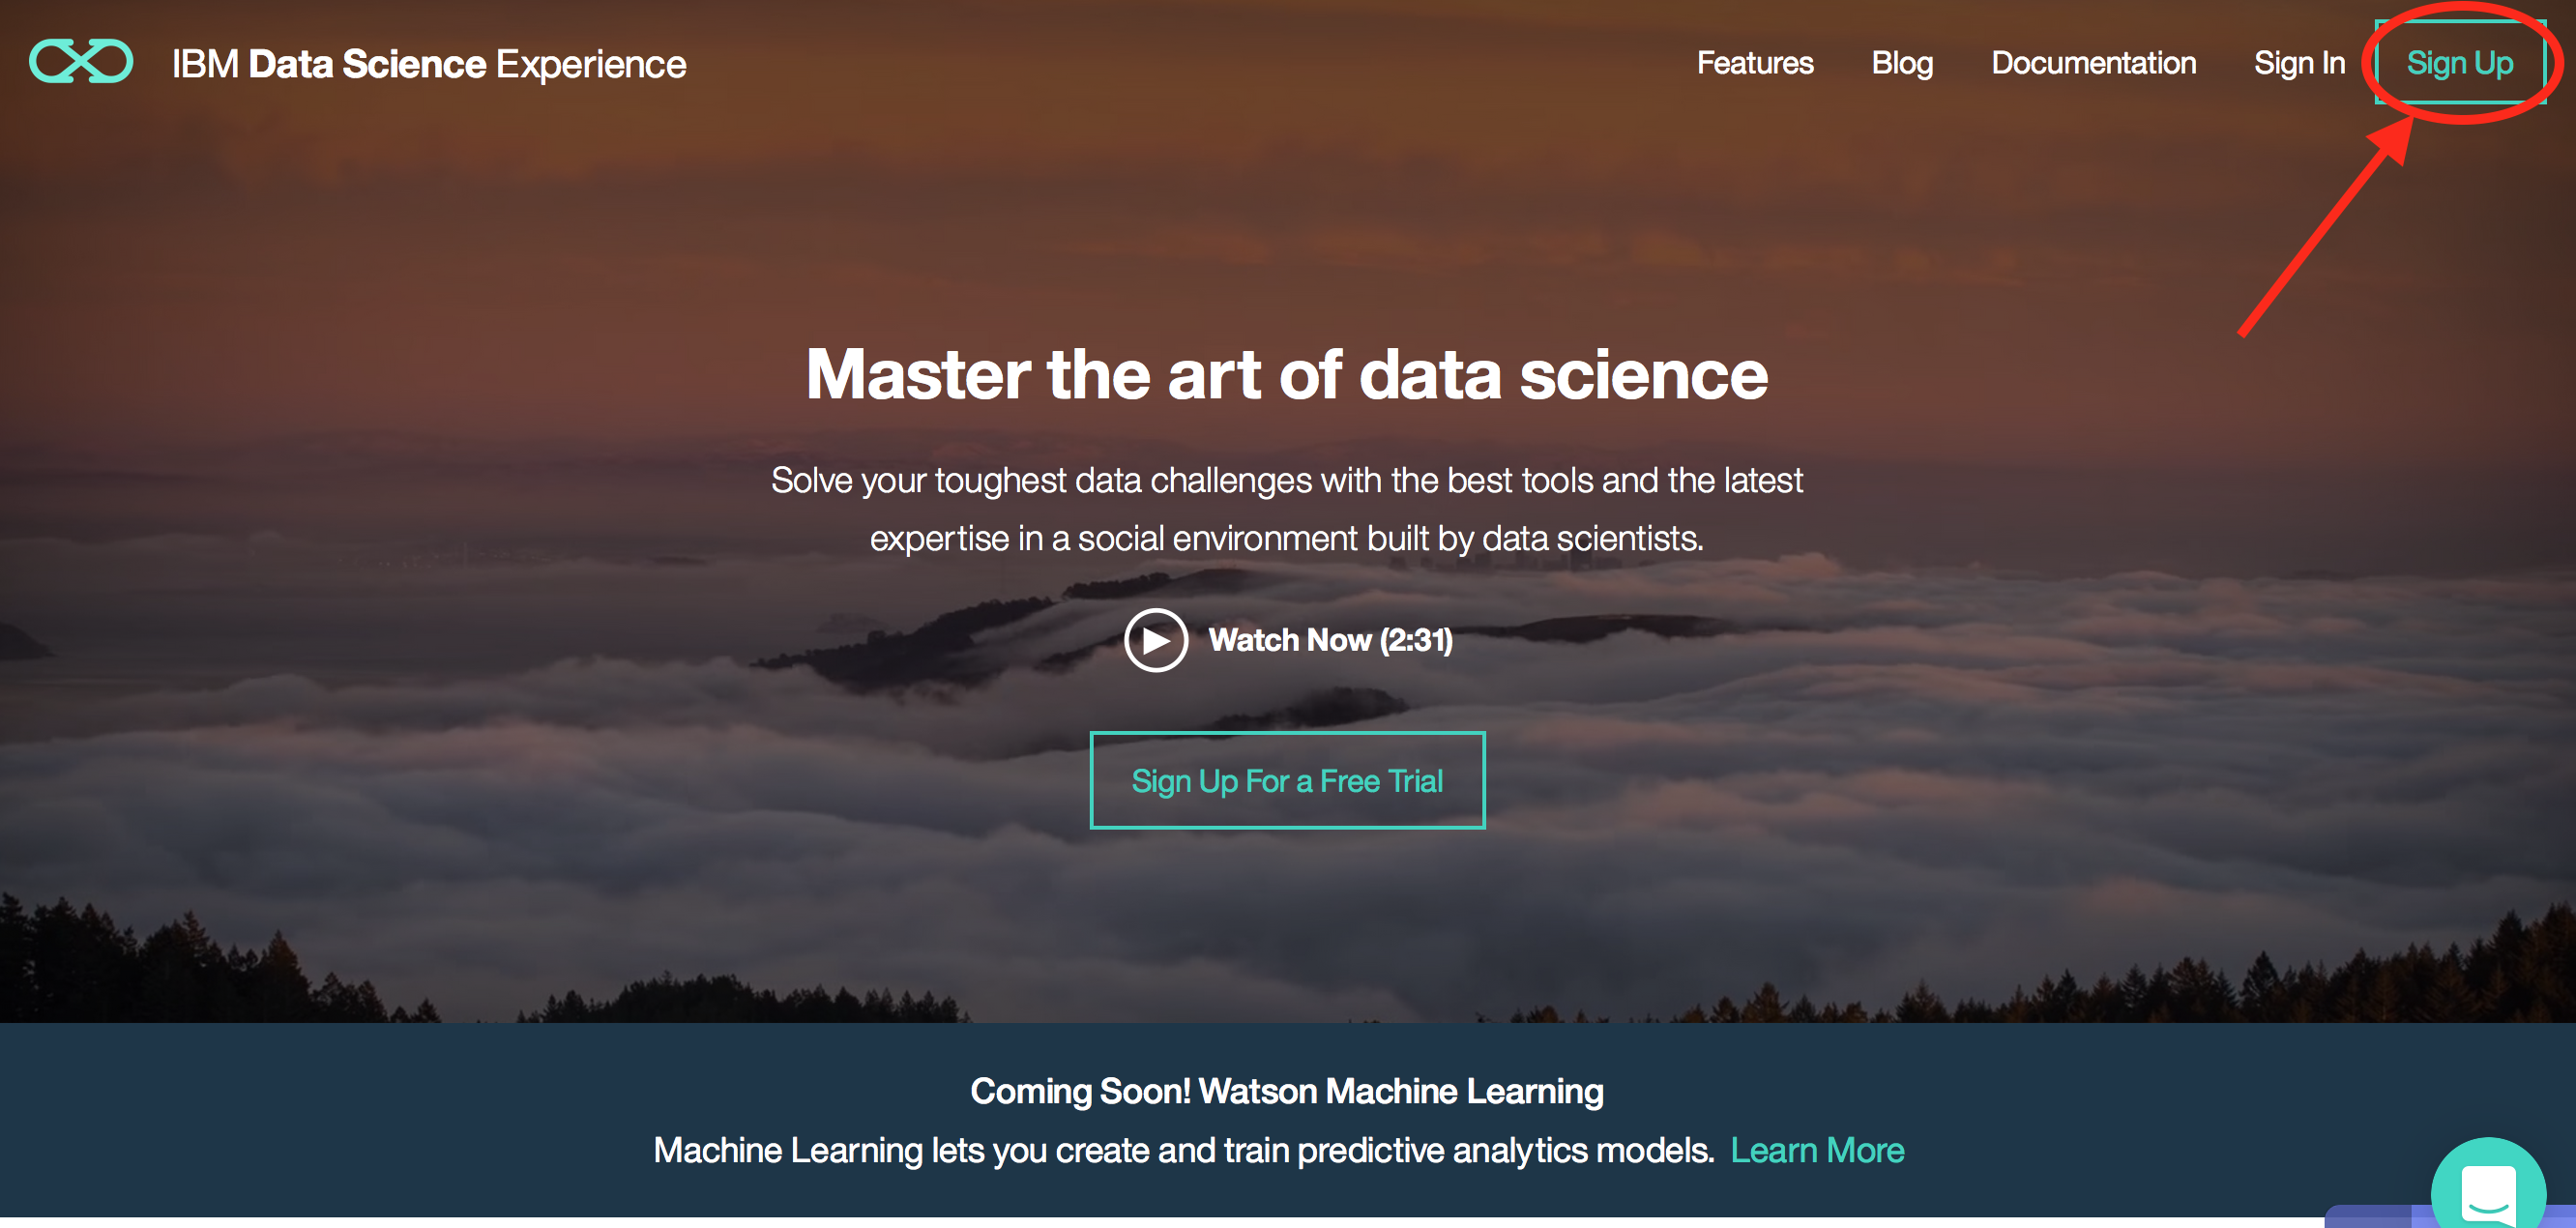
1. Go to [http://datascience.ibm.com/](http://datascience.ibm.com/)
2. Click the signup button on the top right
> 
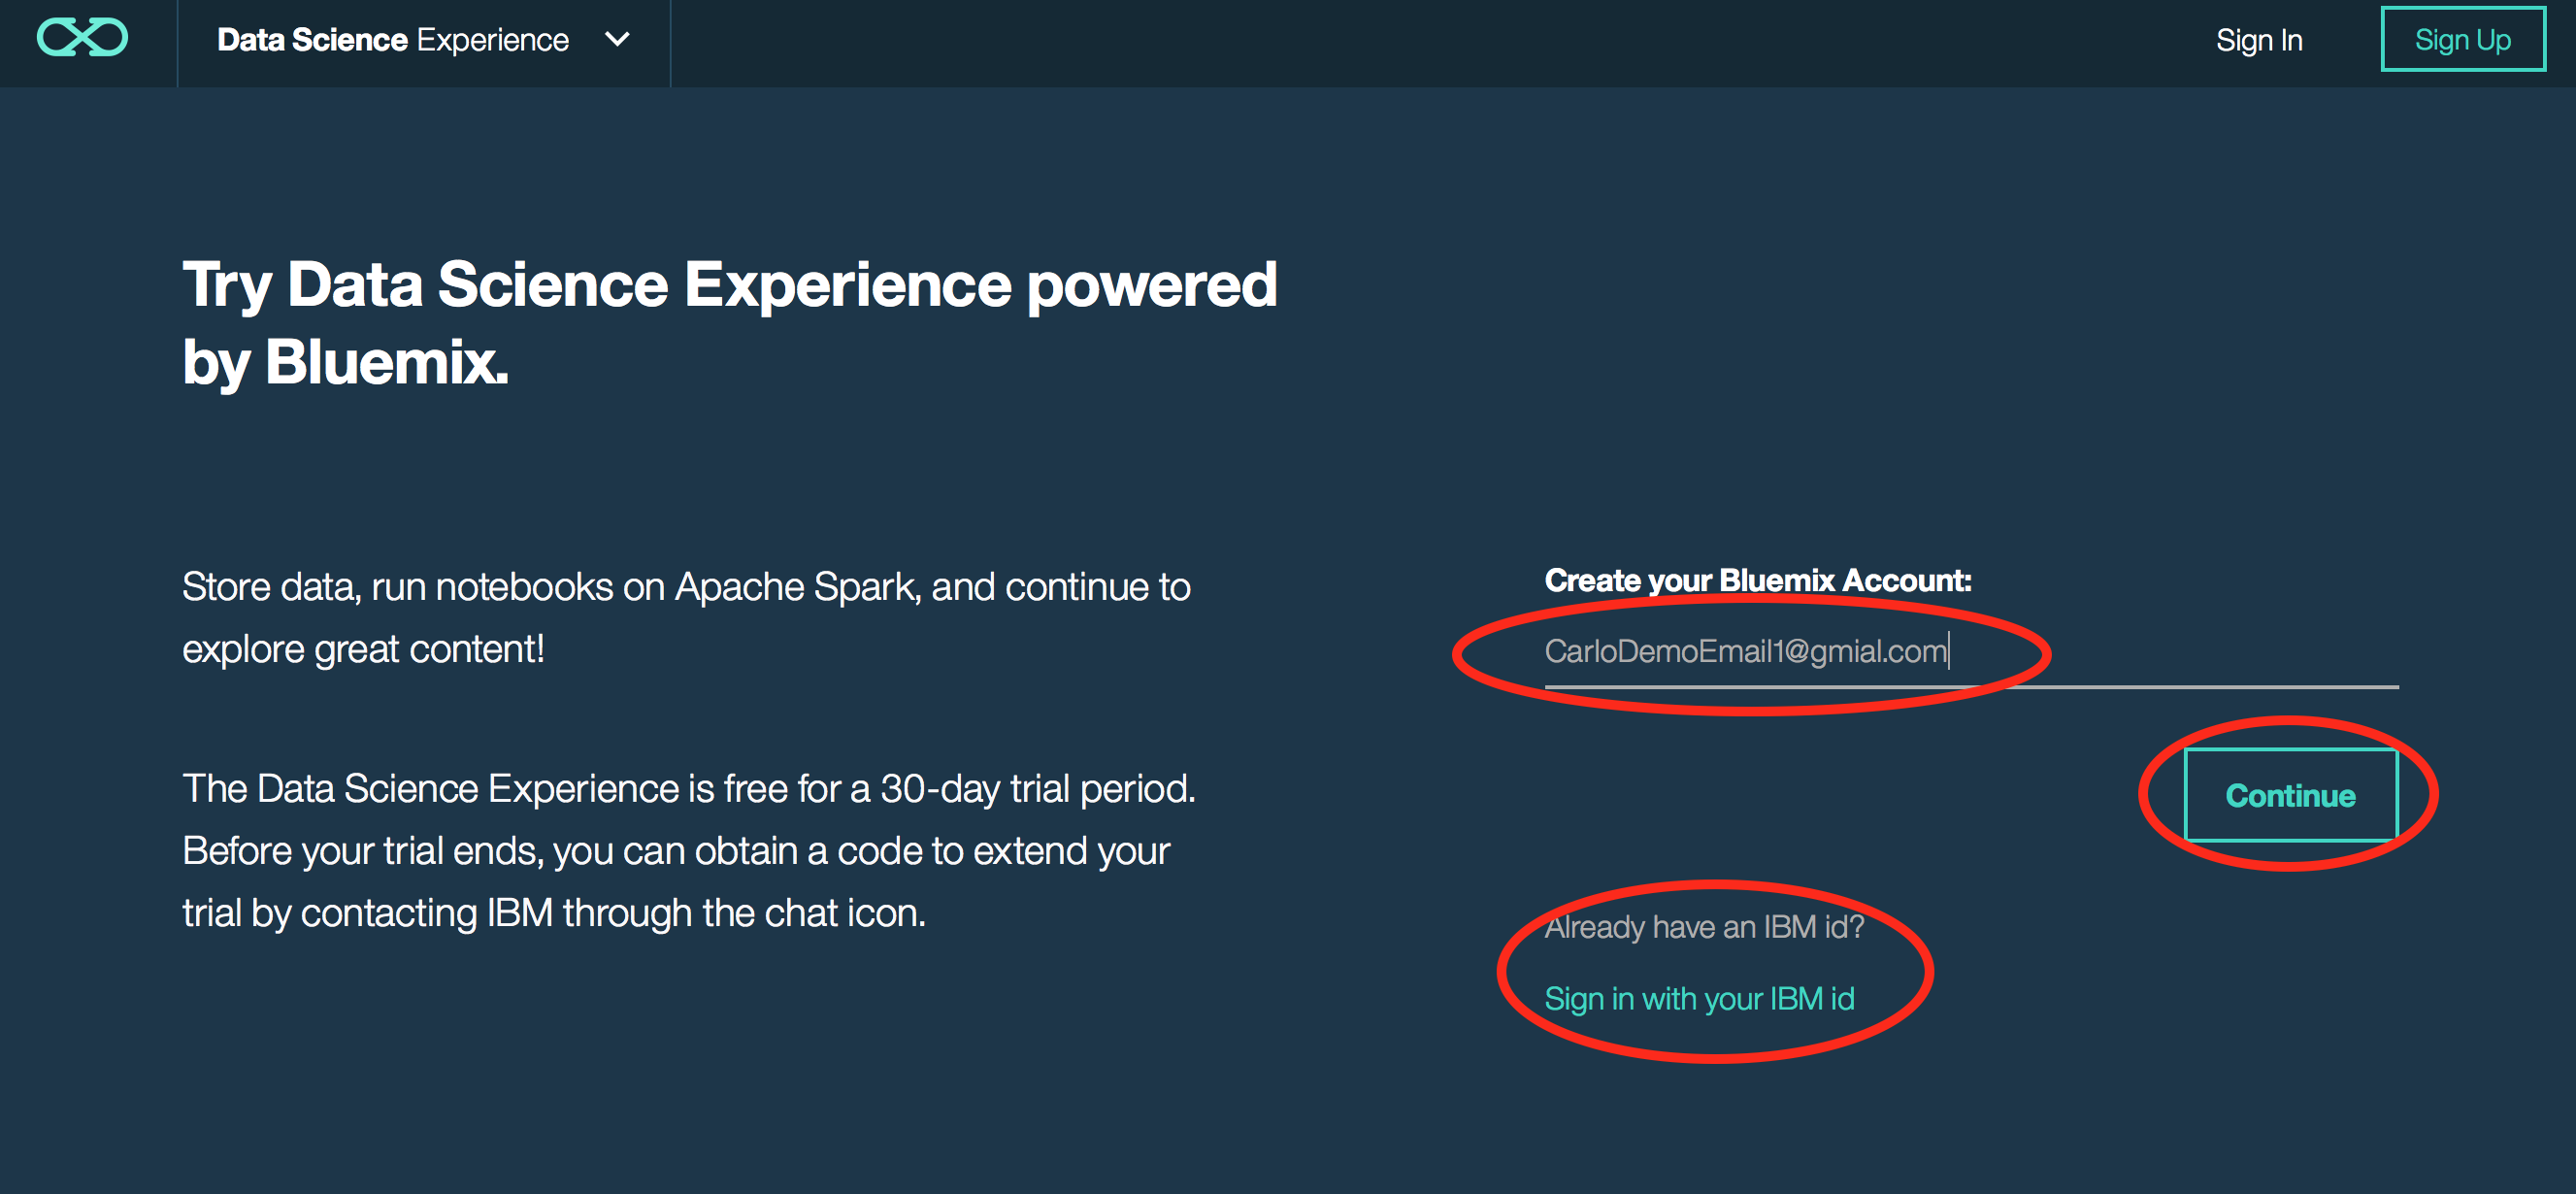
3. Enter your email and press continue. Note: If you have a Bluemix account you can click continue with Bluemix credentials, otherwise click create your Bluemix account and enter your email.
> 
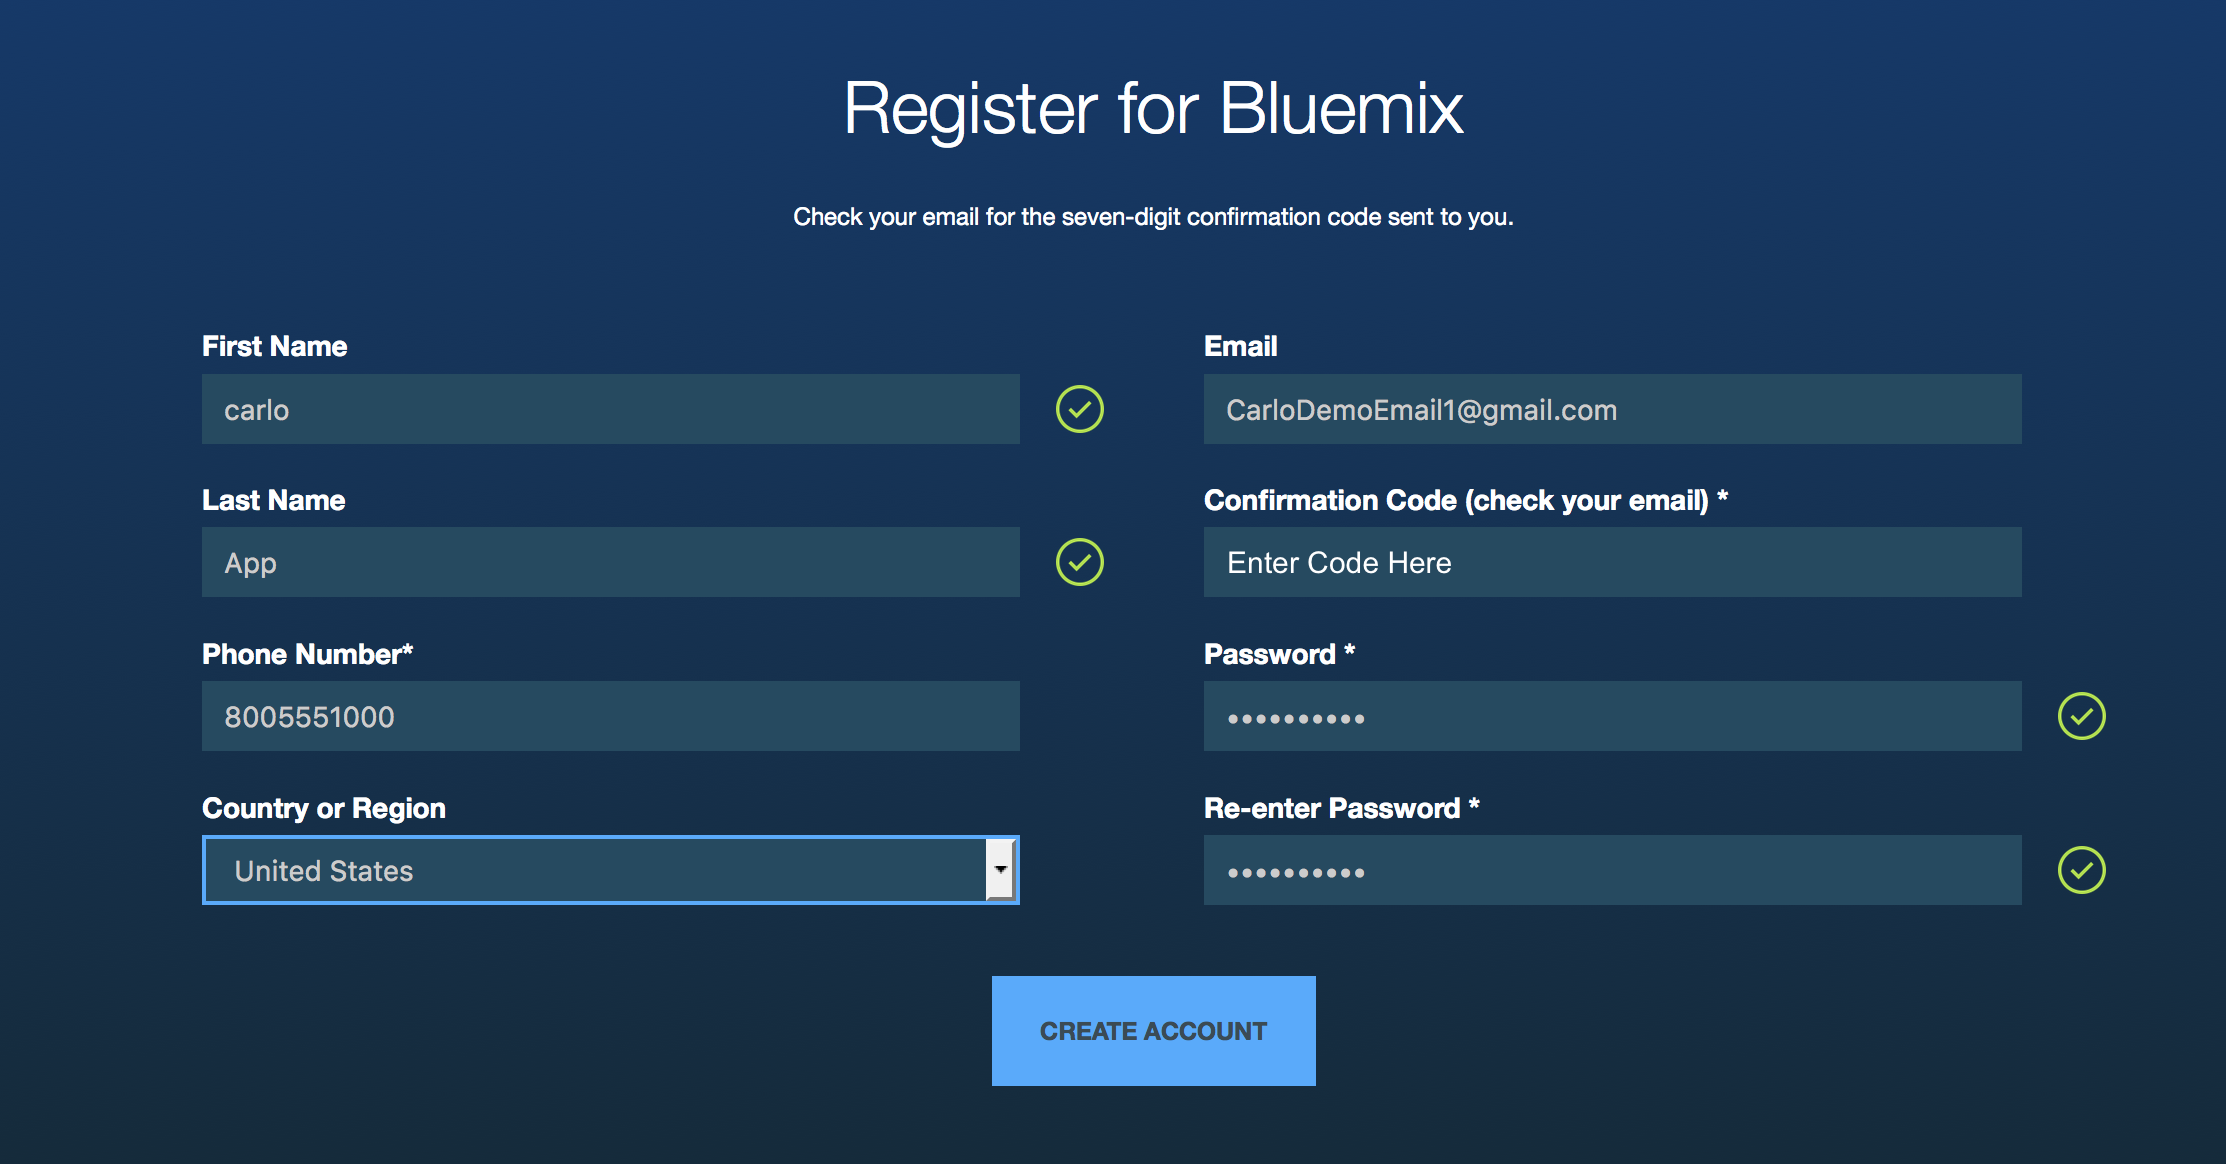
4. You should get an email from "ibmacct" with your IBMid Confirmation code
> 
5. Then, on the next page fill in the corresponding fields and click CREATE ACCOUNT
> 
6. In the new page, write your email and click CONTINUE
> 
7. Write your recently generated password and click on SIGN IN
> 
8. It will take a minute to create your account. When ready, click on Get Started.
> You are now in the Data Science Experience landing page. Your environment is automatically set up with one Apache Spark instance and 5 GB of object storage. From here you can explore any of the tutorials, videos, sample notebooks, totorials or articles in the community.
> 
# Step 2. Create a project
1. Click on the left hand side "hamburger" icon and then click on My Projects to see a list of your projects. You should only see a default project.
> 
2. Click on the create project icon on the top right of the project list.
> 
3. Type a name for your project. For instance, "DSX Lab". A Spark service and an object storage will be automatically selected as well as a container with a default name. A container is a directory on the object storage. Click on Create.
> You are now in your new project where you can create notebooks and data assets as well as add collaborators.
> 
# Step 3. Download Repository.
## If you are at IBM Booth, then you can skip this part as the files are located on your desktop.
1. Download Repository from github https://github.com/IBMDataScience/WOW2016 to local directory.
> 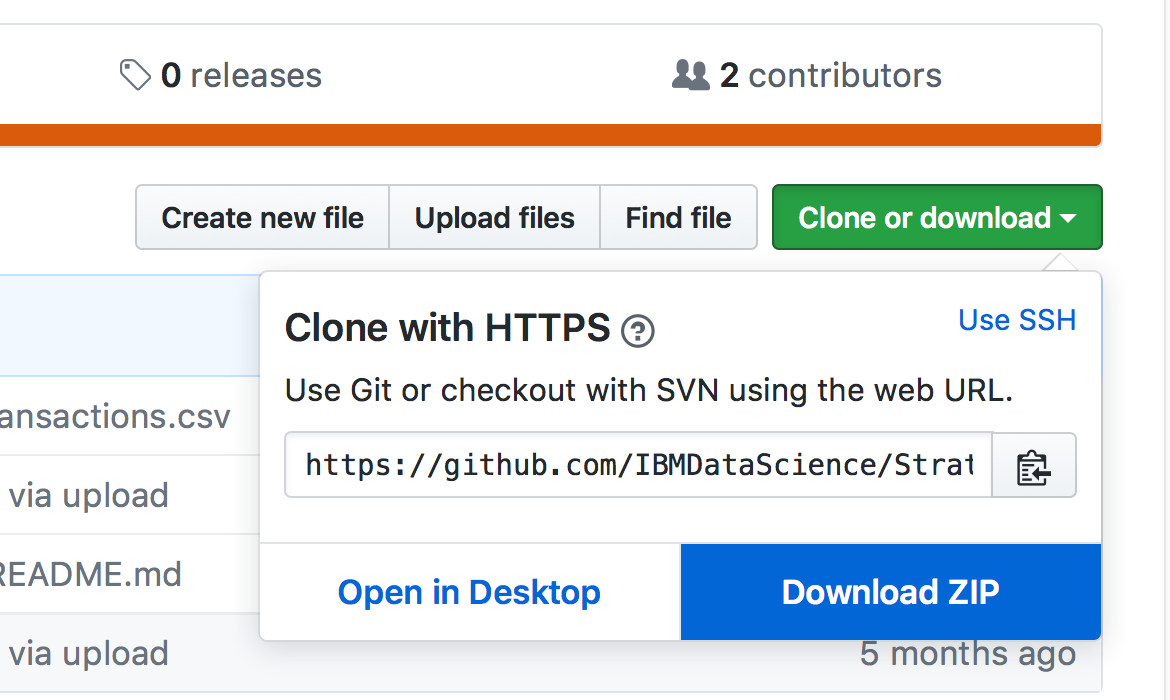
2. Unzip repo zip files locally.
# Step 4. Create a new notebook.
1. From the your project page, on the "Overview" tab click "add notebook"
2. Click “Add Notebook”
> 
3. Enter a notebook Name, Description and pick from File, click browse and pick VehicleAccidentLab.ipynb file downloaded.
> 
3. Click on Create Notebook
# Step 5. Follow Instructions in Notebook.