Ecosyste.ms: Awesome
An open API service indexing awesome lists of open source software.
https://github.com/schollz/chickencam
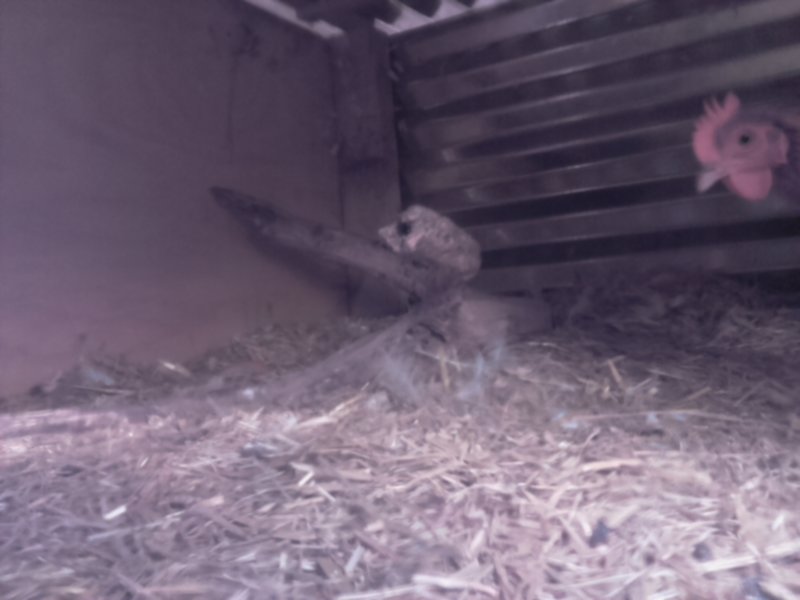
Build a Raspberry Pi ChickenCam in 10 easy steps
https://github.com/schollz/chickencam
camera chicken raspberry-pi
Last synced: 5 days ago
JSON representation
Build a Raspberry Pi ChickenCam in 10 easy steps
- Host: GitHub
- URL: https://github.com/schollz/chickencam
- Owner: schollz
- License: mit
- Created: 2016-08-29T16:40:25.000Z (about 8 years ago)
- Default Branch: master
- Last Pushed: 2019-01-05T19:41:05.000Z (almost 6 years ago)
- Last Synced: 2024-10-08T04:21:49.918Z (about 1 month ago)
- Topics: camera, chicken, raspberry-pi
- Language: Go
- Homepage:
- Size: 17.3 MB
- Stars: 42
- Watchers: 5
- Forks: 4
- Open Issues: 4
-
Metadata Files:
- Readme: README.md
- License: LICENSE
Awesome Lists containing this project
README
# Raspberry Pi ChickenCam in 10 easy steps

## Requirements
- [Raspberry Pi](http://amzn.to/2z1ObiI)
- [Camera without IR filter](http://amzn.to/2yhhs9Q)
- [Weatherproof extension cord](http://amzn.to/2zkm4vY) + [Outlet tap](http://amzn.to/2z3RENV)
- [3D enclosure, specially fitted](http://amzn.to/2z2YGlR)
- [Infrared illuminator](http://amzn.to/2zjpxLy)
- [USB microphone](http://amzn.to/2z1ZlEg)
- [Chickens](https://cse.google.com/cse?cx=008732268318596706411:nhtd4cwl5xu&q=chickens&oq=chickens&gs_l=partner.3...1329.2438.0.2513.10.9.0.1.1.0.152.791.3j5.8.0.gsnos%2Cn%3D13...0.981j163459j9j1..1ac.1.25.partner..4.6.472.KwyGWJjj03s#gsc.tab=0&gsc.q=chickens%20for%20sale&gsc.sort=)
- Too much time on your hands
## 1. Setup Raspberry Pi
Plug in the USB microphone, install new image of [Raspbian](https://www.raspberrypi.org/downloads/raspbian/), and attach the camera. Setup the camera using `raspi-config` and then setup the following.
## 2. Setup [Wifi](https://www.raspberrypi.org/documentation/configuration/wireless/wireless-cli.md)
Make sure this WiFi will work outside.
`sudo vim /etc/wpa_supplicant/wpa_supplicant.conf`
network={
ssid="SOMETHING"
psk="PASSWORD"
}
## 3. Download packages
```
sudo apt-get install apcalc python3 python3-setuptools zsh \
openssh-server openssh-client tree git vim htop python3-pyaudio \
python3-pil python3-numpy python3-rpio.gpio lame imagemagick
```
## 4. [Setup audio](http://raspberrypi.stackexchange.com/questions/37177/best-way-to-setup-usb-mic-as-system-default-on-raspbian-jessie)
`sudo nano /usr/share/alsa/alsa.conf` scroll down until you find the lines
defaults.ctl.card 0
defaults.pcm.card 0
and change them to
defaults.ctl.card 1
defaults.pcm.card 1
## 5. Install Go
Download [Go1.7+](https://golang.org/dl/) and install.
## 6. Build enclosure
Here's mine:

## 7. Start chicken monitoring
On the Raspberry Pi, do the following:
```
git clone https://github.com/schollz/chickencam.git
cd chickencam
nano conf.py # edit SERVER_LOCATION with the your particular server
go build -o sunset
sudo python3 main.py
```
## 8. Start web server
This should be done on the server (which can also be the raspberry pi):
```
git clone https://github.com/schollz/chickencam.git
cd chickencam/server
go build
./server
```
## 9. Enjoy your chickens popping in to say hello

## 10. There is no step 10