https://github.com/sejas/deep-learning-predicting-bike-sharing-patterns
Udacity P1 Deep Learning Nanodegree
https://github.com/sejas/deep-learning-predicting-bike-sharing-patterns
Last synced: 14 days ago
JSON representation
Udacity P1 Deep Learning Nanodegree
- Host: GitHub
- URL: https://github.com/sejas/deep-learning-predicting-bike-sharing-patterns
- Owner: sejas
- Created: 2019-01-26T20:51:48.000Z (over 6 years ago)
- Default Branch: master
- Last Pushed: 2019-01-28T19:43:22.000Z (over 6 years ago)
- Last Synced: 2025-02-14T10:53:39.295Z (8 months ago)
- Language: Jupyter Notebook
- Size: 659 KB
- Stars: 0
- Watchers: 2
- Forks: 0
- Open Issues: 0
-
Metadata Files:
- Readme: README.md
Awesome Lists containing this project
README
# Predicting Bike-Sharing Data (Your First Neural Network)
### Introduction
In this project, you'll get to build a neural network from scratch to carry out a prediction problem on a real dataset! By building a neural network from the ground up, you'll have a much better understanding of gradient descent, backpropagation, and other concepts that are important to know before we move to higher level tools such as PyTorch. You'll also get to see how to apply these networks to solve real prediction problems!
The data comes from the [UCI Machine Learning Database](https://archive.ics.uci.edu/ml/datasets/Bike+Sharing+Dataset).
### Instructions
1. Download the project materials from [our GitHub repository](https://github.com/udacity/deep-learning-v2-pytorch). You can get download the repository with `git clone https://github.com/udacity/deep-learning-v2-pytorch.git`. Our files in the GitHub repo are the most up to date, so it's the best place to get the project files.
2. cd into the `project-bikesharing` directory.
3. Download anaconda or miniconda based on the instructions in the [Anaconda lesson](https://classroom.udacity.com/nanodegrees/nd101/parts/2a9dba0b-28eb-4b0e-acfa-bdcf35680d90/modules/aba54606-cf35-4a77-b643-efec6a90bfa1/lessons/9e9ed61d-20c3-4431-95aa-a1099f28d601/concepts/4cdc5a26-1e54-4a69-8eb4-f15e37aaab7b). These are also outlined in the repository [README](https://github.com/udacity/deep-learning-v2-pytorch/blob/master/README.md).
4. Create a new conda environment:
```
conda create --name deep-learning python=3
```
5. Enter your new environment:
- Mac/Linux: `>> source activate deep-learning`
- Windows: `>> activate deep-learning`
6. Ensure you have `numpy`, `matplotlib`, `pandas`, and `jupyter notebook` installed by doing the following:
```
conda install numpy matplotlib pandas jupyter notebook
```
7. Run the following to open up the notebook server:
```
jupyter notebook
```
8. In your browser, open `Predicting_bike_sharing_data.ipynb`. Note that in the previous workspace this was called `Your_first_neural_network.ipynb` but the contents are the same, this is just a descriptive difference.
9. Follow the instructions in the notebook; they will lead you through the project. You'll ultimately be editing the `my_answers.py` python file, whose components are imported into the notebook at various places.
10. Ensure you've passed the unit tests in the notebook and have taken a look at [the rubric](https://review.udacity.com/#!/rubrics/2148/view) before you submit the project!
If you need help running the notebook file, check out the [Jupyter notebook lesson](https://classroom.udacity.com/nanodegrees/nd101/parts/2a9dba0b-28eb-4b0e-acfa-bdcf35680d90/modules/aba54606-cf35-4a77-b643-efec6a90bfa1/lessons/13f4b7d6-92a9-468d-9008-084fc8b53a23/concepts/75e1eee0-5f81-4d5b-a1ca-eaebe3c91759).
### Submission
Before submitting your solution to a reviewer, you are required to submit your project to Udacity's Project Assistant, which will provide some initial feedback. It will give you feedback within a minute or two on whether your project will meet all specifications. It is possible to submit projects which do not pass all tests; you can expect to get feedback from your Udacity reviewer on these within 3-4 days.
The setup for the project assistant is simple. If you have not installed the client tool from a different Nanodegree program already, then you may do so with the command `pip install udacity-pa`.
To submit your code to the project assistant, run `udacity submit` from within the top-level directory of the project. You will be prompted for a username and password. If you login using google or facebook, visit [this link](https://project-assistant.udacity.com/login) for alternate login instructions.
This process will create a zipfile in your top-level directory named `first_neural_network-result-.zip`, where there will be a number between `result-` and `.zip`. This is the file that you should submit to the Udacity reviews system.
Upload that file into the system and hit Submit Project below!
If you run into any issues using the project assistant, please check [this page](https://knowledge.udacity.com/questions/6299) to troubleshoot; feel free to post your problem in [Knowledge](https://knowledge.udacity.com/) if it isn't covered by one of the displayed cases!
### What to do afterwards
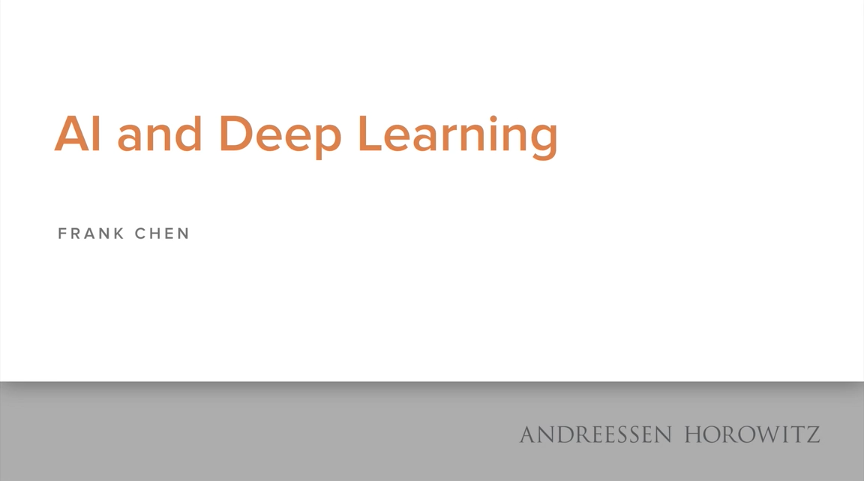
If you're waiting for new content or to get the review back, here's a great video from Frank Chen about the history of deep learning. It's a 45 minute video, sort of a short documentary, starting in the 1950s and bringing us to the current boom in deep learning and artificial intelligence.
[](https://youtu.be/ht6fLrar91U)