https://github.com/shafthq/using_shaft_engine
A Template Repository for using SHAFT_Engine
https://github.com/shafthq/using_shaft_engine
Last synced: 2 months ago
JSON representation
A Template Repository for using SHAFT_Engine
- Host: GitHub
- URL: https://github.com/shafthq/using_shaft_engine
- Owner: ShaftHQ
- License: mit
- Created: 2022-12-18T05:53:31.000Z (almost 3 years ago)
- Default Branch: main
- Last Pushed: 2025-06-09T19:41:34.000Z (4 months ago)
- Last Synced: 2025-06-17T06:05:53.752Z (4 months ago)
- Language: HTML
- Size: 10.9 MB
- Stars: 16
- Watchers: 1
- Forks: 10
- Open Issues: 1
-
Metadata Files:
- Readme: README.md
- License: LICENSE
Awesome Lists containing this project
README
# A Template for using [SHAFT_Engine](https://github.com/shafthq/SHAFT_ENGINE)

## I. Quick Start Guide 🏃
### Step 1: Setting up your project
- Click the blue button above that says "Use this template" > "Create a new repository"
- From your new repository click the blue button that says "<> Code" > "Open with GitHub Desktop"
- From your GitHub Desktop click the button that says "Open in JetBrains IntelliJ Idea Community Edition"
- With the latest SHAFT_Engine version, the engine will be able to configure itself in TestNG or JUnit mode automatically. You will not need to add any listeners anymore.
- If you're using Cucumber, due to a known issue with IntelliJ you need to edit your run configuration templates before running your feature files by following these steps:
- Open 'Edit Run/Debug Configurations' dialog > Edit Configurations... > Edit configuration templates...
- Select Cucumber Java > Program Arguments > and add this argument:
`--plugin --plugin com.shaft.listeners.CucumberFeatureListener`
- After saving the changes, remember to delete any old runs you may have triggered by mistake before adding the needed config.
### Step 2: Running some Tests
- Navigate to the module that you want to play with. For example ```GUI_Web```
- Navigate to any test class. For example ```src/test/java/TestPackage/TestClass.java```
- Press the green play button next to the class name to run the entire class, or next to a test method to run only that method.
- Test execution will begin, and you'll see the browser opening and the test running.
- The Test execution report will open automatically in your default web browser after the test run is completed.

## II. What's next?
### User Guide
- Learn more about using SHAFT_Engine from the 👤 [User Guide](https://ShaftHQ.github.io/SHAFT_Engine_Docusaurus/) and 📚 [Javadocs](https://ShaftHQ.github.io/SHAFT_ENGINE/apidocs/index.html).
- Join our  to get notified by email when a new release is pushed out.
- After upgrading your Engine it is sometimes recommended to delete the properties folder ```src\main\resources\properties``` and allow SHAFT to regenerate the defaults by running any test method.
### CI/CD & DevOps
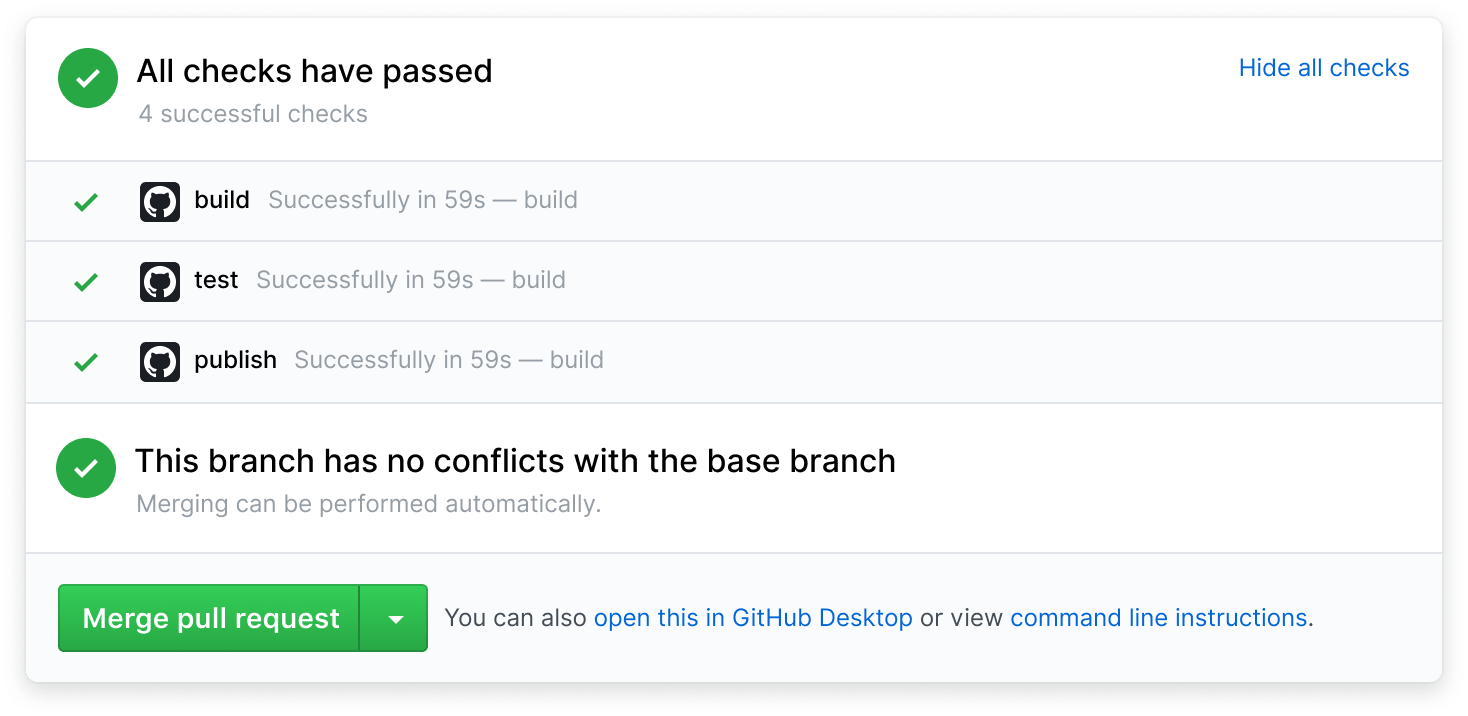
- This template comes preloaded with some Selenium grid 4 powered CI/CD pipelines to get you started!
- Navigate to "Actions" and then select "Desktop Browser Tests" from the side menu
- Click "Run workflow" and confirm your choice.
- You will notice that the pipeline has started building, and you can download the execution reports once the execution is completed.

### Stop Reinventing the wheel! Start using SHAFT!