Ecosyste.ms: Awesome
An open API service indexing awesome lists of open source software.
https://github.com/shaikahmadnawaz/react-docker
Deploying React with Docker: A Complete Guide
https://github.com/shaikahmadnawaz/react-docker
containerization devops docker docker-hub dockerfile nodejs reactjs
Last synced: about 1 month ago
JSON representation
Deploying React with Docker: A Complete Guide
- Host: GitHub
- URL: https://github.com/shaikahmadnawaz/react-docker
- Owner: shaikahmadnawaz
- Created: 2023-04-08T09:33:26.000Z (almost 2 years ago)
- Default Branch: master
- Last Pushed: 2023-04-09T09:46:11.000Z (almost 2 years ago)
- Last Synced: 2024-11-06T19:54:01.755Z (3 months ago)
- Topics: containerization, devops, docker, docker-hub, dockerfile, nodejs, reactjs
- Language: HTML
- Homepage:
- Size: 311 KB
- Stars: 3
- Watchers: 2
- Forks: 12
- Open Issues: 0
-
Metadata Files:
- Readme: README.md
Awesome Lists containing this project
README
# Deploying React with Docker: A Complete Guide
## Introduction
Before we begin, there are a few prerequisites that you should have installed on your machine. First, you'll need to have Docker installed. If you don't already have Docker installed, you can download it from the Docker website.
You'll also need to have Node.js and npm installed. If you don't have them installed, you can download them from the Node.js website.
To verify that Docker is installed, open your terminal and run the following command:
```bash
docker --version
```
This will display the version of Docker installed on your machine. If Docker is not installed, you will receive an error message.
To verify that Node.js and npm are installed, open your terminal and run the following command:
```bash
node --version
```
This will display the version of Node.js installed on your machine. If Node.js is not installed, you will receive an error message.
React is a popular JavaScript library for building web applications. It provides a powerful and flexible framework for building user interfaces and is widely used by developers around the world. Deploying a React application can be a complex process, but Docker can simplify the process and make it easier to manage.
In this guide, we will walk you through the process of deploying a React web application with Docker. We'll start by creating a new React application using `create-react-app` and then we'll create a `Dockerfile` for our application. We'll then build a Docker image and run a Docker container to test our application. Finally, we'll push our Docker image to a container registry and deploy it to our production environment.
By the end of this guide, you'll have a better understanding of how to deploy a React application with Docker and be able to manage your application more efficiently. So, let's get started!
## **Create a React Application**
The first step is to create a new React application using `create-react-app` command. This command will set up a new React project with some default configuration files, dependencies, and a basic application structure.
```bash
npx create-react-app docker-react
cd docker-react
```
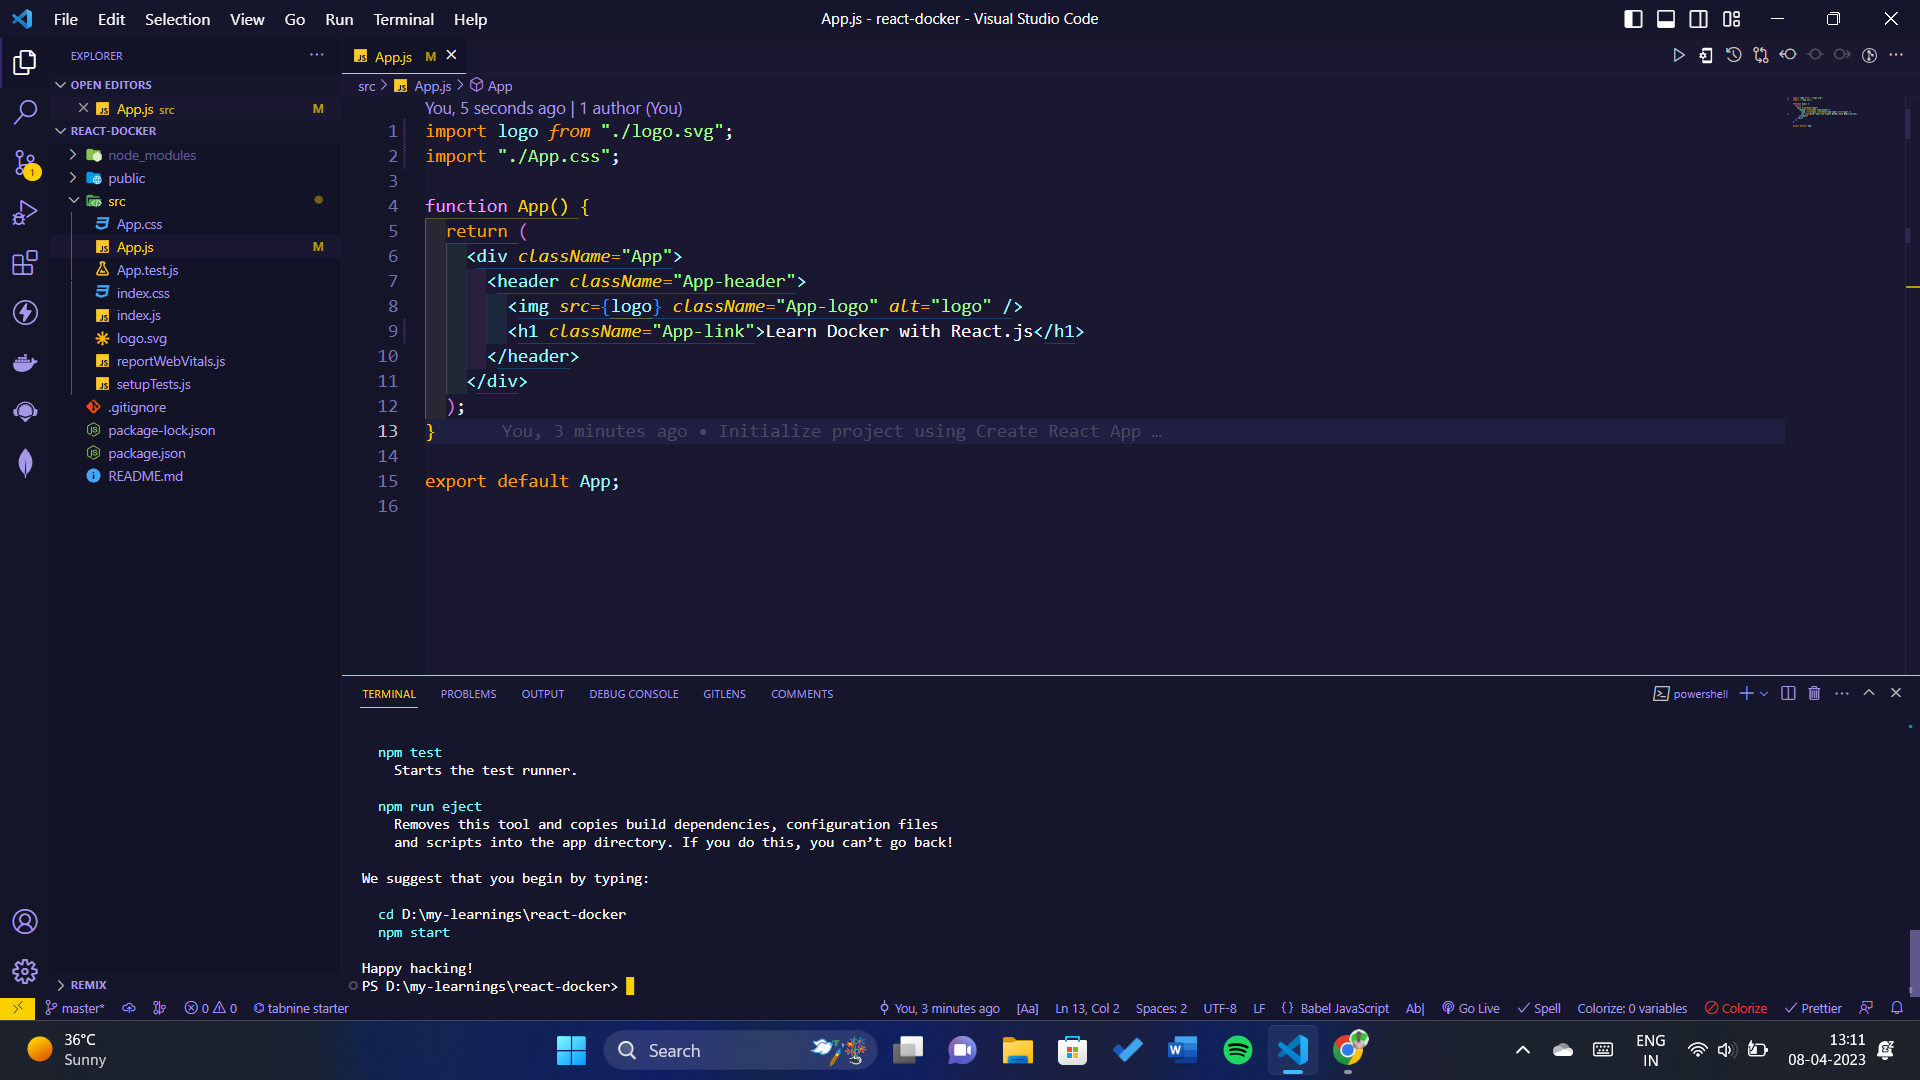
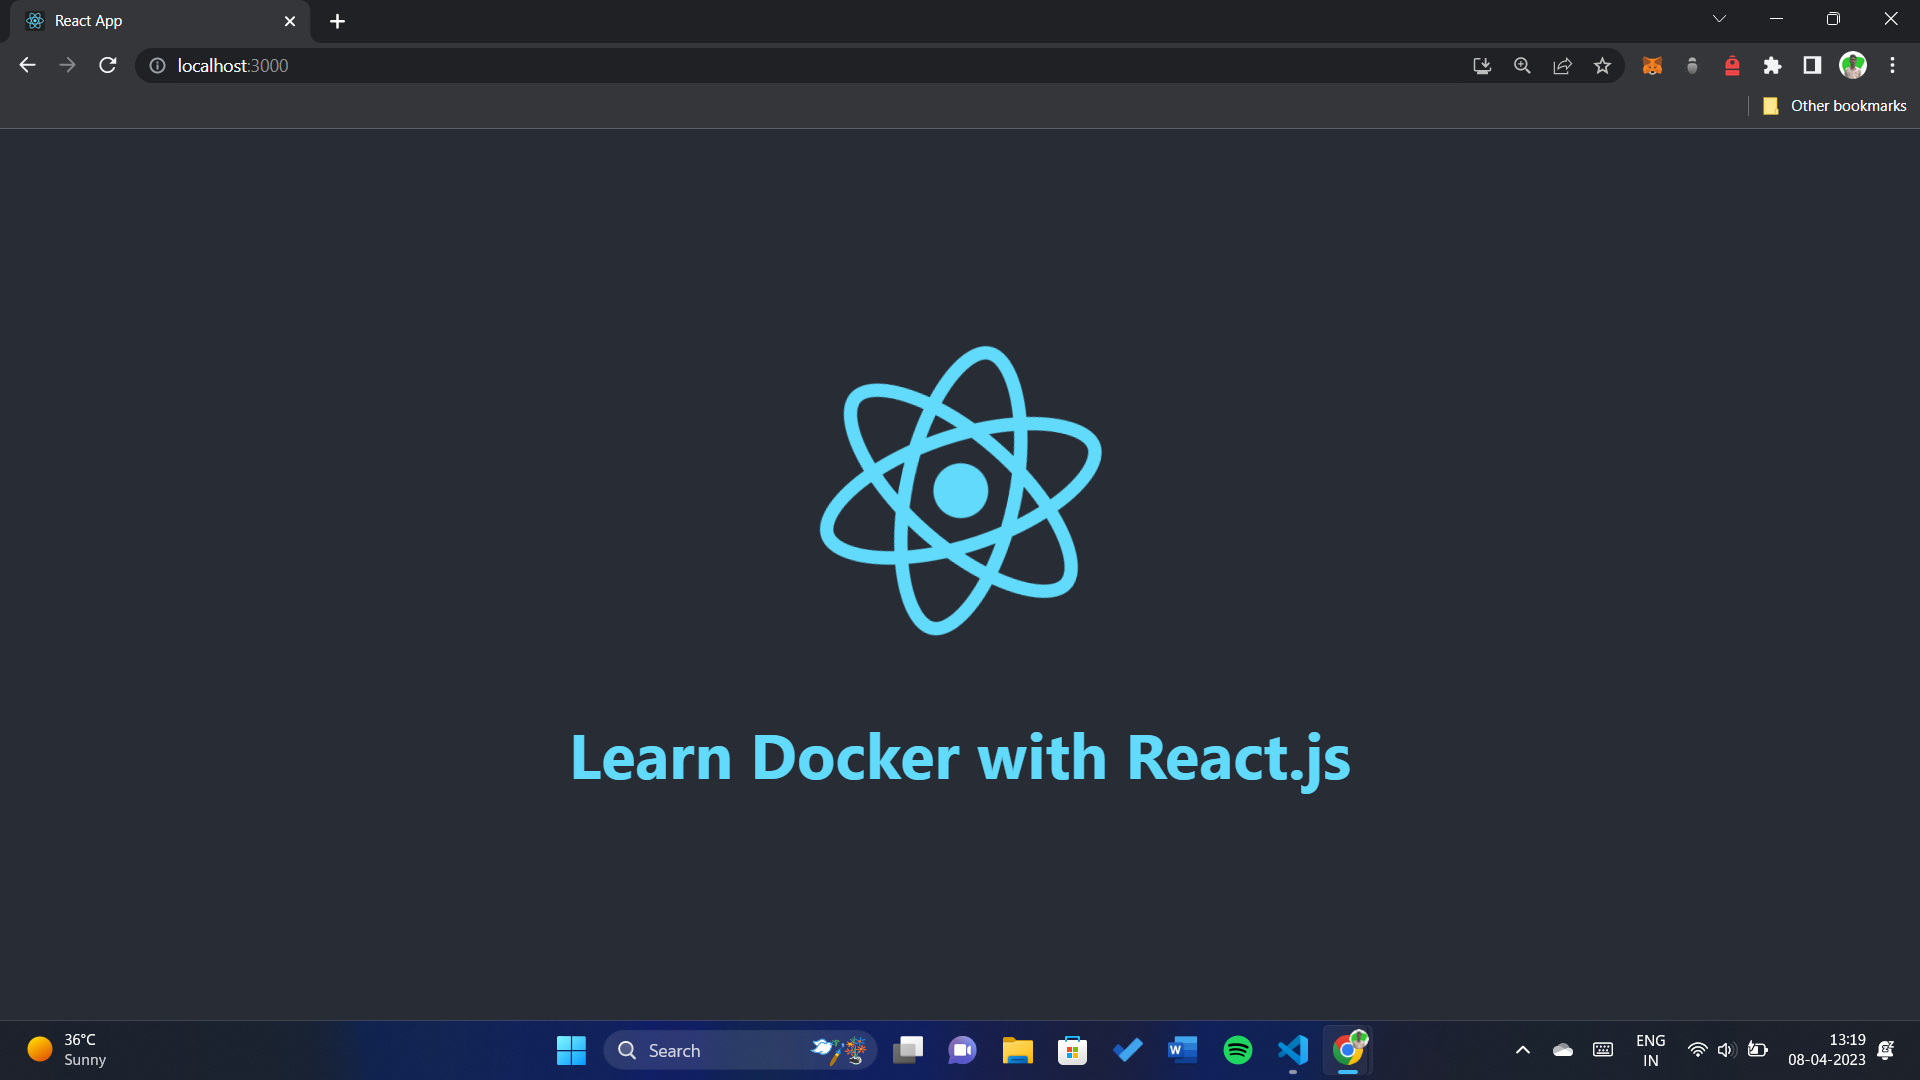
To run this react application execute the below command in your terminal:
```bash
npm run start
```
## **Create a Dockerfile**
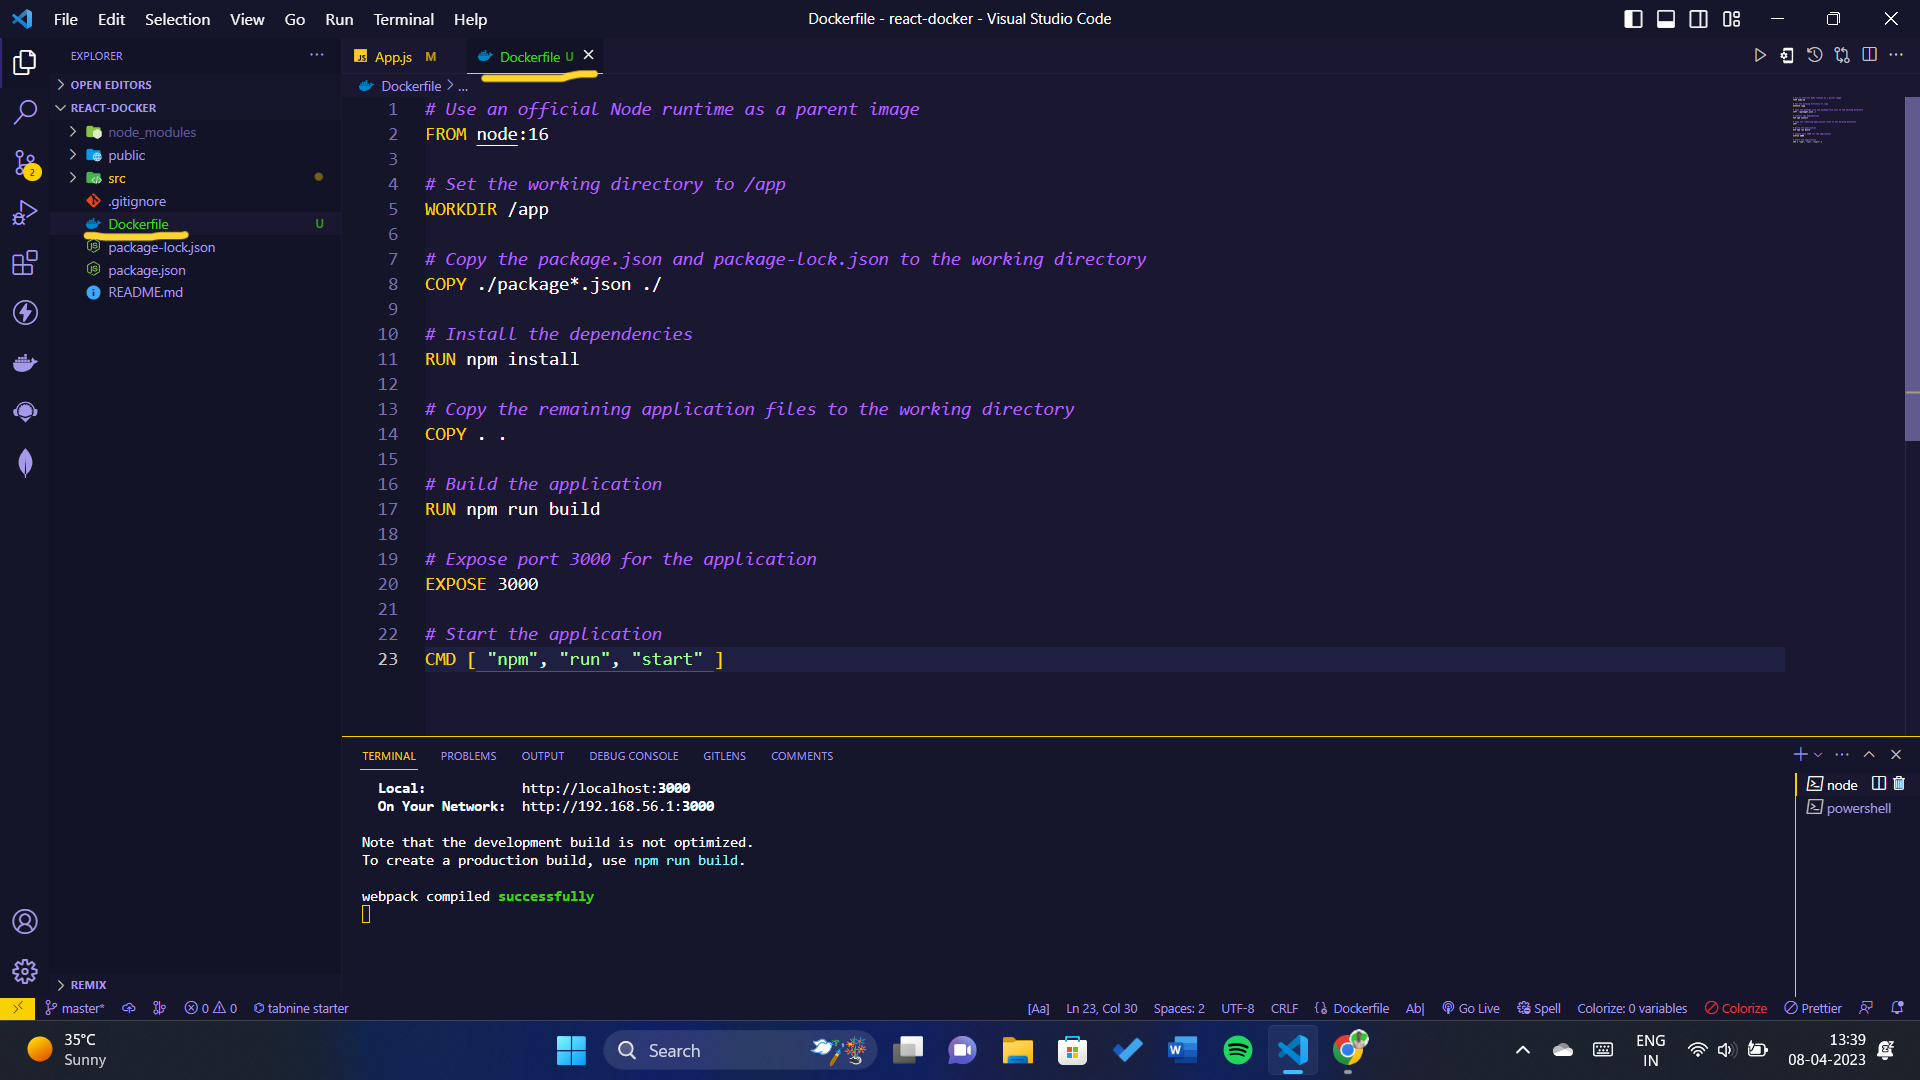
The next step is to create a Dockerfile for our React application. A Dockerfile is a text file that contains instructions for building a Docker image.
In your terminal, navigate to the root directory of your React application and create a new file named `Dockerfile`.
Open the `Dockerfile` in your code editor and add the following contents:
```bash
# Use an official Node runtime as a parent image
FROM node:16
# Set the working directory to /app
WORKDIR /app
# Copy the package.json and package-lock.json to the working directory
COPY ./package*.json ./
# Install the dependencies
RUN npm install
# Copy the remaining application files to the working directory
COPY . .
# Build the application
RUN npm run build
# Expose port 3000 for the application
EXPOSE 3000
# Start the application
CMD [ "npm", "run", "start" ]
```
## Building a Docker Image
Now that we have a Dockerfile for our React application, we can build a Docker image.
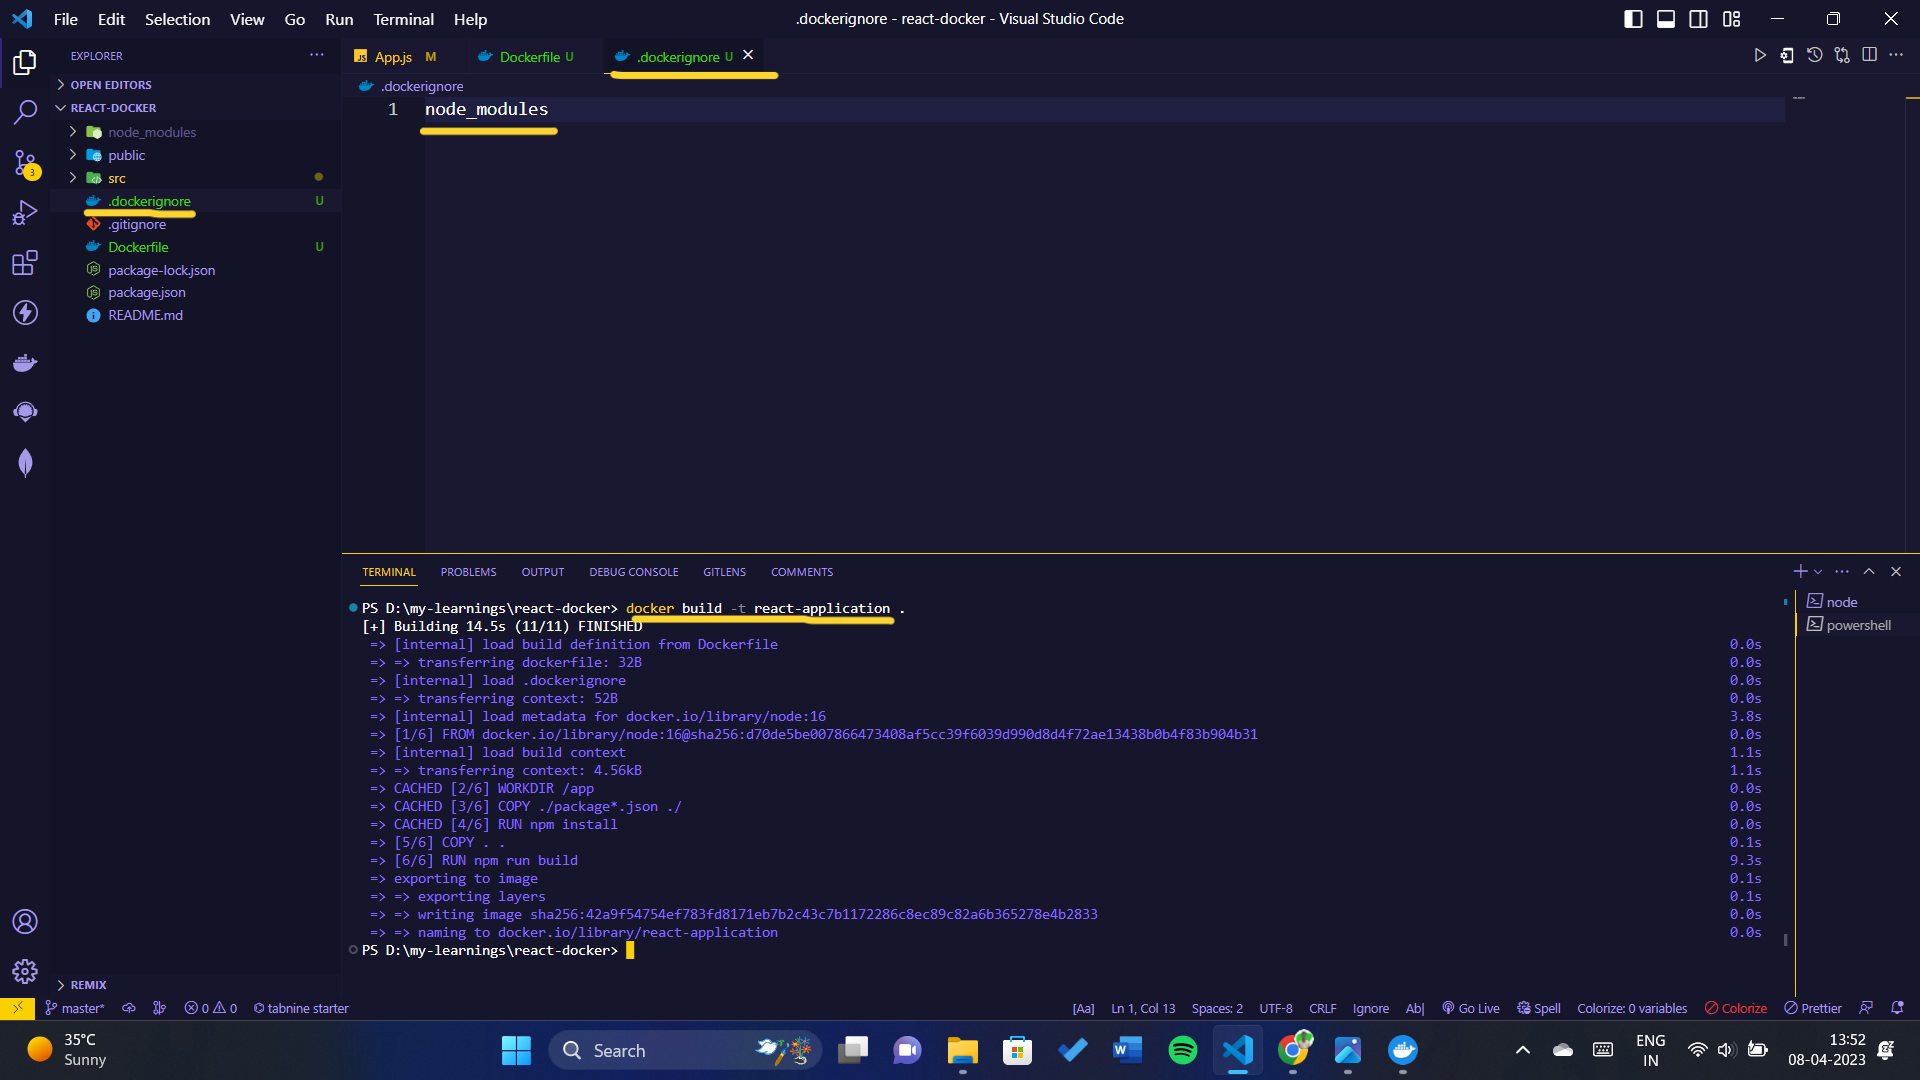
Create a new file named `.dockerignore` in the root directory of your React application and add the following line:
```bash
node_modules
```
In your terminal, navigate to the root directory of your React application and run the following command:
```bash
docker build -t react-application .
```
This command builds a Docker image with the tag `react-application` using the `.` to specify the build context as the current directory.
The build process may take a few minutes to complete, depending on the size of your application and the speed of your internet connection.
Once the build is complete, you should see a message indicating that the image was successfully built.
You can see image by doing this:

## Running the Docker Container
Now that we have a Docker image for our React application, we can run a Docker container.
In your terminal, run the following command to start a Docker container based on the image we just built:
```bash
docker run -d -p 3000:3000 react-application
```
This command starts a Docker container and maps port 3000 from the container to port 3000 on your local machine. The `react-application` parameter specifies the name of the Docker image that we want to run.
With the `-d` flag, the command returns the ID of the container once it's started.
You can also use the `docker ps` command to see a list of running containers, including the ID of the container running your React application.

Once the container is running, you should be able to view your React application by navigating to [`http://localhost:3000`](http://localhost:3000) in your web browser.
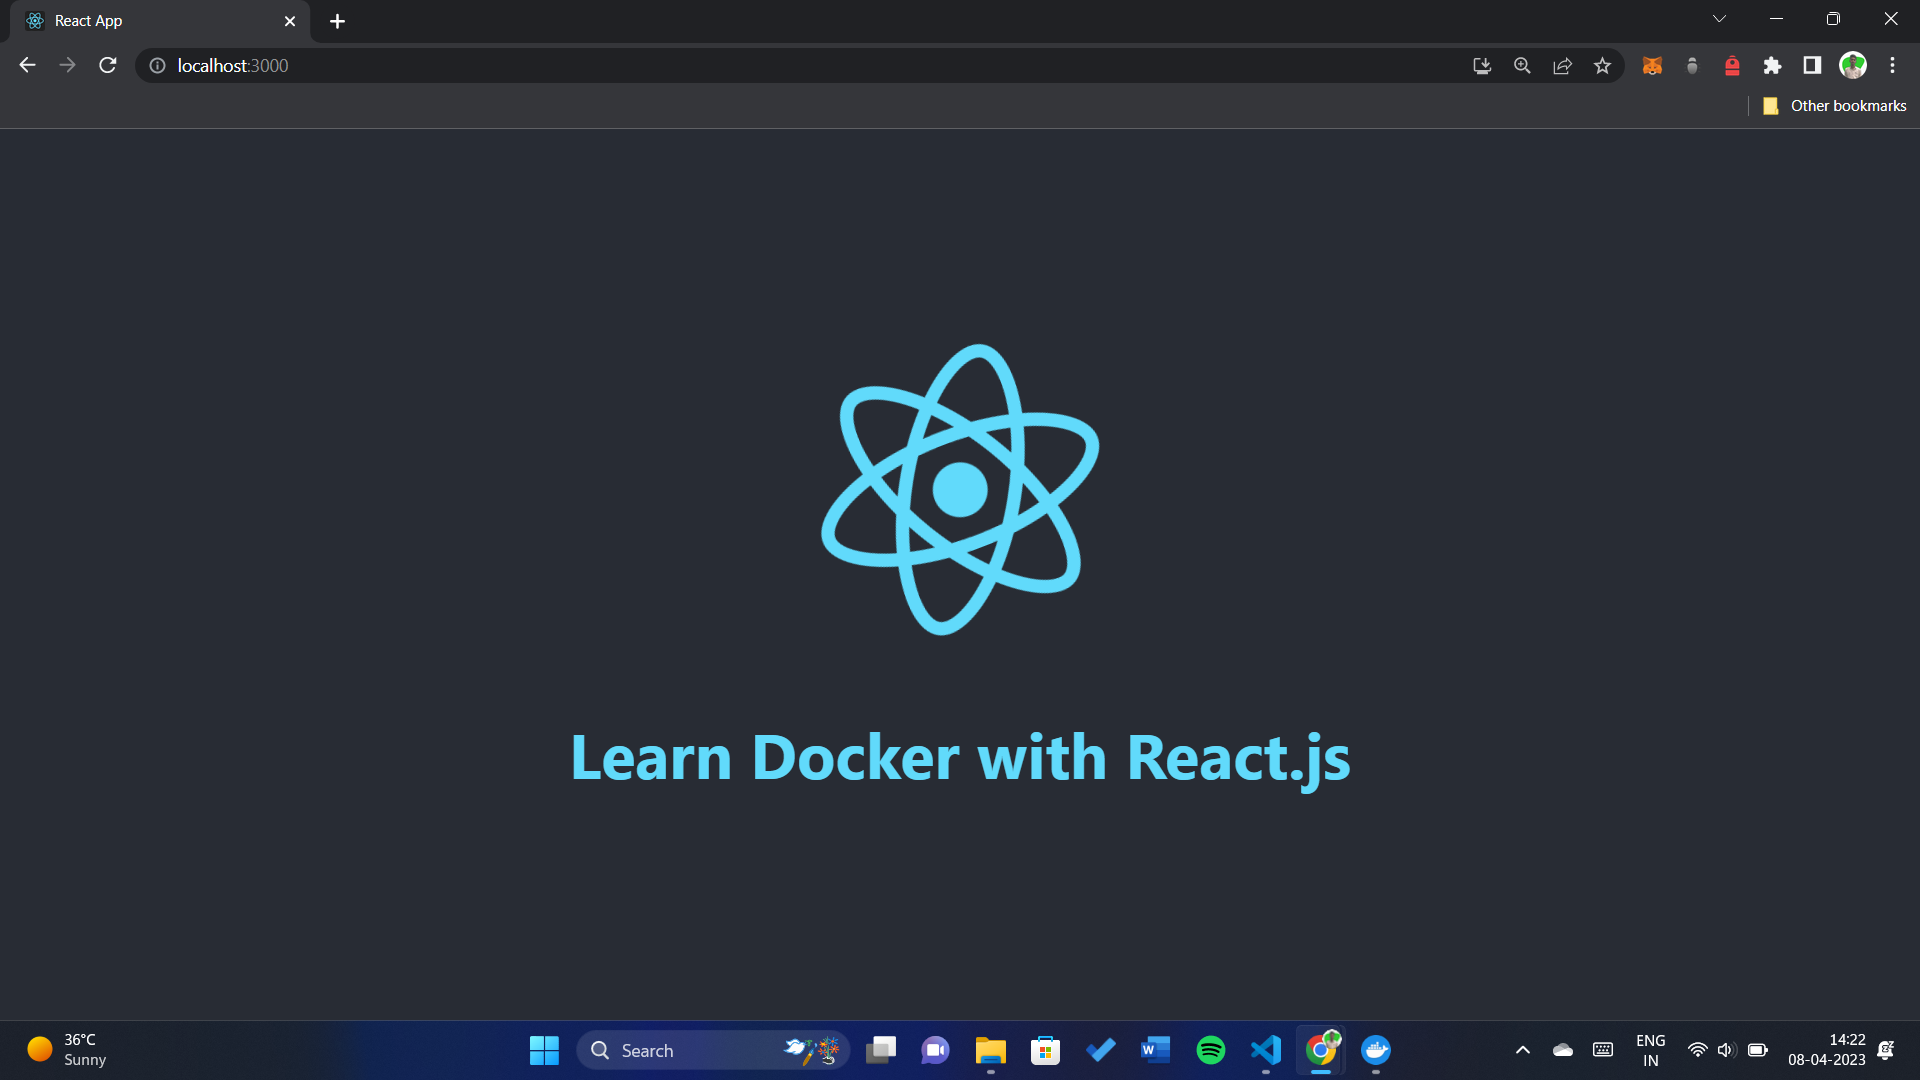
Congratulations! You have now successfully deployed your React web application with Docker.
To stop the container, you can use the `docker stop` command followed by the container ID
```bash
docker stop
docker stop 004e442ec862
```
## Pushing the Docker Image to a Registry
If you want to share your Docker image with others or deploy it to a production environment, you can push it to a Docker registry such as Docker Hub or Amazon ECR.
Here's how to push your Docker image to Docker Hub:
1. First, make sure you have a Docker Hub account. If you don't have one, you can sign up for free at [**https://hub.docker.com/signup**](https://hub.docker.com/signup).
2. Log in to Docker Hub using the `docker login` command in your terminal:
```bash
docker login
```
3. Enter your Docker Hub username and password when prompted.

4. Tag your Docker image with your Docker Hub username and the name of the repository that you want to push the image to:
```bash
docker tag my-app /
```
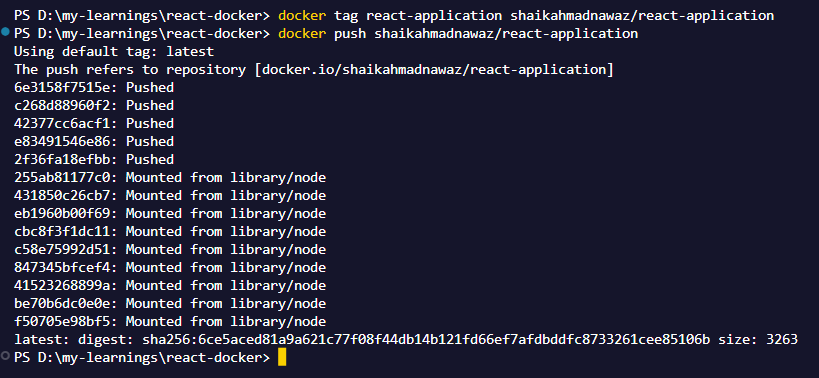
5. Push your Docker image to Docker Hub using the `docker push` command:
```bash
docker push /
```
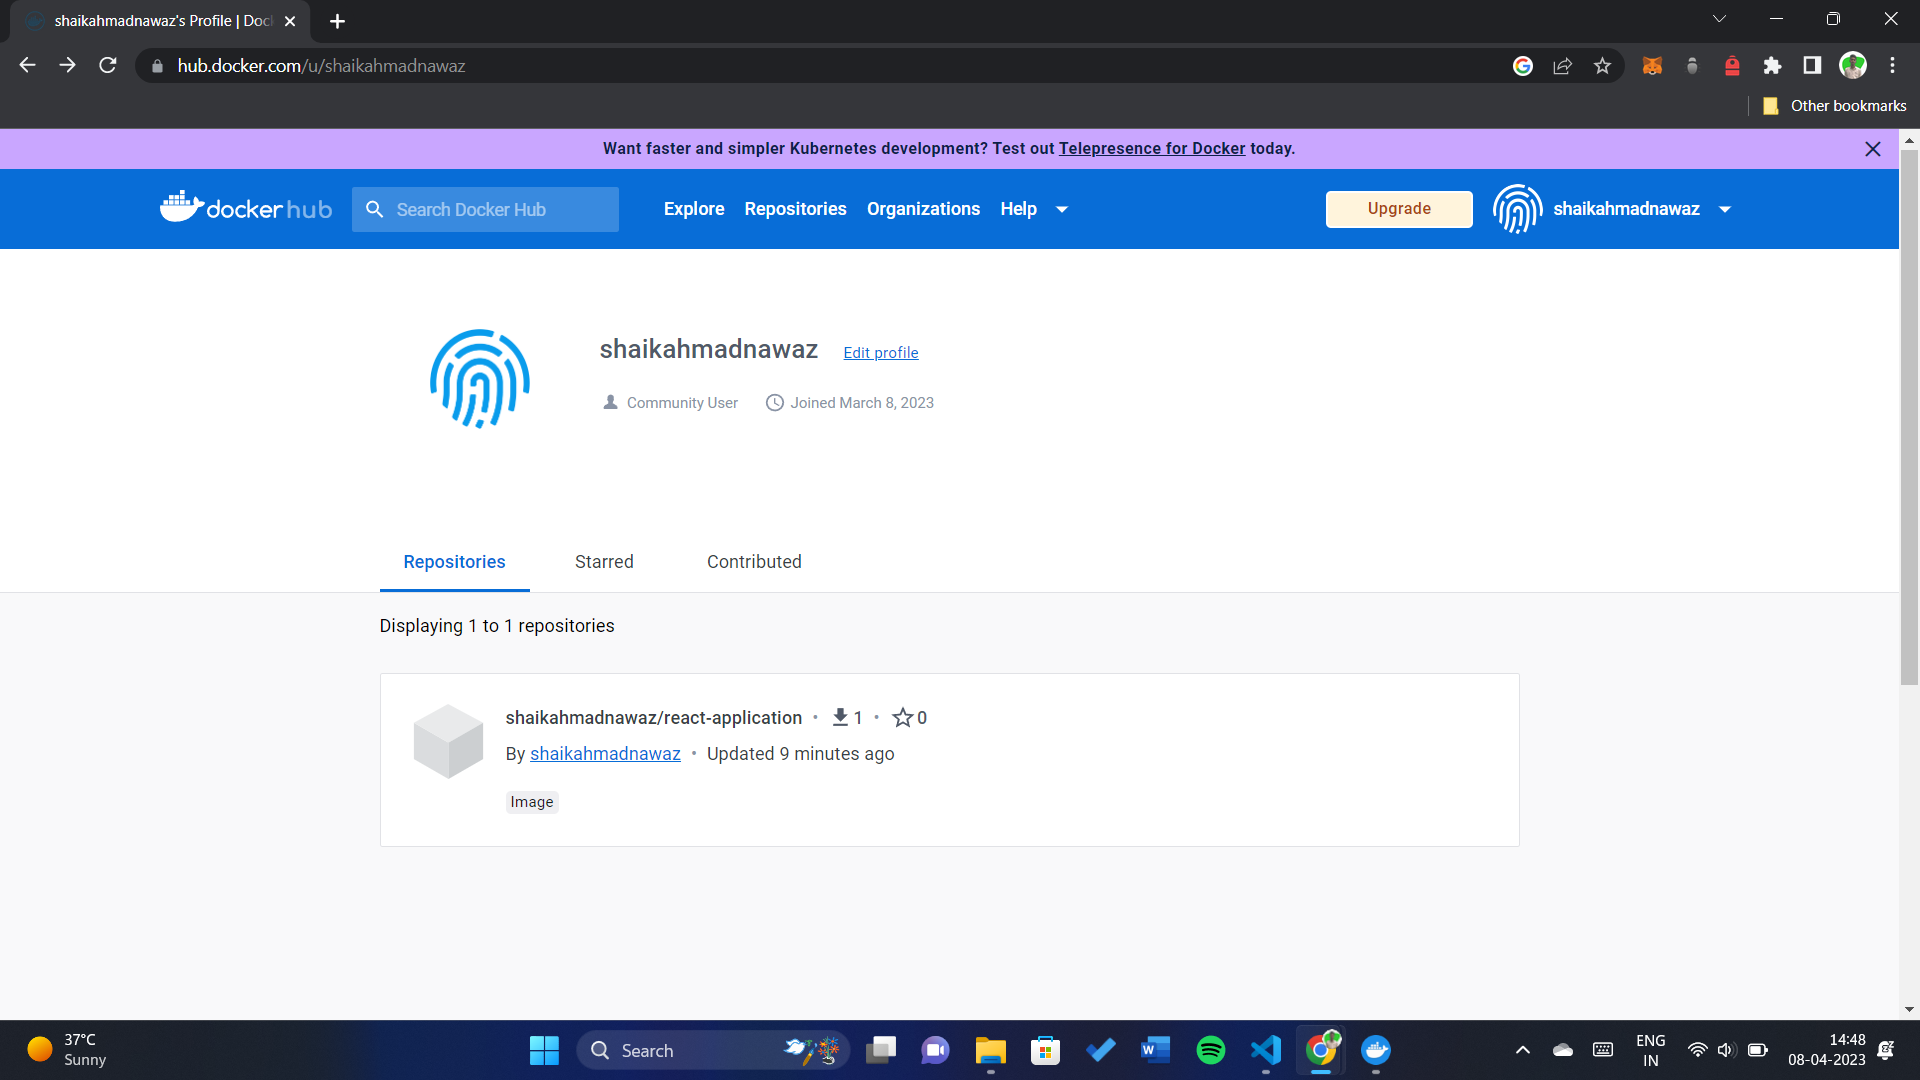
This command uploads your Docker image to Docker Hub, making it available for others to pull and use.
## Pulling and Running the Docker Image
To pull the Docker image that you pushed to a registry, you can use the `docker pull` command followed by the name of the repository and tag:
```bash
docker pull /:
docker pull shaikahmadnawaz/react-application
```
Once the Docker image is downloaded, you can run it using the `docker run` command as we did earlier.
```bash
docker run -d -p 3000:3000 /:
docker run -d -p 3000:3000 shaikahmadnawaz/react-application:latest
```
This will start a new Docker container based on the image you just pulled from the registry. You can access your React application by navigating to [`http://localhost:3000`](http://localhost:3000) in your web browser.
## Conclusion
In this guide, we have learned how to deploy a React web application with Docker. We started by creating a Dockerfile to package our application code and dependencies into a Docker image. Then, we built and ran the Docker container to verify that our application is running correctly.
We also covered how to bind the container port to the host port to make the application accessible from the outside. We discussed how to run the container in detached mode and how to push the Docker image to a registry like Docker Hub.
By following this guide, you can easily package and deploy your React application with Docker, making it easier to share and deploy to different environments.
By following the steps in this guide, you now have a solid understanding of how to deploy a React web application with Docker. We hope this guide has been helpful to you and that you are now ready to start deploying your own React applications with Docker. If you have any questions or feedback, feel free to leave a comment below. Happy deploying!
[Docker Repository](https://hub.docker.com/r/shaikahmadnawaz/react-application)