https://github.com/sohaamir/brainslicer
A tool for slicing and upscaling T1-anatomical NIFTIs
https://github.com/sohaamir/brainslicer
anatomical-mri artificial-intelligence generative-adversarial-network neuroimaging upscaling
Last synced: 4 months ago
JSON representation
A tool for slicing and upscaling T1-anatomical NIFTIs
- Host: GitHub
- URL: https://github.com/sohaamir/brainslicer
- Owner: sohaamir
- License: mit
- Created: 2024-02-19T16:42:31.000Z (over 1 year ago)
- Default Branch: main
- Last Pushed: 2024-04-04T13:52:27.000Z (over 1 year ago)
- Last Synced: 2025-01-18T11:16:16.284Z (6 months ago)
- Topics: anatomical-mri, artificial-intelligence, generative-adversarial-network, neuroimaging, upscaling
- Language: Jupyter Notebook
- Homepage: https://sohaamir.github.io/brainslicer
- Size: 193 MB
- Stars: 0
- Watchers: 1
- Forks: 0
- Open Issues: 0
-
Metadata Files:
- Readme: README.md
- License: LICENSE
Awesome Lists containing this project
README
# brainslicer

`brainslicer` is a Python package for creating images (slices) from T1-anatomical NIFTIs using the command line.
It provides the following features:
* Slice Selection: Display slices from axial, sagittal, or coronal planes.
* Brightness and Contrast Control: Fine-tune image appearance for better visualization.
* Colourmap Customization: Choose from a variety of colourmaps to highlight different aspects of the image data.
**Installation:**
You can install the package via `pip` by running:
```bash
pip install git+https://github.com/sohaamir/brainslicer.git
```
**Usage:**
Use `brainslicer` by supplying the following arguments:
```bash
brainslicer [-h] file_path slice_number [--plane {axial,sagittal,coronal}] [--brightness BRIGHTNESS] [--contrast CONTRAST] [--colourmap COLOURMAP] [--list-colourmaps]
```
For example:
```bash
brainslicer examples/example.nii 100 --plane sagittal --brightness 1.5 --contrast 1.5 --colourmap viridis
```
For more information and usage examples, use the `-h` or `--help` flags.
options:
```bash
-h, --help show this help message and exit
--plane {axial,sagittal,coronal} Plane of the slice
Required arguments:
file_path Path to the NIFTI file
slice_number Index of the slice
Optional arguments:
--brightness BRIGHTNESS, -b BRIGHTNESS Brightness adjustment factor (default: 1.0)
--contrast CONTRAST, -con CONTRAST Contrast adjustment factor (default: 1.0)
--colourmap COLOURMAP, -cmap COLOURMAP Colourmap to use for displaying the slice (default: 'gray').
--list-colourmaps List all available colourmaps
```
Colourmaps are those supported by `matplotlib.colormap`. See the `matplotlib` [website](https://matplotlib.org/stable/users/explain/colors/colormaps.html) for more information.
## Examples
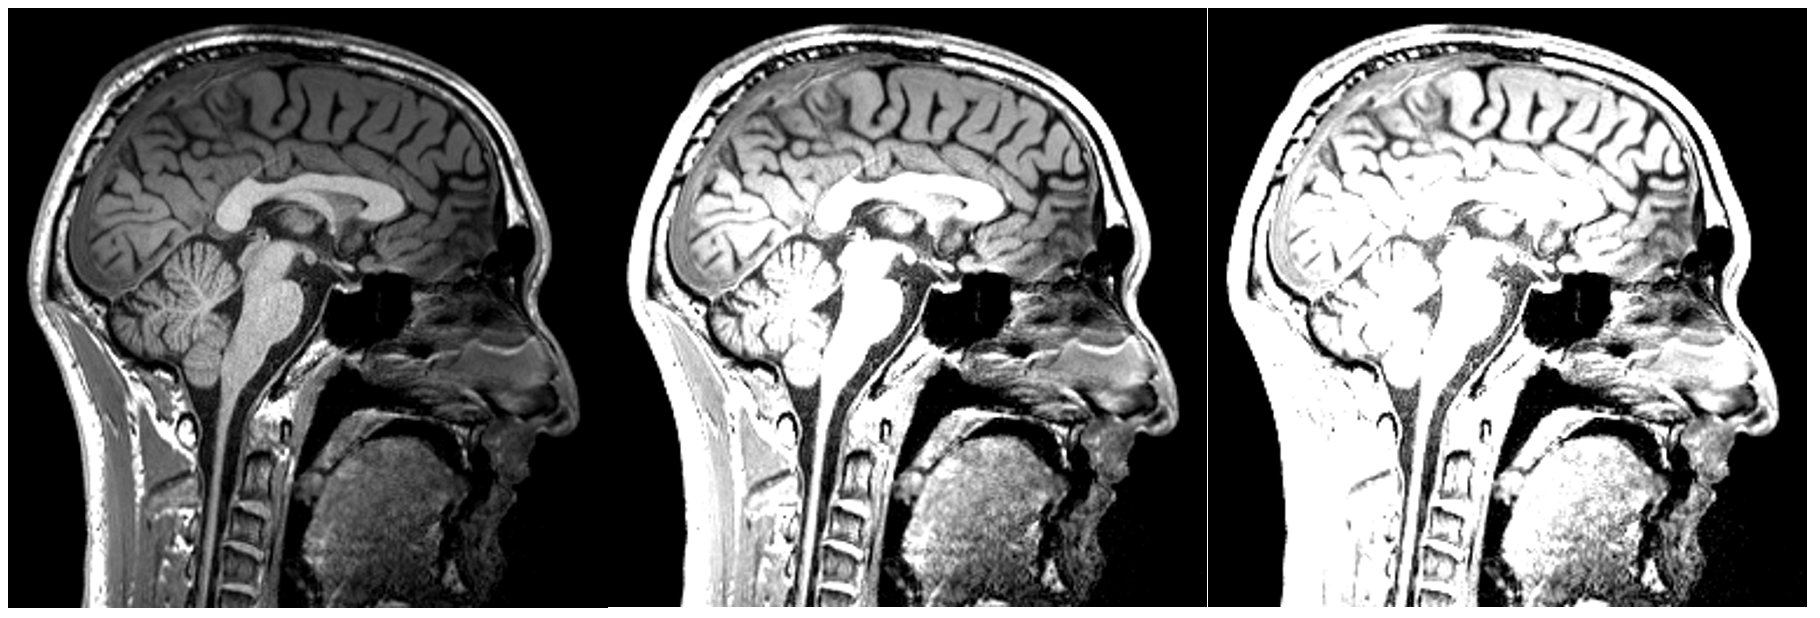
Changing the contrast:

Changing the brightness:
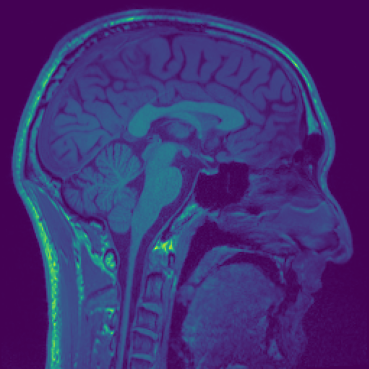
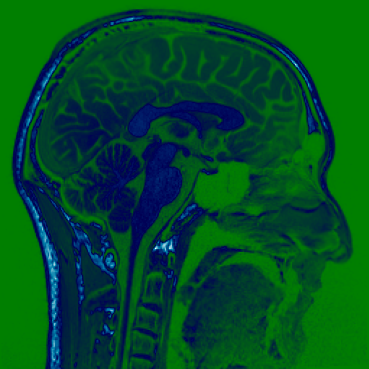
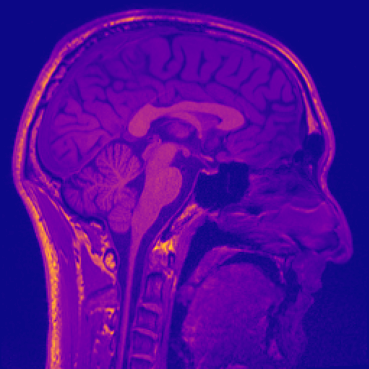
Different colourmaps (viridis, ocean, plasma):
# brainslicer-ESRGAN
[](https://colab.research.google.com/github/sohaamir/brainslicer/blob/main/brainslicer_upscale.ipynb)
[](https://nbviewer.org/github/sohaamir/brainslicer/blob/main/brainslicer_upscale.ipynb)
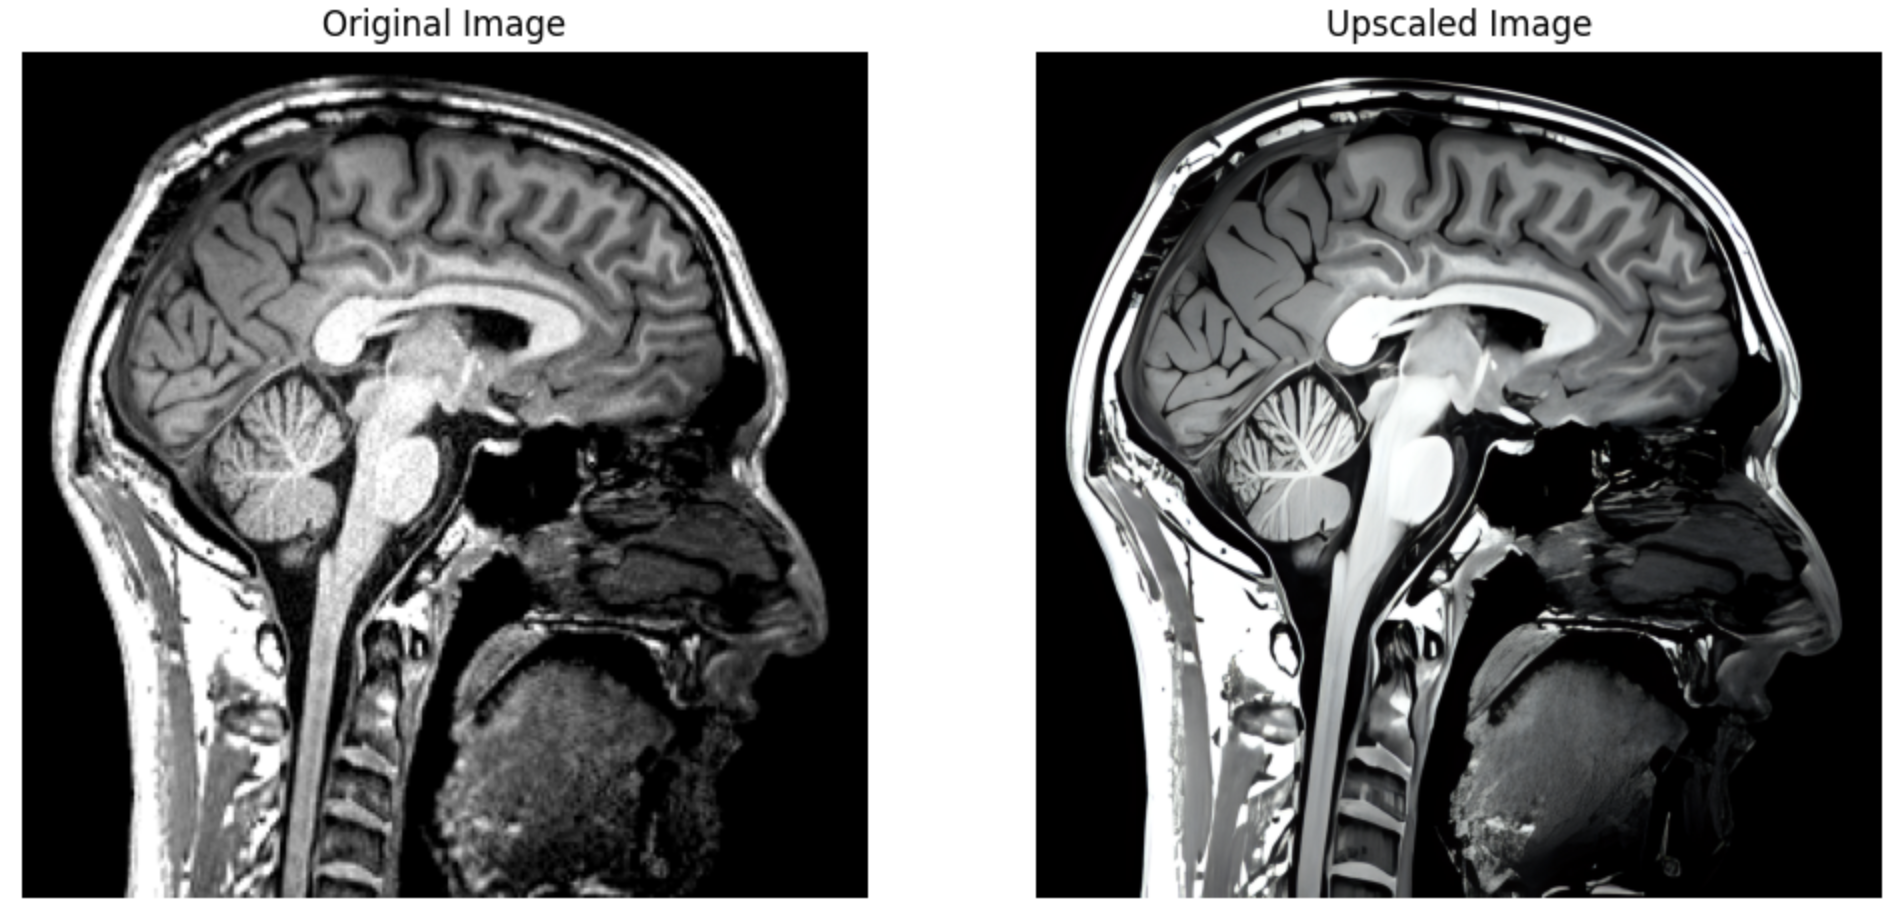
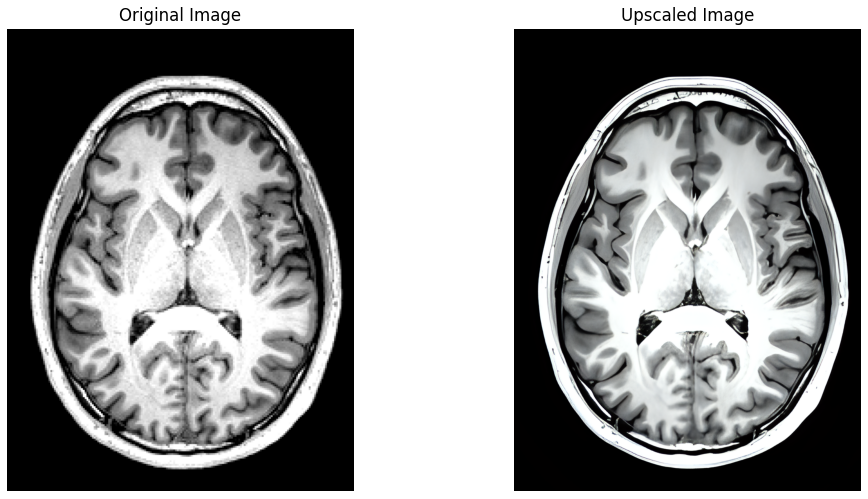
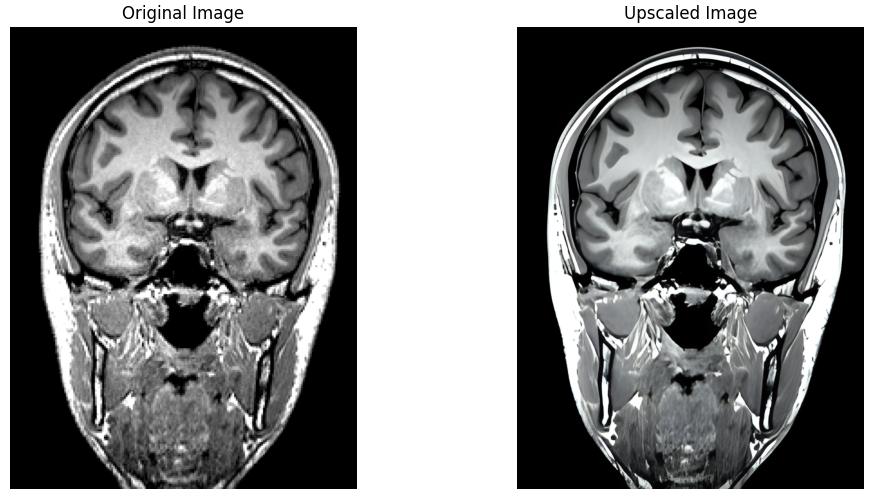
Leveraging the significant advances made recently in upscaling images, `brainslicer-ESRGAN` is an integrated notebook that allows for users to both slice and upscale NIFTIs.
The slices are upscaled using [Real-ESRGAN](https://arxiv.org/abs/2107.10833), a Generative Adversarial Network capable of recovering high resolution from low resolution images.
The key section of the code involves defining a function which takes an image file path and an output directory as input, firstly reading the image, then using the RealESRGAN model to predict the super-resolved (upscaled) version of the image:
```python
import torch
from PIL import Image
import numpy as np
from RealESRGAN import RealESRGAN
device = torch.device('cuda' if torch.cuda.is_available() else 'cpu')
model = RealESRGAN(device, scale=4)
model.load_weights('/content/drive/MyDrive/projects/brainslicer/weights/RealESRGAN_x4.pth')
def upscale_image(image_path, output_dir):
image = Image.open(image_path).convert('RGB')
sr_image = model.predict(image)
# Create output directory if needed
os.makedirs(output_dir, exist_ok=True)
# Save images
base_filename = os.path.splitext(os.path.basename(image_path))[0]
image.save(os.path.join(output_dir, f'{base_filename}_original.png'))
sr_image.save(os.path.join(output_dir, f'{base_filename}_upscaled.png'))
# Display images side-by-side
fig, (ax1, ax2) = plt.subplots(1, 2, figsize=(12, 6))
ax1.imshow(image)
ax1.set_title('Original Image')
ax1.axis('off')
ax2.imshow(sr_image)
ax2.set_title('Upscaled Image')
ax2.axis('off')
plt.show()
```
The complete pipeline with detailed instructions is available in the `Colab` and `Jupyter` notebooks above.
Model weights are available [here](https://drive.google.com/drive/folders/16PlVKhTNkSyWFx52RPb2hXPIQveNGbxS).
## Examples
Sagittal
Axial
Coronal
Credit to [Looka](https://looka.com) for the AI-generated logo.