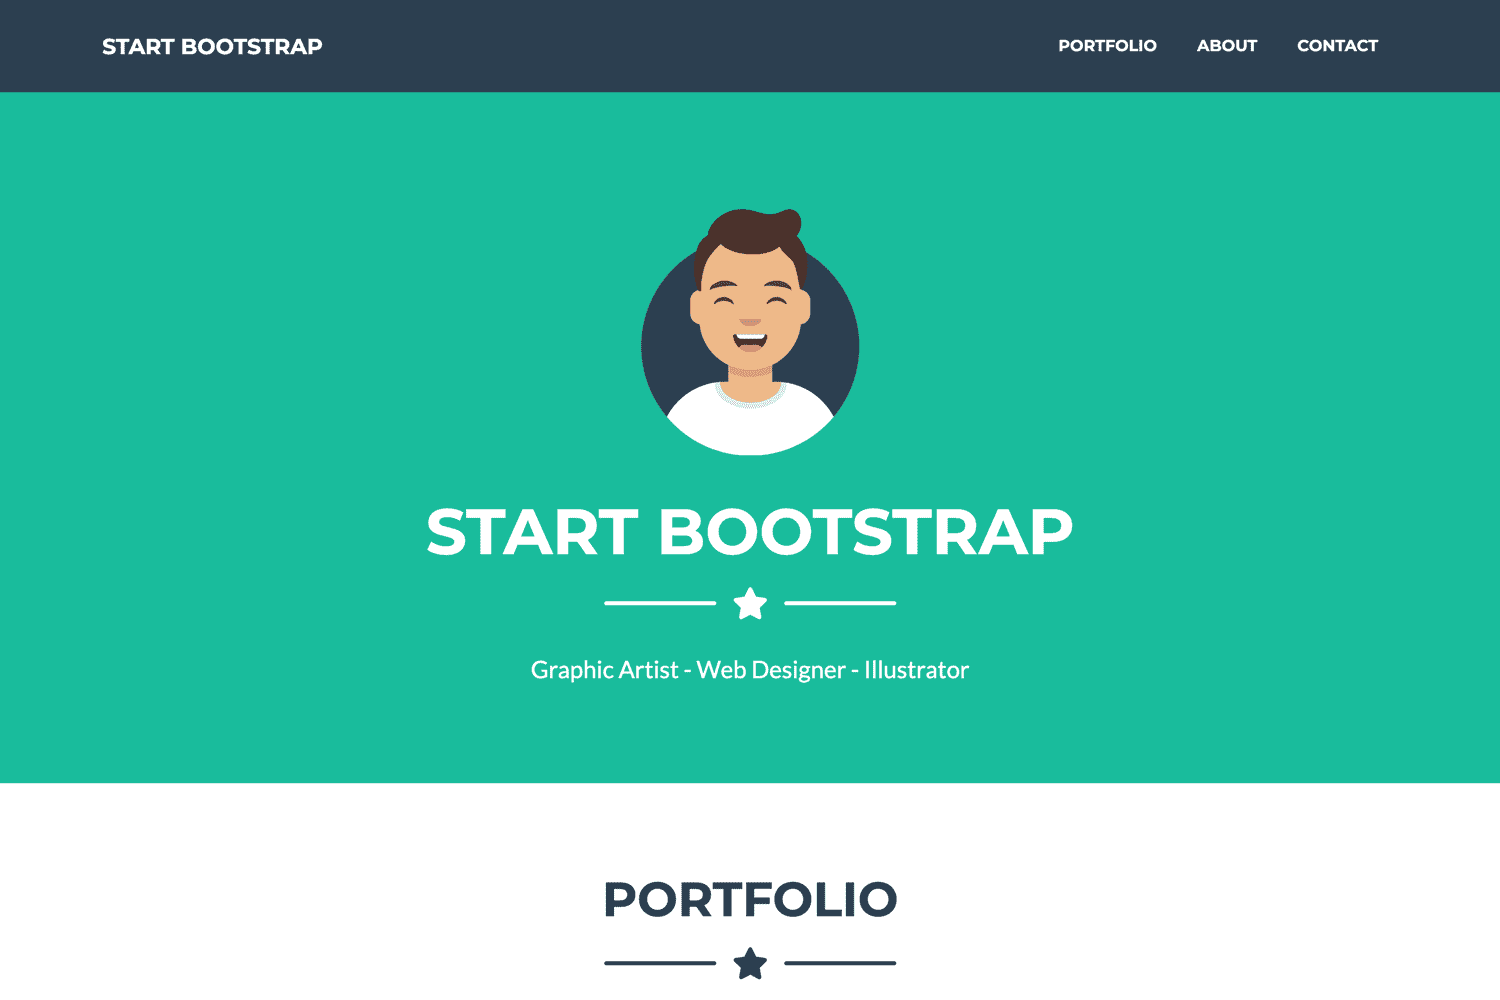
https://github.com/startbootstrap/startbootstrap-freelancer
A flat design, one page, MIT licensed Bootstrap portfolio theme created by Start Bootstrap
https://github.com/startbootstrap/startbootstrap-freelancer
bootstrap bootstrap-4 bootstrap-5 bootstrap-5-template bootstrap-template bootstrap-theme bootstrap4 bootstrap5 bootstrap5-template css free freelancer html open-source theme
Last synced: about 2 months ago
JSON representation
A flat design, one page, MIT licensed Bootstrap portfolio theme created by Start Bootstrap
- Host: GitHub
- URL: https://github.com/startbootstrap/startbootstrap-freelancer
- Owner: StartBootstrap
- License: mit
- Created: 2014-08-12T20:36:12.000Z (over 11 years ago)
- Default Branch: master
- Last Pushed: 2024-03-17T15:50:59.000Z (almost 2 years ago)
- Last Synced: 2025-04-10T02:15:54.003Z (10 months ago)
- Topics: bootstrap, bootstrap-4, bootstrap-5, bootstrap-5-template, bootstrap-template, bootstrap-theme, bootstrap4, bootstrap5, bootstrap5-template, css, free, freelancer, html, open-source, theme
- Language: Pug
- Homepage: https://startbootstrap.com/theme/freelancer/
- Size: 20.5 MB
- Stars: 2,597
- Watchers: 89
- Forks: 3,492
- Open Issues: 15
-
Metadata Files:
- Readme: README.md
- License: LICENSE
Awesome Lists containing this project
README
# [Start Bootstrap - Freelancer](https://startbootstrap.com/theme/freelancer/)
[Freelancer](https://startbootstrap.com/theme/freelancer/) is a one page, freelancer portfolio theme built with [Bootstrap](https://getbootstrap.com/) created by [Start Bootstrap](https://startbootstrap.com/). This theme features several content sections, a responsive portfolio grid, modal windows for each portfolio item, and a working PHP based contact form.
## Preview
[](https://startbootstrap.github.io/startbootstrap-freelancer/)
**[View Live Preview](https://startbootstrap.github.io/startbootstrap-freelancer/)**
## Status
[](https://raw.githubusercontent.com/StartBootstrap/startbootstrap-freelancer/master/LICENSE)
[](https://www.npmjs.com/package/startbootstrap-freelancer)
## Download and Installation
To begin using this template, choose one of the following options to get started:
- [Download the latest release on Start Bootstrap](https://startbootstrap.com/theme/freelancer/)
- Install using npm: `npm i startbootstrap-freelancer`
- Clone the repo: `git clone https://github.com/StartBootstrap/startbootstrap-freelancer.git`
- [Fork, Clone, or Download on GitHub](https://github.com/StartBootstrap/startbootstrap-freelancer)
## Usage
### Basic Usage
After downloading, simply edit the HTML and CSS files included with `dist` directory. These are the only files you need to worry about, you can ignore everything else! To preview the changes you make to the code, you can open the `index.html` file in your web browser.
### Advanced Usage
Clone the source files of the theme and navigate into the theme's root directory. Run `npm install` and then run `npm start` which will open up a preview of the template in your default browser, watch for changes to core template files, and live reload the browser when changes are saved. You can view the `package.json` file to see which scripts are included.
#### npm Scripts
- `npm run build` builds the project - this builds assets, HTML, JS, and CSS into `dist`
- `npm run build:assets` copies the files in the `src/assets/` directory into `dist`
- `npm run build:pug` compiles the Pug located in the `src/pug/` directory into `dist`
- `npm run build:scripts` brings the `src/js/scripts.js` file into `dist`
- `npm run build:scss` compiles the SCSS files located in the `src/scss/` directory into `dist`
- `npm run clean` deletes the `dist` directory to prepare for rebuilding the project
- `npm run start:debug` runs the project in debug mode
- `npm start` or `npm run start` runs the project, launches a live preview in your default browser, and watches for changes made to files in `src`
You must have npm installed in order to use this build environment.
### Contact Form
The contact form available with this theme is prebuilt to use [SB Forms](https://startbootstrap.com/solution/contact-forms).
SB Forms is a simple form solution for adding functional forms to your theme. Since this theme is prebuilt using our
SB Forms markup, all you need to do is sign up for [SB Forms on Start Bootstrap](https://startbootstrap.com/solution/contact-forms).
After signing up you will need to set the domain name your form will be used on, and you will then see your
access key. Copy this and paste it into the `data-sb-form-api-token='API_TOKEN'` data attribute in place of
`API_TOKEN`. That's it! Your forms will be up and running!
If you aren't using SB Forms, simply delete the custom data attributes from the form, and remove the link above the
closing `