https://github.com/syipmong/discord
https://github.com/syipmong/discord
Last synced: 9 months ago
JSON representation
- Host: GitHub
- URL: https://github.com/syipmong/discord
- Owner: Syipmong
- Created: 2023-04-09T12:17:47.000Z (about 3 years ago)
- Default Branch: main
- Last Pushed: 2023-04-09T12:18:00.000Z (about 3 years ago)
- Last Synced: 2025-03-17T02:18:18.231Z (over 1 year ago)
- Language: TypeScript
- Size: 10.4 MB
- Stars: 2
- Watchers: 1
- Forks: 0
- Open Issues: 0
-
Metadata Files:
- Readme: README.md
Awesome Lists containing this project
README
## Setup
First of all, go to [discord developer dashboard](https://discord.com/developers/applications/) and choose the bot you want to host, go to the bot tab, and click on `Regenerate token`, and then copy the token.
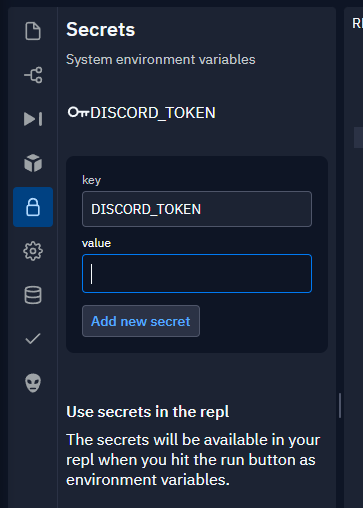
After this, go to the "Lock"-like tab on replit and here, in the `key` enter `DISCORD_TOKEN` and in the `value` field, enter the token you copied from discord developer dashboard.
---
## Configuration
You can modify any kind of configuration in `src/config.ts`. DO NOT change any files in the `dist` directory as they are all generated files and should not be manually edited.
---
## Commands
In the template, the bot has 3 basic commands: -
1. `help`: Shows the list of commands or details of a specific command.
2. `say`: Repeats whatever the users tells it to.
3. `ping`: Checks connectivity with discord servers.
You can edit these commands and/or add more in `src/index.ts`. After creating the command in `src/index.ts`, go to `src/commands.ts` and to the json, add a new entry with the format
```ts
{
...,
'command-name': {
aliases: ['these', 'are', 'optional'],
description: 'This command does xyz...',
format: 'command-name '
}
}
```
Here, `command-name` is the name of your new command, `aliases` is an array of the aliases (other ways to invoke this command). The `description` and `format` are required fields to display the command properly in the help embed.
> **NOTE :** This is solely to add the command to the help embed, this does not affect the working of commands whatsoever, this only adds the command to help embeds.
---
## Hosting
Finally, once you are done writing your bot, first step is to compile it, for this, open the shell on the right hand side and run `npm run build`. This will compile your code and prepare it for running. After this, just press the run button and your bot is online! 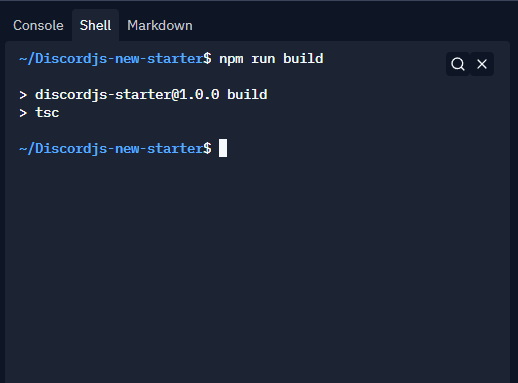
You can also turn on `Always On` to further improve your hosting experience.