https://github.com/sylvaticus/juliamlcourse
Introduction to Scientific Programming and Machine Learning with Julia
https://github.com/sylvaticus/juliamlcourse
Last synced: 5 months ago
JSON representation
Introduction to Scientific Programming and Machine Learning with Julia
- Host: GitHub
- URL: https://github.com/sylvaticus/juliamlcourse
- Owner: sylvaticus
- License: unlicense
- Created: 2021-11-17T10:44:51.000Z (over 4 years ago)
- Default Branch: main
- Last Pushed: 2021-11-18T13:18:03.000Z (over 4 years ago)
- Last Synced: 2025-05-20T00:11:30.659Z (about 1 year ago)
- Language: Julia
- Size: 58.6 KB
- Stars: 2
- Watchers: 2
- Forks: 0
- Open Issues: 0
-
Metadata Files:
- Readme: README.md
- License: LICENSE
Awesome Lists containing this project
README
# static-export-template
This is a demo repository containing two Pluto notebooks that are **automatically converted to HTML** by a github action, and published to github pages! 🌝
See the github pages deployment of this repository:
https://juliapluto.github.io/static-export-template/
# How to use the template
### 👉 Step 1
Create a GitHub account, and click on ["Use this template"](https://github.com/JuliaPluto/static-export-template/generate). Choose a new name!

### 👉 Step 2
Click on **Add files**, and then **Upload files**. In the next page, upload your `.jl` notebook files.

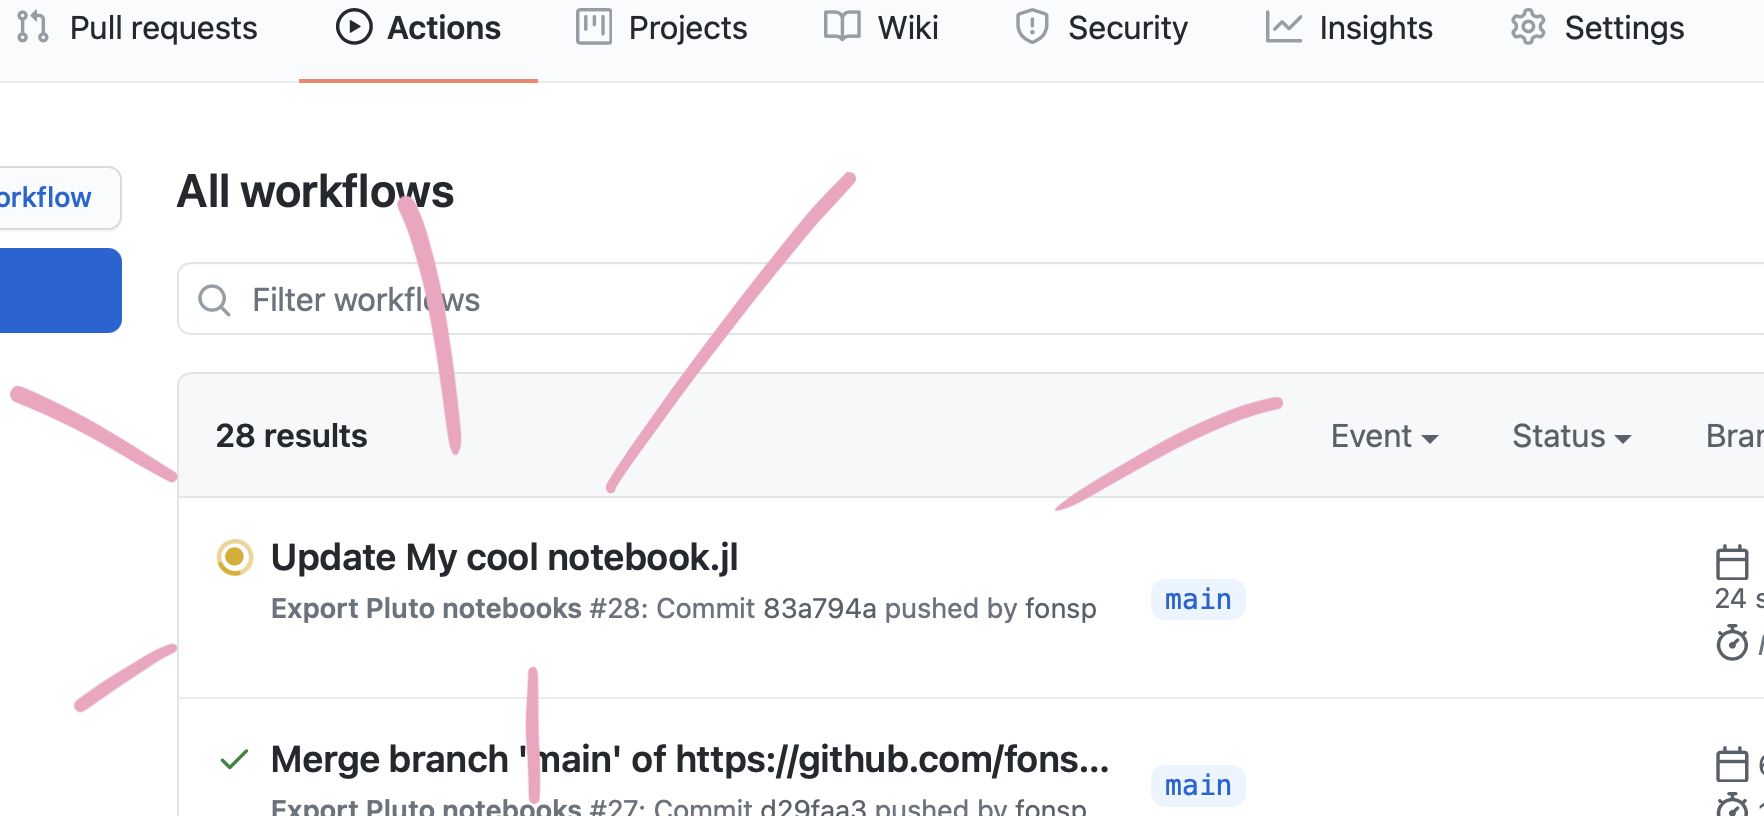
Your notebooks will run on github every time that you update the files in this repository. To check the progress, click on ["Actions"](./actions), you will find the _workflow_ for the last commit.
Wait for the Action to finish running your notebook.
### 👉 Step 3
Go to the ["Settings"](./settings) page of your repository, and scroll down to _"GitHub Pages"_. For the "Source", choose `gh-pages`. Wait a minute for everything to initialize, and the URL to your web page will be shown!

Don't worry if it doesn't work immediately! It can take a while for the web page to be ready, even after your settings page says it's done. (Github pages says 20 minutes, but it can take even longer.)
## Update notebook files
To update an existing notebook file, simply repeat Step 2 above! (You can also use **Add files** `>` **Upload files** to _update_ upload a file that already exists on the repository.)
# Alternative setup: add web pages to an existing repository
If you already have a github repository with some pluto notebooks in it, you may want to add a web view like the one for this repository. In that case, the steps are slightly different. In this case, I assume that you are familiar with adding files to a repository. If not, follow the steps above.
### 👉 Step 1
Make sure that all your Pluto notebooks can be run from a fresh Julia environment. See the tips below about packages.
### 👉 Step 2
From this repository, download [ExportPluto.yaml](./.github/workflows/ExportPluto.yaml).
Save the file in your own repository, in the same location: make a folder `.github` in the main directory, within that a folder `workflows`, and add the file there, with the name `ExportPluto.yaml`. Commit the new file to your repository.
*Note: The yaml file states that github should use the github notebooks in the `main` branch or `master` branch of your repository. If you changed the name of your default branch, or you want to use a different branch, change `main` in [line 5](https://github.com/JuliaPluto/static-export-template/blob/main/.github/workflows/ExportPluto.yaml#L5) in the yaml file to the name of your favourite branch.*
Your notebooks will run on github every time that you update the files in this repository. To check the progress, click on ["Actions"](./actions), you will find the _workflow_ for the last commit.
### 👉 Step 3
Go to the ["Settings"](./settings) page of your repository, and in the left pane, choose the category _"Pages"_. For the "Source", choose `gh-pages`. Wait a minute for everything to initialize, and the URL to your web page will be shown!
Don't worry if it doesn't work immediately! It can take a while for the web page to be ready, even after your settings page says it's done. (Github pages says 20 minutes, but it can take even longer.)
# 💡Tips
### Julia Packages
When your notebook runs on github, no packages are installed. To solve this, you need to **declare a package environment** inside the notebook, using `Pkg`.
For example, instead of:
```julia
using Plots
```
```julia
using PlutoUI
```
You should write:
```julia
begin
import Pkg
# activate a clean environment
Pkg.activate(mktempdir())
Pkg.add([
Pkg.PackageSpec(name="Plots"),
Pkg.PackageSpec(name="PlutoUI"),
# ... keep adding your packages
])
using Plots
using PlutoUI
# ... place all usings and imports into this one cell
end
```
**You can use [this helper tool](https://fonsp.com/article-test-3/pkghelper.html) to generate these commands!**
**Important to note:**
- Place the Pkg commands and the imports in the same cell.
- You can use the same setup when running your notebook locally. Julia will re-use existing package installations, so this will only download and install packages the first time.
_In the future, Pluto will automate this process for you!_ 🙈
### Homepage
If you go to the (GitHub Pages) URL of repository, you will see a small index of the notebooks in this repository. You can customize this page, two options are:
- Create your own `index.html` or `index.md` file, it will be used as the homepage.
- Rename one of your notebooks to `index.jl`, and it will be the default notebook!