Ecosyste.ms: Awesome
An open API service indexing awesome lists of open source software.
https://github.com/thedevdojo/genesis
An Application Starter Kit - Built with Laravel Folio and Volt
https://github.com/thedevdojo/genesis
Last synced: about 2 months ago
JSON representation
An Application Starter Kit - Built with Laravel Folio and Volt
- Host: GitHub
- URL: https://github.com/thedevdojo/genesis
- Owner: thedevdojo
- License: mit
- Created: 2023-07-28T13:49:13.000Z (about 1 year ago)
- Default Branch: main
- Last Pushed: 2024-04-26T13:04:35.000Z (5 months ago)
- Last Synced: 2024-04-26T14:28:23.756Z (5 months ago)
- Language: Blade
- Size: 437 KB
- Stars: 790
- Watchers: 16
- Forks: 59
- Open Issues: 0
-
Metadata Files:
- Readme: README.md
- Changelog: CHANGELOG.md
- Contributing: CONTRIBUTING.md
- License: LICENSE.md
Awesome Lists containing this project
README


## About Genesis
Genesis is a [Laravel](https://laravel.com) Starter Kit that utilizes the [TALL Stack](https://tallstack.dev) as well as single-file [Volt](https://github.com/livewire/volt) and [Folio](https://github.com/laravel/folio) files. This starter kit contains [Authentication](#authentication-pages), [User Dashboard](#dashboard-page), [Edit Profile](#edit-profile-page), and a set of [UI Components](#ui-components).
It will be beneficial to have a good understanding of the following technologies (which Genesis is built upon):
- [TailwindCSS](https://tailwindcss.com)
- [AlpineJS](https://alpinejs.dev)
- [Laravel](https://laravel.com)
- [Livewire](https://livewire.laravel.com)
- [Folio](https://github.com/laravel/folio)
- [Volt](https://github.com/livewire/volt)
Learn how to install and configure Genesis below.
## Installation
This preset is intended to be installed into a fresh [Laravel application](https://laravel.com).
After creating a new Laravel application you can install Genesis with the following commands:
```bash
composer require devdojo/genesis dev-main
php artisan ui genesis
```
> To use the [class-based API](https://livewire.laravel.com/docs/volt#class-based-volt-components), include `--option=class`. Ex. `php artisan ui genesis --option=class`
Next, be sure to compile your assets:
```
npm install && npm run dev
```
> [!IMPORTANT]
> If you used the Laravel installer and chose `sqlite` as your database, the migrations may have already been run. In which case, you're good to go 🎉 Otherwords you'll need to connect a db and run this command 👇
```
php artisan migrate
```
Visit your application homepage and you should be good to go 🤘
## Routes in your application
Currently Genesis creates 11 routes including the homepage, authentication, dashboard view, and a few others. You can see all the routes currently in your application by using the `php artisan folio:list` command:
```bash
GET / ................................................ index.blade.php
GET /about ........................................... about.blade.php
GET /auth/login ................................. auth/login.blade.php
GET /auth/password/confirm ........... auth/password/confirm.blade.php
GET /auth/password/reset ............... auth/password/reset.blade.php
GET /auth/password/{token} ........... auth/password/[token].blade.php
GET /auth/register ........................... auth/register.blade.php
GET /auth/verify ............................... auth/verify.blade.php
GET /dashboard ............................. dashboard/index.blade.php
GET /learn ..................................... learn/index.blade.php
GET /profile/edit ............................. profile/edit.blade.php
Showing [11] routes
```
Let's cover each of the pages provided by Genesis.
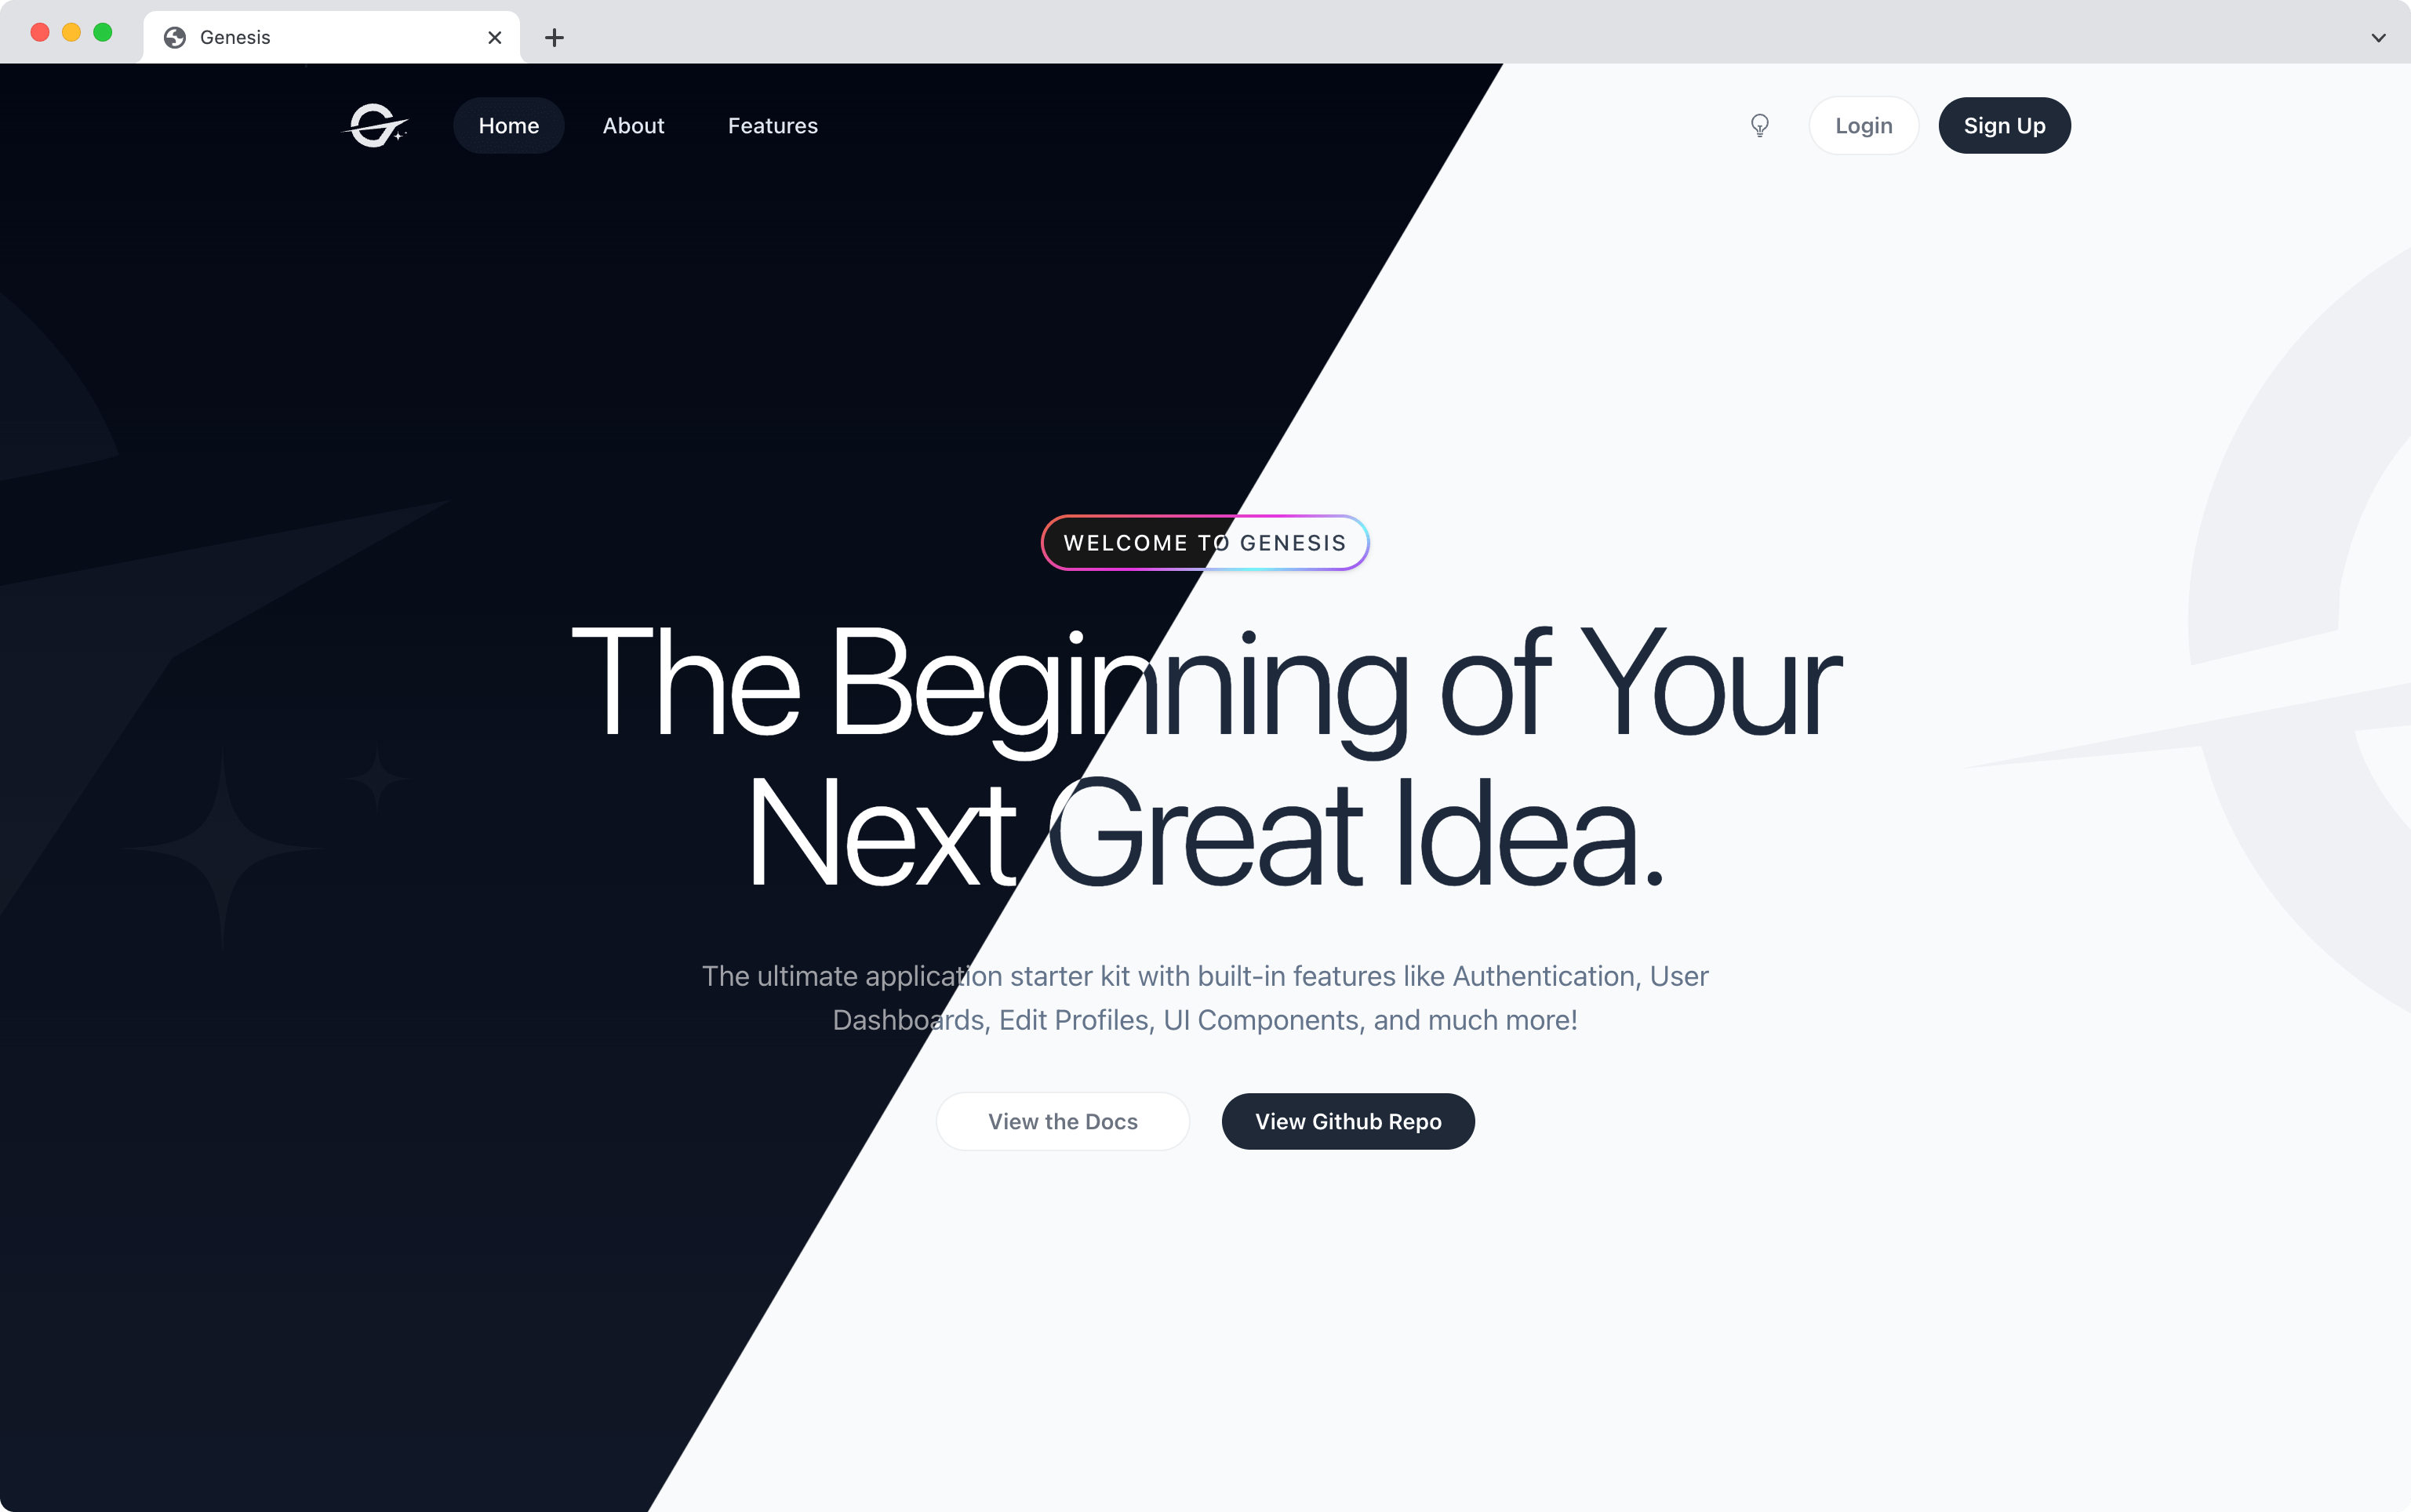
## Home Page
The homepage (screenshot shown above 👆) is located at `resources/views/pages/index.blade.php`. This file as well as all the other pages are utilizing Page-based routing thanks to Folio.
This file contains a middleware `redirect-to-dashboard` which is registered at the top of the file:
```
middleware(['redirect-to-dashboard']);
```
This will redirect an authenticated user to the dashboard when they try and visit the homepage. You can simply remove this line if you do not wish to redirect the authenticated user.
# About Page
This is a simple about page that you can feel free to remove or use in your application. This page also contains the **ui/marketing/breadcrumbs.blade.php** component which can also be used on any other marketing page.
## Authentication Pages
All the authentication files are located inside of the `resources/views/pages/auth` folder. These files are mapped to routes thanks to Folio. Here are the current authentication routes:
1. [login.blade.php](https://github.com/thedevdojo/genesis/wiki/Auth-Login-Page)
2. [register.blade.php](https://github.com/thedevdojo/genesis/wiki/Auth-Register-Page)
3. [verify.blade.php](https://github.com/thedevdojo/genesis/wiki/Auth-Verify-Page)
4. [password/confirm.blade.php](https://github.com/thedevdojo/genesis/wiki/Auth-Confirm-Page)
5. [password/reset.blade.php](https://github.com/thedevdojo/genesis/wiki/Auth-Reset-Page)
6. [password/[token].blade.php](https://github.com/thedevdojo/genesis/wiki/Auth-Token-Page)
## Dashboard Page
The dashboard page is very minimal which makes it very easy for you to customize. You'll notice that this page has the following middleware:
```
middleware(['auth', 'verified']);
```
You will probably want to add this middleware to many of your application pages where you want to make sure that the user is authenticated and verified.
## Edit Profile Page
The edit profile page is located at `resources/views/profile/edit`, and it can also be loaded by visiting `url.com/profile/edit`. This file contains the same middleware as the dashboard page, which means that users must be authenticated and verified before visiting.
This page has three different sections
1. Update profile section where users can update the name and email in their profile.
2. Update password section where users can update their password.
3. Delete profile section where users can delete their profile.
To learn more about this file, visit the documentation in the [Wiki here](https://github.com/thedevdojo/genesis/wiki/Profile-Edit-Page).
## Learn Page
This page displays the Genesis Readme file. It simply fetches the README.md file that you are reading right now and displays it in the dashboard.
## Layouts
Within Genesis there are three layouts, located inside of `resources/views/components/layouts`:
1. **app.blade.php** - This is the layout for any pages inside associated with your application (user must be authenticated)
2. **marketing.blade.php** - This is the layout used for pages like your homepage, blog, and any other marketing pages.
3. **main.blade.php** - This is the layout that contains the main HTML structure of your website. Both the **app** and **marketing** template inherit from this main template.
You can use these layouts as follows:
```html
```
> There may be times when you want to use the **Main Layout** for a page. These might be use-cases where you don't need the **app** or **marketing** header/footer content. For instance, the **auth** pages inherit the **main** layout
## UI Components
We are also providing a handful of Blade Components that you can use in your new application which are located inside of `resources/views/components/ui`. These components include:
- **button**
- **checkbox**
- **input**
- **light-dark-switch**
- **link**
- **logo**
- **modal**
- **nav-link**
- **placeholder**
- **select**
- **text-link**
There are also two folders inside the UI components which include **app** and **marketing**. Each of which correspond to the available **app** and **marketing** layout. Here are the components available in those folders:
-- **app.header**
-- **marketing.header**
-- **marketing.breadcrumbs**
All these components are pretty self-explanatory; however, you may want to look into how each one works so that way you can get the most out of it.
> Updating the logo throughout your application is as easy as updating the **logo.blade.php** component with your logo SVG or image.
### Testing
Genesis has some basic tests to test out the authentication functionality. You can check those tests by running the following command:
```bash
./vendor/bin/pest
```
Every test inside the `tests/Feature` folder has a test file that corresponds to each page in the `resources/views/pages` folder.
## Troubleshooting
There may be times where you'll see Line numbers printed out in the view causing a weird layout and output. You'll want to run `php artisan view:clear`. This is probably due to the fact that Folio and Volt are still in Beta 😉
#### NPM errors
If you are seeing an error on http://localhost:5173 try:
```bash
npm upgrade
```
#### Laravel installer issues.
APP_URL will be set differently according to how you install laravel. Some might use the laravel installer some may use composer. Vite will is serving on http://localhost:5173 while other parts of the app are using http://[::1]:5173.
For best results try this:
```bash
composer create-project --prefer-dist laravel/laravel genesis-app
```
then change your APP_URL in your .env:
```.env
APP_URL=http://127.0.0.1:8000
```
then start the npm server and laravel servers:
```bash
npm run dev
```
```
php artisan serve
```
## Credits
- [Tony Lea](https://twitter.com/tnylea)
- [TALL Stack](https://tallstack.dev)
- [TALL Stack Preset](https://github.com/laravel-frontend-presets/tall)
- [Laravel Breeze](https://github.com/laravel/breeze)
- [Laravel Package Boilerplate](https://laravelpackageboilerplate.com)
## License
The MIT License (MIT). Please see [License File](LICENSE.md) for more information.