Ecosyste.ms: Awesome
An open API service indexing awesome lists of open source software.
https://github.com/timrogers/formanator
Submit Forma (https://joinforma.com) claims from the command line 🤖
https://github.com/timrogers/formanator
cli forma
Last synced: 24 days ago
JSON representation
Submit Forma (https://joinforma.com) claims from the command line 🤖
- Host: GitHub
- URL: https://github.com/timrogers/formanator
- Owner: timrogers
- License: mit
- Created: 2023-07-29T17:19:43.000Z (over 1 year ago)
- Default Branch: main
- Last Pushed: 2024-10-09T22:58:28.000Z (about 1 month ago)
- Last Synced: 2024-10-14T13:15:42.756Z (about 1 month ago)
- Topics: cli, forma
- Language: TypeScript
- Homepage:
- Size: 634 KB
- Stars: 19
- Watchers: 2
- Forks: 3
- Open Issues: 4
-
Metadata Files:
- Readme: README.md
- Funding: .github/FUNDING.yml
- License: LICENSE.md
Awesome Lists containing this project
README
# Formanator 🤖
Formanator allows you to submit benefit claims to [Forma](https://www.joinforma.com/) from the command line, either one-by-one or in bulk.

## Installation
To install Formanator, make sure you have [Node.js](https://nodejs.org/en) installed, and then just run:
```bash
npm install -g formanator
```
## Usage
### Connecting to your Forma account
To get started, you'll need to connect Formanator to your Forma account. Here's how the process works:
1. Run `formanator login`.
2. At the prompt, enter your email address, then hit Enter.
3. You'll be sent an email with a magic link. Go to your inbox and copy the link to your clipboard.
4. At the prompt, paste your magic link, then hit Enter.
5. You'll be logged in 🥳
To remember your login, Formanator stores a `.formanator.json` file in your home directory with your access token.
### Configuring OpenAI for inferring the benefit and category
When submitting a claim, you need to specify a benefit and category for your claim. You can either decide that yourself, or you can have OpenAI do it for you, for a cost of about $0.001 (a tenth of a cent! 🪙) per claim 🧠
If you want to use OpenAI to infer the benefit and category, you'll need to set it up.
1. Set up an OpenAI account and make sure you either (a) have free trial credit available or (b) have set up a payment method. You can check this on the ["Usage"](https://platform.openai.com/account/usage) page.
2. Create an [OpenAI API key](https://platform.openai.com/account/api-keys).
3. Set the API key as the `OPENAI_API_KEY` environment variable, or be prepared to pass the `--openai-api-key` argument to every command.
### Submitting a single claim
1. Figure out what you're planning to claim for.
2. Make sure you're logged in - for more details, see "Connecting to your Forma account" above.
3. If you aren't using OpenAI to infer the benefit and category, you'll need to figure this out yourself. Get a list of your available benefits by running `formanator benefits`. Pick the relevant benefit, and then run `formanator categories --benefit ` to get a list of categories.
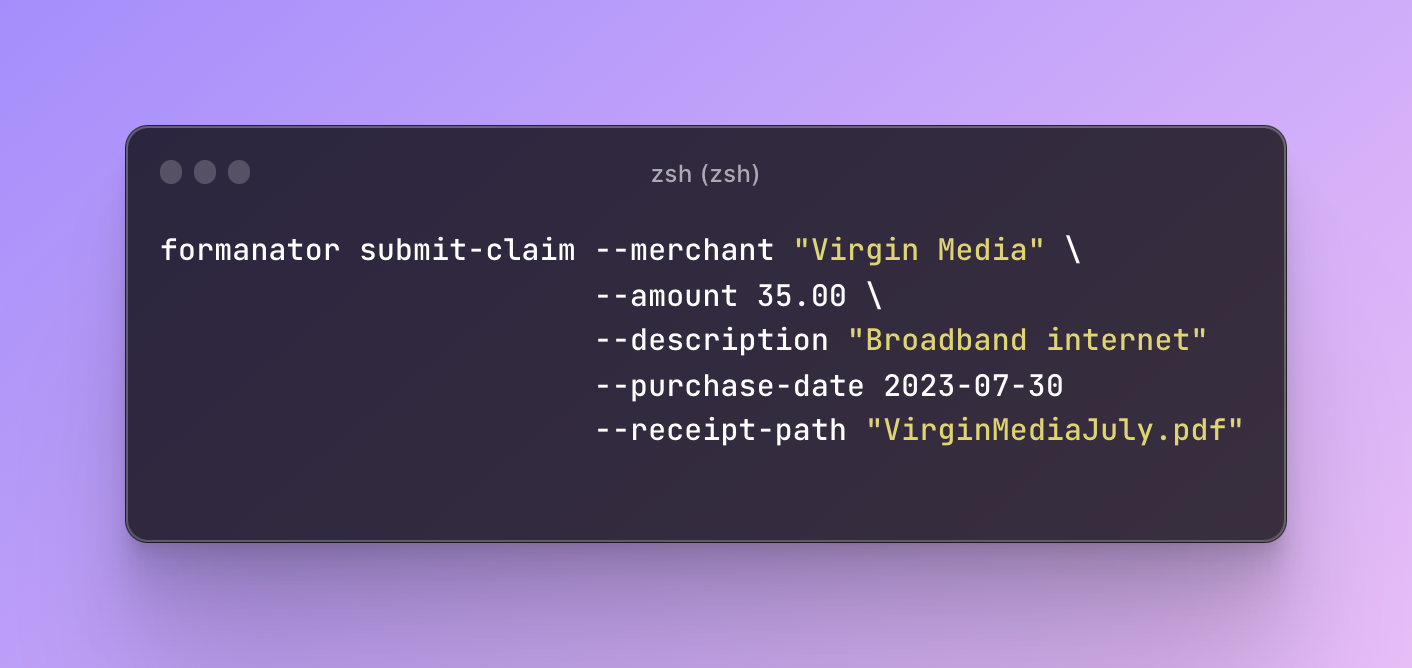
4. Submit your claim by running `formanator submit-claim`. You'll need to pass a bunch of arguments:
```bash
formanator submit-claim --amount 2.28 \
--merchant Amazon \
--description "USB cable" \
--purchase-date 2023-01-15 \
# Optionally, you can attach multiple receipts by specifying this argument multiple times
--receipt-path "USB.pdf" \
# If you haven't configured OpenAI, you'll need to specify the benefit and category
--benefit "Remote Life" \
--category "Cables & Cords"
```
6. If you've configured OpenAI, you'll be given the chance to check the benefit and category it has inferred
7. If you confirm the benefit and category by hitting Enter, your claim will be submitted.
### Submiting multiple claims
You can submit multiple claims at once by generating a template CSV, filling it in, then submitting the whole CSV.
1. Make sure you're logged in - for more details, see "Connecting to your Forma account" above.
2. Run `formanator generate-template-csv` to generate a CSV template. By default, the template will be saved as `claims.csv`. Optionally, you can specify the `--output-path` argument to choose where to save the template.
3. If you aren't using OpenAI to infer the benefit and category for each claim, you'll need to figure this out yourself. Get a list of your available benefits by running `formanator benefits`. Pick the relevant benefit, and then run `formanator categories --benefit ` to get a list of categories.
4. Update the template, filling in the columns for each of your claims. If you've configured OpenAI, you can leave the `benefit` and `category` blank. If you want to attach multiple receipts, you can add comma-separated paths to the `receipt_path` column.
5. Validate the CSV up-front by running `formanator validate-csv --input-path claims.csv`.
6. Submit your claims by running `formanator submit-claims-from-csv --input-path claims.csv`.
7. If you've configured OpenAI, you'll be given the chance to check the benefit and category it has inferred for each claim.
8. Your claims will be submitted. If there are any validation errors with any of the rows, or if anything goes wrong during submission, an error message will be displayed, but the tool will continue submitting other claims.
## Contributing
Changes to this project are verioned using [Semantic Versioning](https://semver.org/) and released to `npm` automatically using [`semantic-release`](https://github.com/semantic-release/semantic-release).
Commit messages must follow [Angular Commit Message Conventions](https://github.com/angular/angular/blob/master/CONTRIBUTING.md#-commit-message-format) so `semantic-release` knows when to release new versions and what version number to use.