https://github.com/tinialabs/next-starter-novela
Novela — A ready to deploy starter of the Novela blog theme for Next.js
https://github.com/tinialabs/next-starter-novela
nextjs nextjs-example nextjs-starter nextjs-template novela-theme
Last synced: 11 months ago
JSON representation
Novela — A ready to deploy starter of the Novela blog theme for Next.js
- Host: GitHub
- URL: https://github.com/tinialabs/next-starter-novela
- Owner: tinialabs
- License: mit
- Created: 2021-01-24T19:04:42.000Z (over 5 years ago)
- Default Branch: main
- Last Pushed: 2021-01-31T13:59:48.000Z (over 5 years ago)
- Last Synced: 2025-04-07T10:46:07.185Z (about 1 year ago)
- Topics: nextjs, nextjs-example, nextjs-starter, nextjs-template, novela-theme
- Language: TypeScript
- Homepage: https://novela.tinia.vercel.app
- Size: 6.72 MB
- Stars: 10
- Watchers: 2
- Forks: 5
- Open Issues: 1
-
Metadata Files:
- Readme: README.md
- License: LICENSE
Awesome Lists containing this project
- Awesome-NextJs - next-starter-novela - `Novela — A ready to deploy starter of the Novela blog theme for Next.js` (Nextjs Templates)
README
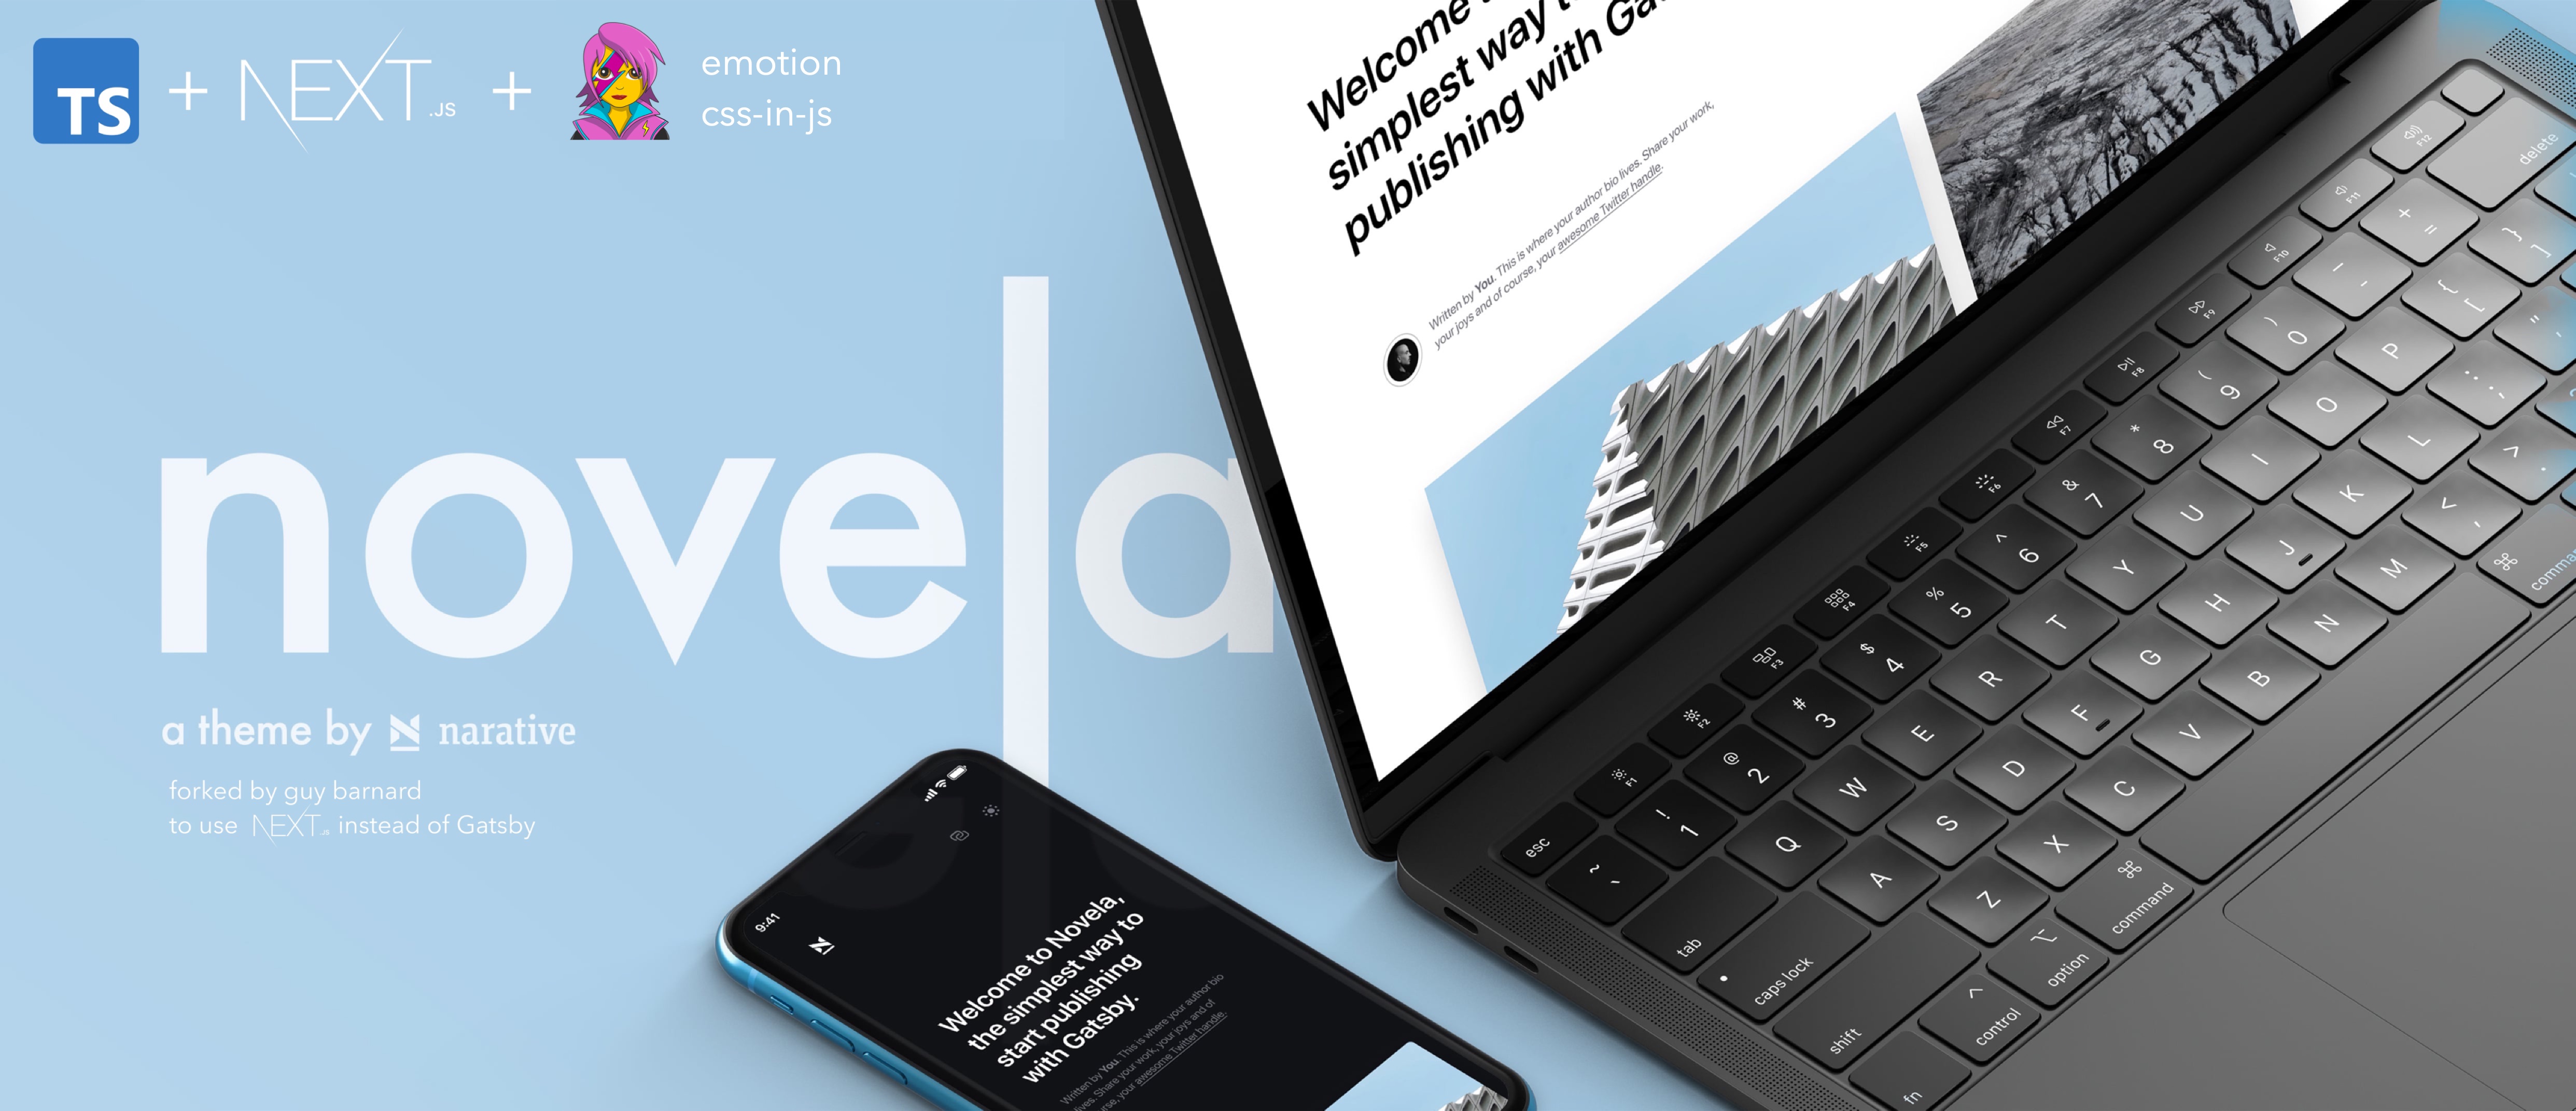
# Novela — A blog theme for Next.js

The beautiful blog theme from Narative adapted by Tinia Labs for Next.js with blazing fast performance.

With minimal styling and maximum features — including multiple homepage layouts, built-in social sharing and dark mode — Novela makes it easy to start publishing beautiful articles and stories with Next.js.

Novela is built by the team at [Narative](https://www.narative.co), updated by [Tinia Labs](https://tinia.org) to work on Next.js, and built for everyone that loves the web.

Special thanks to [@jpvalery](https://github.com/jpvalery) for helping maintain the original Gatsby version of Novela.

See [tinialabs/next-theme-novela](https://github.com/tinialabs/next-theme-novela) for the actual theme files.  This repository containers a starter kit that includes the theme files.


Features specific to Next.js over others Next.js examples

- **Favicon generator** Uses the `favicons` package to generate favicons and manifests on all required platforms

- **Yaml config** Put all your site config in one place in a site.yml file in your content folder

- **All content colocated** All content including images and markdown are colocated in the `content` folders

- **No CMS required** Keep all your blog articles and images under version control in Github or similar

- **Image optimization** Use Next.js runtime image optimization without needing to know the height and width of each image

- **Image lazy loading and LQIP** Use blurred image placeholders (similar to Medium) without an extra server roundtrip;  lazy laod images when the images are ready to be shown in the viewport

- **Fast performance** Much faster build times than Gatsby for the exact same blog content and layout;  >95 lighthouse scores in every category currently

- **Simpler project structure** Instead of multiple gatsby hooks, use Next.js intuitive /pages structure for a better developer experience

## Lighthouse scores (January 2021, Next.js version running on Vercel)


## Dependencies

See [tinialabs/next-theme-novela](https://github.com/tinialabs/next-theme-novela) for the actual theme files.  This repository containers a starter kit that includes the theme files.

See [tinialabs/next-lib-content](https://github.com/tinialabs/next-lib-content) for logic that generates the blog articles from markdown and yaml files on disk.

Two Next.js plugins [tinialabs/next-favicon-loader](https://github.com/tinialabs/next-favicon-loader) and [tinialabs/next-meta-image-loader](https://github.com/tinialabs/next-meta-image-loader) were hand-written to provide some of the Gatsby functionality in the original Novela theme and can now be used in any Next.js site.

### Step 1: Starter installation

##### With `create-next-app`:

```sh

npx create-next-app -e https://github.com/tinialabs/next-starter-novela

```

##### With `git clone`:

```sh

git clone git@github.com:tinialabs/next-starter-novela.git novela-site

cd novela-site

yarn

```

### Step 2: Develop & Build

Once installed or cloned locally and all packages are installed you can begin developing your site.

```sh

# Run localhost

yarn dev

# Build your Next.js site

yarn build

```

To learn more about adding Authors, Posts, and Site Metadata see:

- [Adding an Author](#step-4-adding-an-author)

- [Adding a Post](#step-5-adding-a-post)

- [Configuring Site Metadata](#step-6-configuring-sitemetadata)

# Getting Started from scratch

This guide will take you through adding Novela to a new project. You do not require any Next.js starters or similar, but you can add Novela to an existing Next.js project.

You can also view the completed [example repository](https://github.com/tinialabs/next-starter-novela).

### Step 1: Installation

```sh

# Create an empty directory and go into it

mkdir novela-site && cd novela-site

# Add all required dependencies

yarn add react react-dom next next-theme-novela

```

### Step 2: Folder structure

Once you've installed React, Next.js, and Novela you'll want to add your first Author and Post.

The recommended project structure for your content and site looks like this:

```

  novela-site

    ├── .config

    │ ├── .mdx-plugins.js

    │ └── .next-sitemap.js

    ├── content

    │ ├── authors

    │ │   ├── avatars

    │ │   │    └── avatar.jpg

    │ │   └── authors.yml

    │ └── posts

    │ │   └── 2020-01-01-my-first-novela-post

    │ │       ├── images

    │ │       │   └── novela-hero.jpg

    │ │       └── index.mdx

    │ ├── theme

    │     ├── favicon.png

    │     └── site.yml

    ├── .meta

    ├── node_modules

    ├── next-config.js

    ├── package.json

    ├── pages

    ├── public

    └── tsconfg.json

```

### Step 3: Using `next-theme-novela`

You must add `next-theme-novela` and `next-lib-content` as package.json dependencies or .meta sub-projects.  We

use the latter in all examples

We also require `next-favicon-loader` and `next-image-meta-loader` as next.js plugins, and use `next-compose-plugins` to

add these to your next-config.js file.   These generate the favicons/site manifest, as well as provide the ability to

import images directly from the `content` tree  right next to the assocated markdown, instead of the Next.js default of

having to put them in the `public` folder.

```js

// next-config.js

const { withPlugins } = require('next-compose-plugins');

module.exports = withPlugins(

  [

    require('next-favicon-loader'),

    require('next-image-meta-loader'),

  ],

  {

    webpack: (config, { defaultLoaders }) => {

      defaultLoaders.babel.options.plugins = [

        require.resolve('@emotion/babel-plugin')

      ]

      return config

    }

  }

)

```

---

Once you've setup the plugins in `next-config.js` and installed the theme proects you can start creating your first Posts. In order to create a Post you also need at least one Author.

### Step 4: Adding an Author

In [step 2](#step-2-folder-structure) we created the folder structure of our project. We can now add an Author by populating `/content/authors/authors.yml`:

```

  novela-site

  └── content

    └── authors

        ├── avatars

        │    └── brotzky-avatar.jpg

        └── authors.yml

```

In `authors.yml` add an Author. There **must** be at least one `featured` Author.

`/content/authors/authors.yml`:

```yml

- name: Dennis Brotzky

  bio: |

    Written by Dennis Brotzky who lives and works in Vancouver building useful things.

    You should follow him on Twitter.

  avatar: ./avatars/brotzky-avatar.jpg

  featured: true

  social:

    - url: https://unsplash.com

    - url: https://stackoverflow.com

    - url: https://github.com

```

### Step 5: Adding a Post

Once you have at least one Author defined in `authors.yml` you can add your first Post.

Start by creating a new folder in `content/posts`. You can name it anything you like but we recommend including the date at the front to organize your posts. Once you've created your folder you can add an `index.mdx` file and an `images` folder.

`/content/posts/2020-01-01/index.mdx`

```yml

---

title: Why Narative loves Next.js

author: Dennis Brotzky

date: 2019-04-27

hero: ./images/narative-gatsby-hero.jpg

excerpt: This is a love story about Narative and Next.js

---

# And then under the heading YML you can insert any MDX you like

# like headings, links, code, images, etc

# This will show up in the body of your post

# ...

```

### Step 6: Configuring siteMetadata

In order to configure the theme to properly generate the pages and meta tags you must add specific data to `siteMetadata`.

The fields that are unique to Novela are `hero.heading`, `hero.maxWidth`, and `social`.

Add your Site Metadata to the `site.yml` file.

```yaml

// site.yml

---

title: Novela by Tinia Labs

name: Tinia Labs & Narative

siteUrl: https://novela.tinia.vercel.app/

description: This is my description that will be used in the meta tags and

  important for search results

hero:

  heading: Welcome to Novela, the simplest way to start publishing with Next.js.

  maxWidth: 652

social:

  - name: twitter

    url: https://twitter.com/narative

  - name: github

    url: https://github.com/narative

  - name: instagram

    url: https://instagram.com/narative.co

  - name: linkedin

    url: https://www.linkedin.com/company/narative/

  - name: dribbble

    url: https://dribbble.com/narativestudio

blog:

  copyrightYear: 2021

  contentPosts: content/posts

  contentAuthors: content/authors

  basePath: /

  authorsPage: true

  pathPosts: 'a'

  pathAuthors: 'authors'

  pageLength: 6

  sources:

    local: true

    contentful: false

manifest:

  appName: Novela by Narative

  appShortName: Novela

  appDescription: Novela by Narative

  start_url: /

  background: "#fff"

  theme_color: "#fff"

  display: standalone

  alwaysEmitFull: false

googleAnalytics:

  trackingId: UA-118232427-3

```

### You can now run your site

Once all steps have been completed you can run your site. In the root of your project run `yarn dev`.

If you ran into problems you can reference the [example repository](https://github.com/tinialabs/next-starter-novela) or create an issue.