https://github.com/tomasbankauskas/auto-annotated-portfolio-test2
https://github.com/tomasbankauskas/auto-annotated-portfolio-test2
Last synced: 3 months ago
JSON representation
- Host: GitHub
- URL: https://github.com/tomasbankauskas/auto-annotated-portfolio-test2
- Owner: TomasBankauskas
- Created: 2024-11-27T14:59:08.000Z (7 months ago)
- Default Branch: main
- Last Pushed: 2024-11-27T15:12:28.000Z (7 months ago)
- Last Synced: 2024-12-05T18:14:20.516Z (6 months ago)
- Language: TypeScript
- Size: 5.91 MB
- Stars: 0
- Watchers: 1
- Forks: 0
- Open Issues: 0
-
Metadata Files:
- Readme: README.md
Awesome Lists containing this project
README
# Netlify Developer Portfolio Starter (auto-annotated)
This is a full-fledged portfolio website built with Next.js, Tailwind CSS, [visual editor](https://docs.netlify.com/visual-editor/overview/) and the [Git Content Source](https://docs.netlify.com/create/content-sources/git/).
The codebase showcases **how to apply annotations at scale**, meaning: how to make much of your components [highlightable in the visual editor](https://docs.netlify.com/visual-editor/visual-editing/inline-editor/) through data attributes without manually adding code throughout the codebase.
**This is achieved by:**
1. Adding an annotation property to the content objects at they're loaded (see `src/utils/content.ts`)
1. When rendering the page, each content sub-object is dynamically matched to the appropriate component. At this point, wrap each component with an annotation, based on the abovementioned content property. See `src/components/components-registry.tsx`.
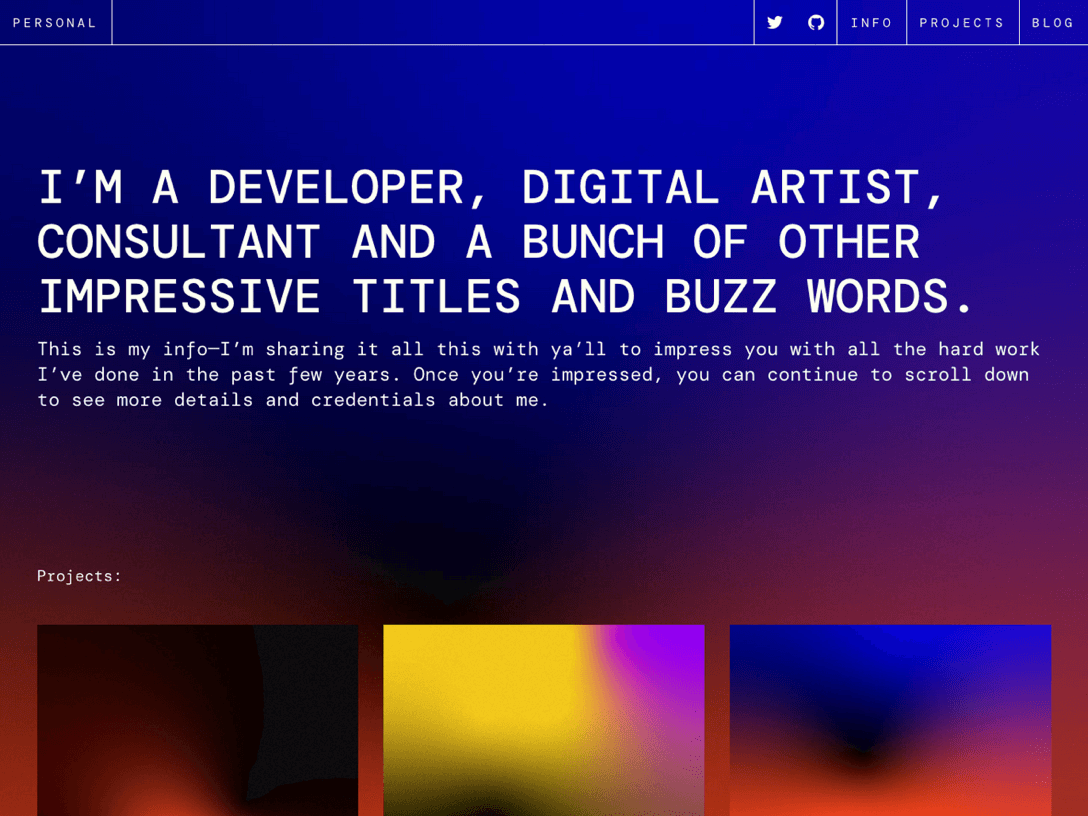
**⚡ Demo:** [auto-annotated-portfolio.netlify.app](https://auto-annotated-portfolio.netlify.app)
## Deploying to Netlify
If you click "Deploy to Netlify" button, it will create a new repo for you that looks exactly like this one, and sets that repo up immediately for deployment on Netlify.
[](https://app.netlify.com/start/deploy?repository=https://github.com/netlify-templates/auto-annotated-portfolio)
## Getting Started
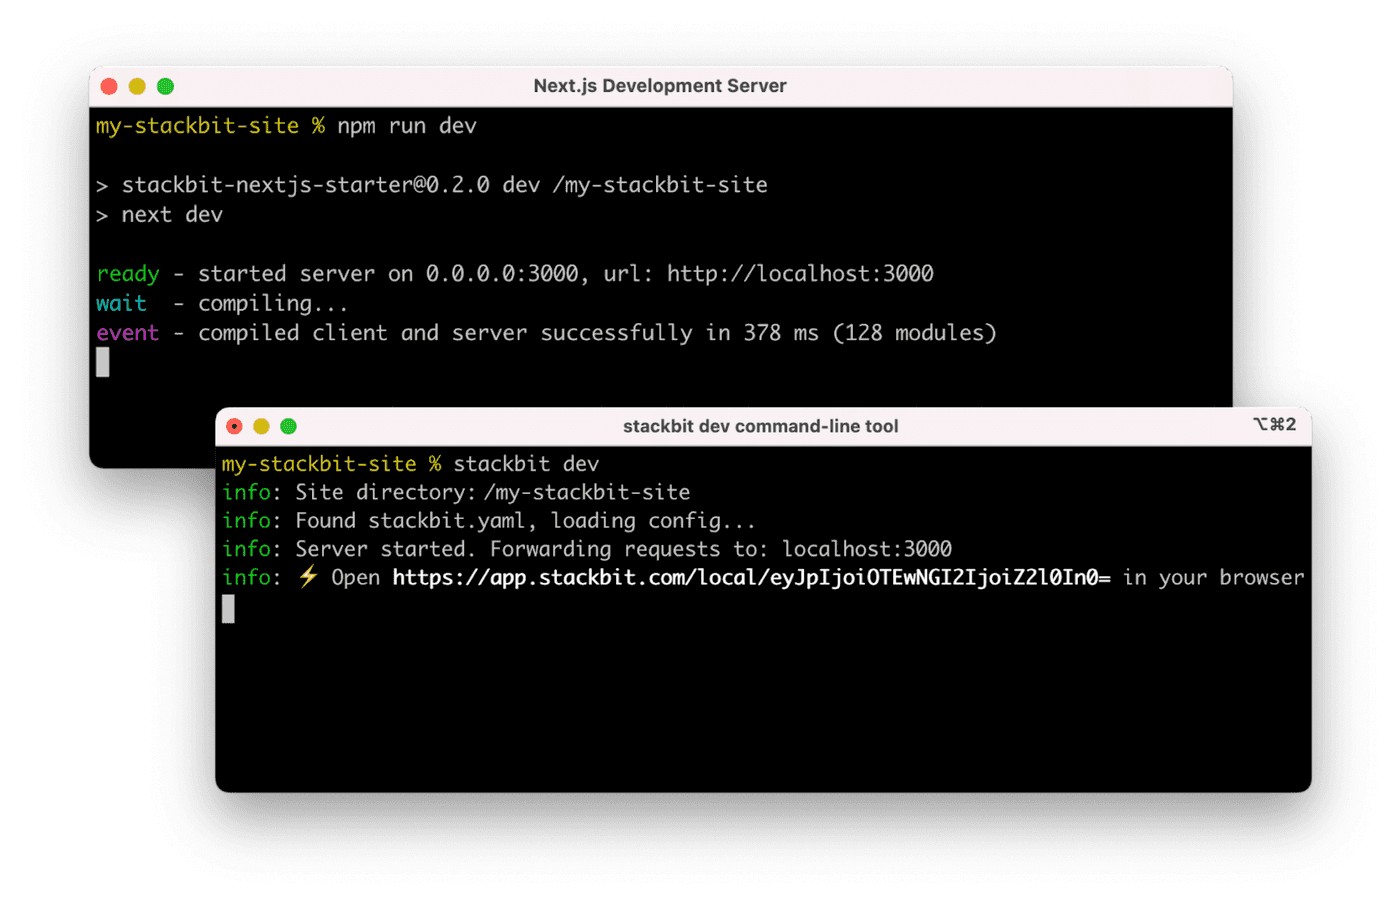
The typical development process is to begin by working locally. Clone this repository, then run `npm install` in its root directory.
Run the Next.js development server:
```txt
cd auto-annotated-portfolio
npm run dev
```
Install the [Netlify visual editor CLI](https://www.npmjs.com/package/@stackbit/cli). Then open a new terminal window in the same project directory and run the Netlify visual editor dev server:
```txt
npm install -g @stackbit/cli
stackbit dev
```
This outputs your own Netlify visual editor URL. Open this, register or sign in, and you will be directed to Netlify's visual editor for your new project.
## Next Steps
Here are a few suggestions on what to do next if you're new to Netlify Visual Editor:
- Learn [how Netlify Visual Editor works](https://docs.netlify.com/visual-editor/overview/)
- Check [Netlify visual editor reference documentation](https://visual-editor-reference.netlify.com/)
## Support
If you get stuck along the way, get help in our [support forums](https://answers.netlify.com/).