https://github.com/tuya/tuya-smart-securitymax-sample-kotlin
The Tuya Smart SecurityMax Sample provides a simple example for remote control and data monitoring of the Smart WiFi environment's alarm apparatus.
https://github.com/tuya/tuya-smart-securitymax-sample-kotlin
tuya
Last synced: 6 months ago
JSON representation
The Tuya Smart SecurityMax Sample provides a simple example for remote control and data monitoring of the Smart WiFi environment's alarm apparatus.
- Host: GitHub
- URL: https://github.com/tuya/tuya-smart-securitymax-sample-kotlin
- Owner: tuya
- License: mit
- Created: 2021-03-15T02:42:36.000Z (almost 5 years ago)
- Default Branch: master
- Last Pushed: 2021-03-20T16:22:27.000Z (over 4 years ago)
- Last Synced: 2025-01-11T14:25:48.771Z (11 months ago)
- Topics: tuya
- Language: Kotlin
- Homepage:
- Size: 117 KB
- Stars: 1
- Watchers: 14
- Forks: 0
- Open Issues: 0
-
Metadata Files:
- Readme: README.md
- License: LICENSE
Awesome Lists containing this project
README
# Tuya Smart SecurityMax Sample
[English](README.md) | [中文版](README_zh.md)
Overview
------------------------
The Tuya Smart SecurityMax Sample provides a simple example for remote control and data monitoring of the Smart WiFi environment's alarm apparatus, which is built on the Tuya Iotos Embeded WiFi &Ble SDK.
The Tuya Smart SecurityMax Sample has realized the following functions:
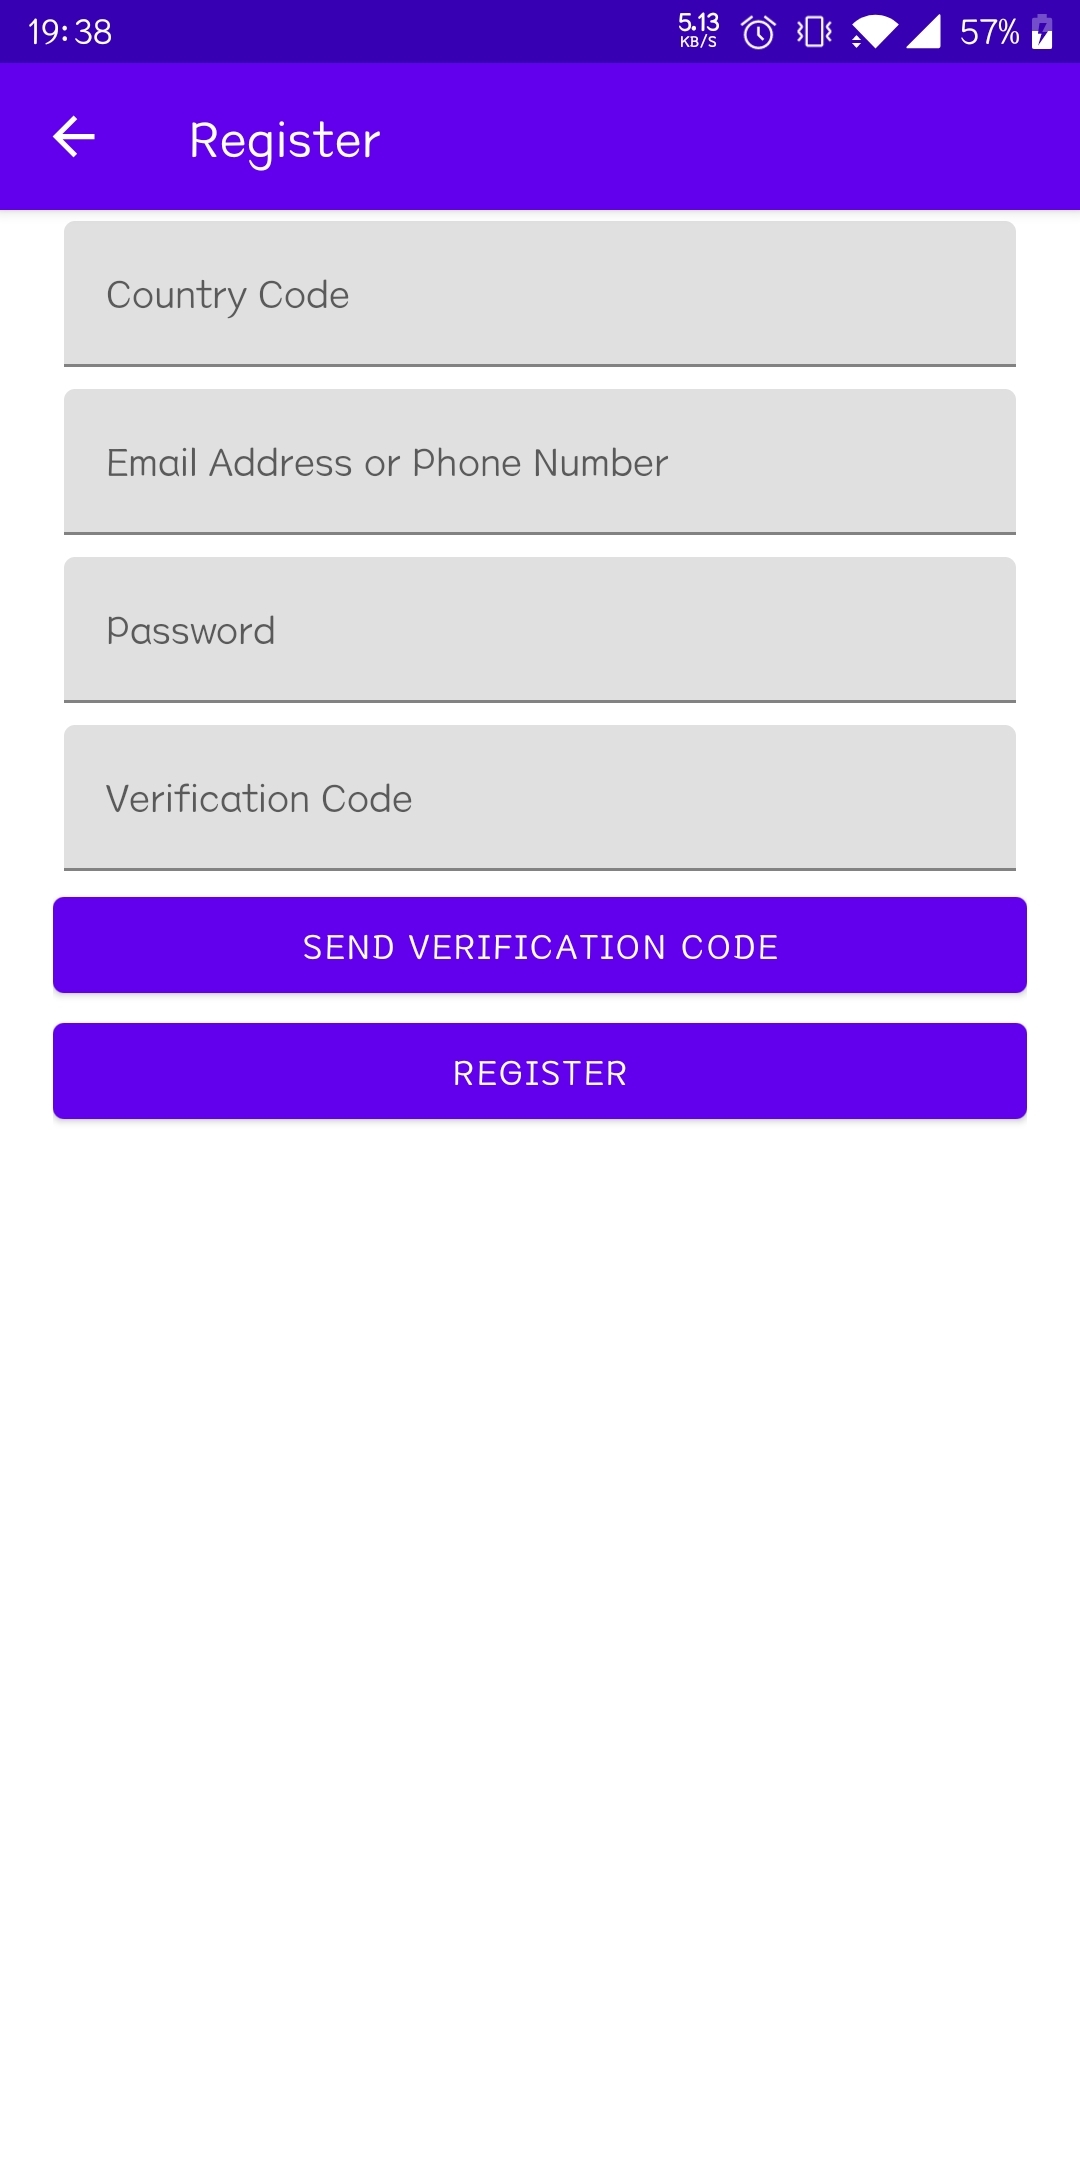
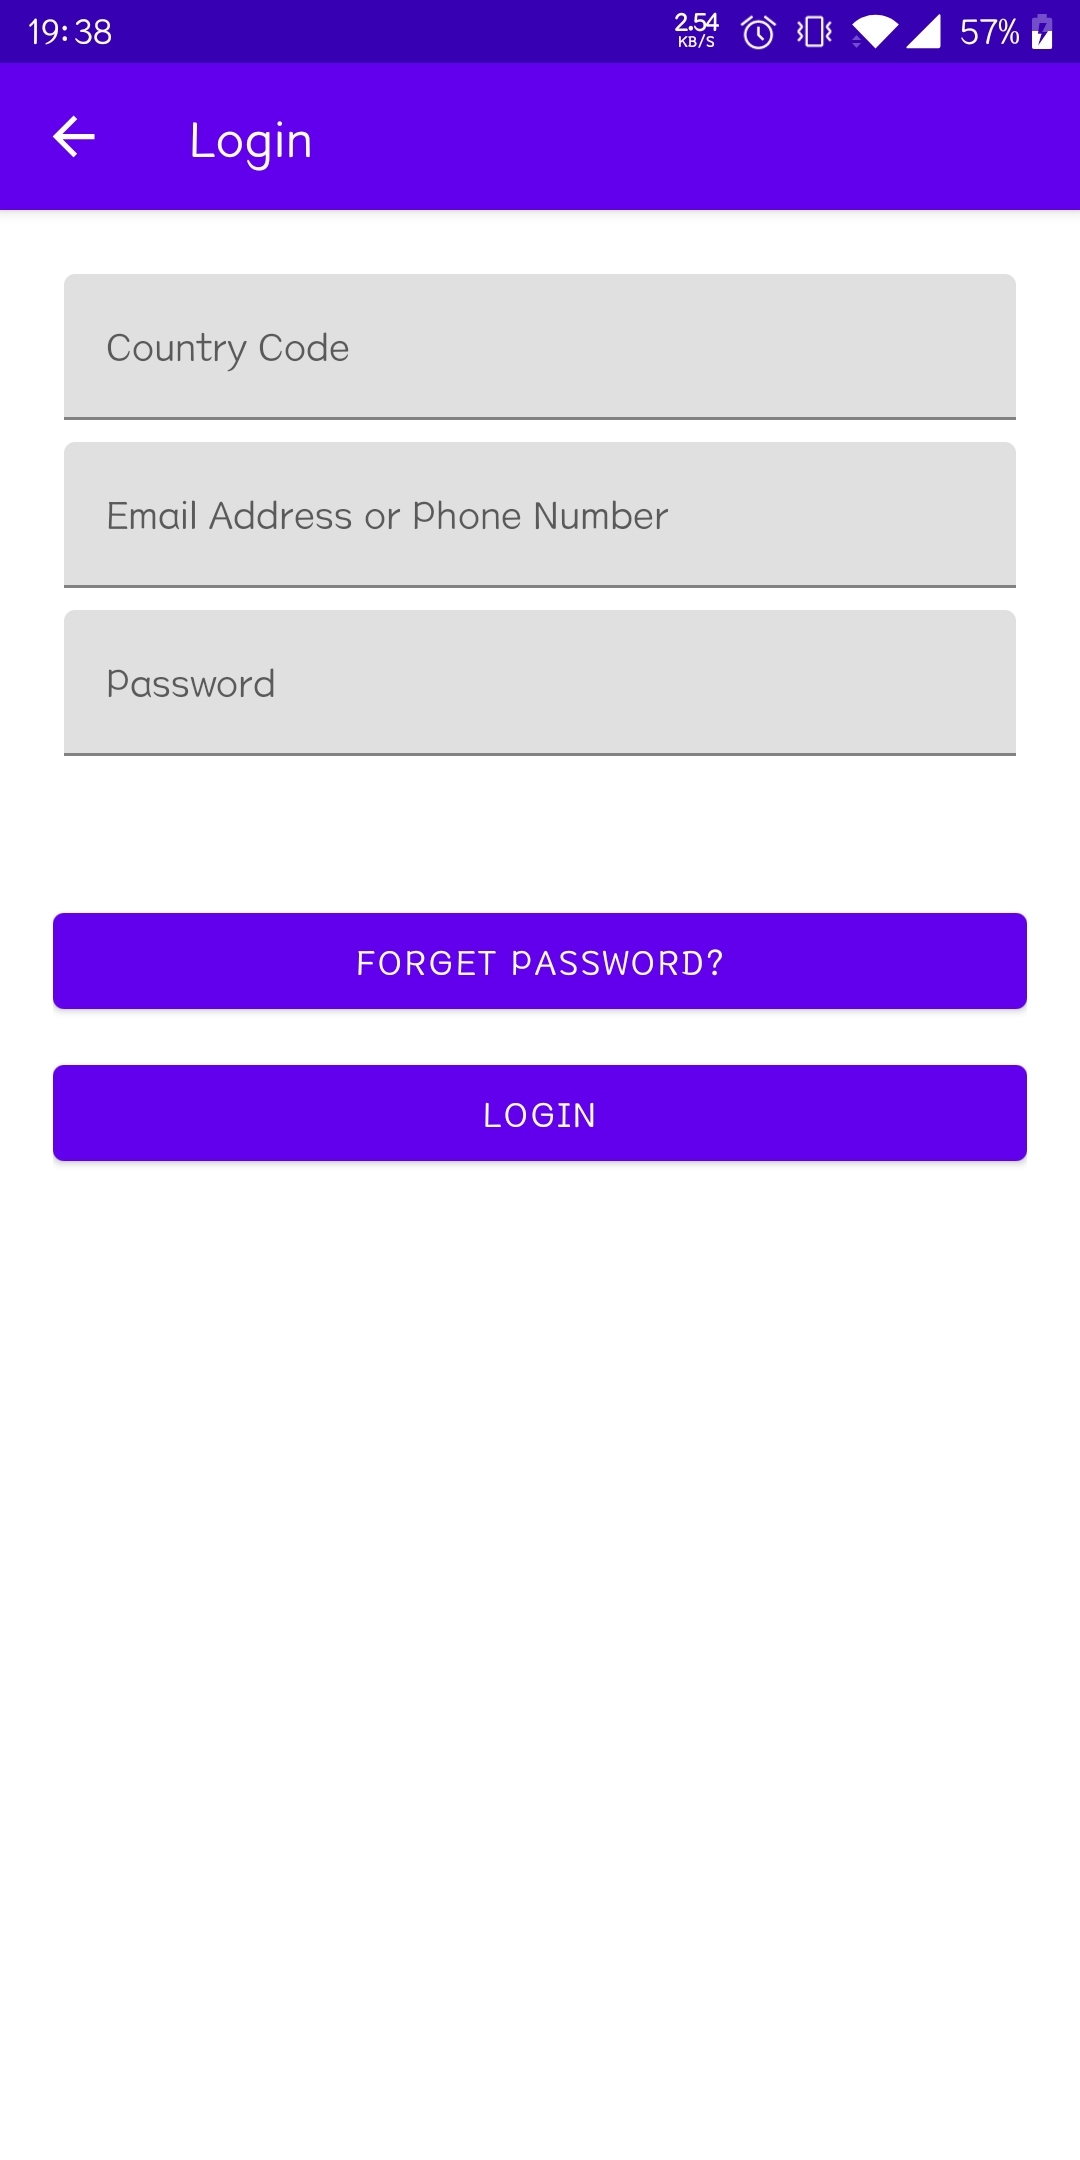
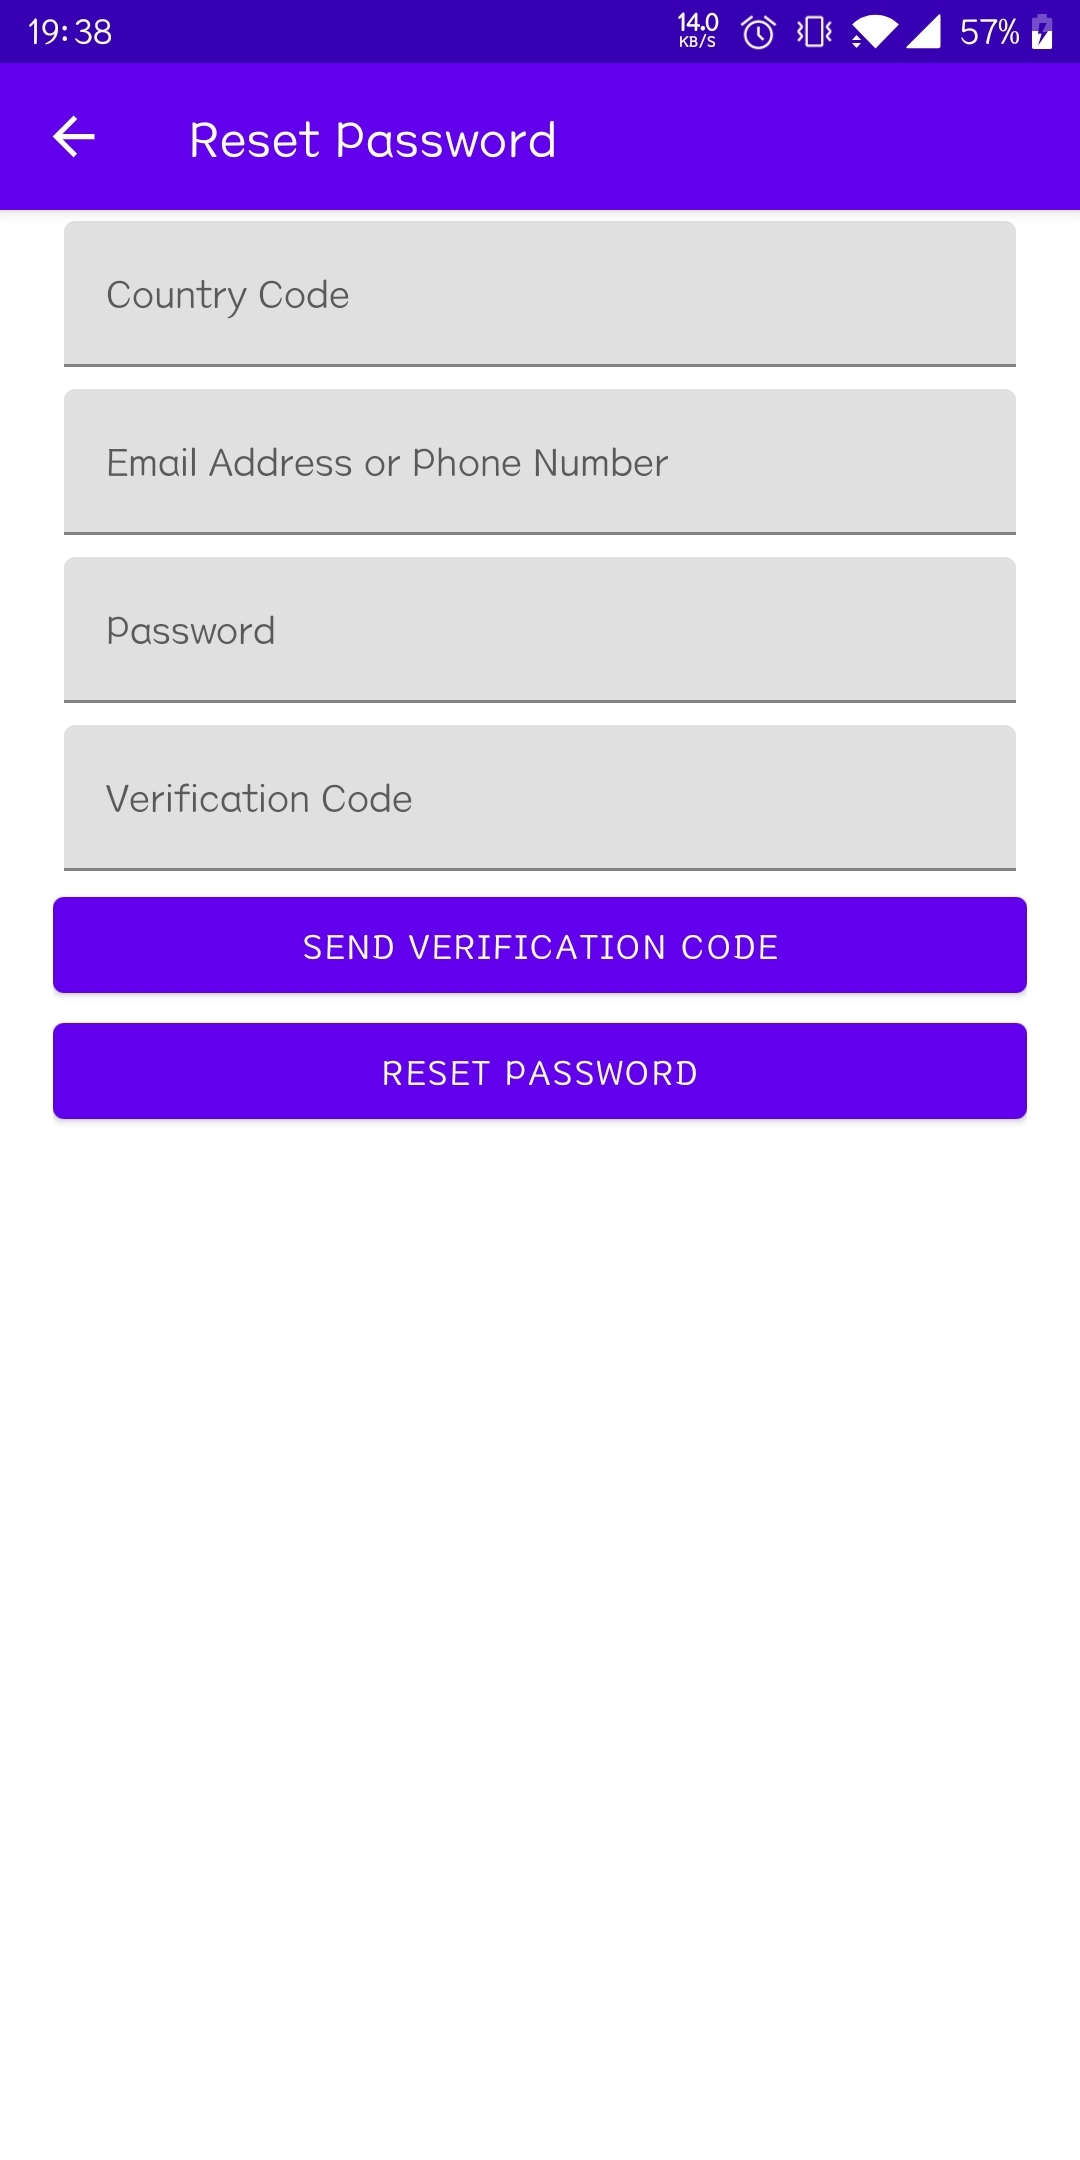
- User management module (registration, login, password reset)
- Default family creation
- Equipment distribution network module (EZ distribution network mode)
- Equipment control module (Smoke detection, gas detection, PM2.5 detection, formaldehyde detection, flame detection, etc.)
| Smart SecurityMax |
| :----------------------------------------------------------: |
|  |
|
| [Smart SecurityMax Doc](https://developer.tuya.com/en/demo/environment-monitor) |
### Related Hardware & Tuya IoTOS Embedded Github Demo
- Device Demo documentation,please check Tuya Demo Center:https://developer.tuya.com/en/demo/environment-monitor
- Evaluation Kits:[Sandwich Evaluation Kits](https://developer.tuya.com/en/docs/iot/device-development/tuya-development-board-kit/tuya-sandwich-evaluation-kits/-tuya-sandwich-evaluation-kits?id=K97o0ixytemvr)
Get Started
------------------------
#### 1. Project configuration
1、According to [Preparation for Integration](https://developer.tuya.com/en/docs/app-development/android-app-sdk/preparation?id=Ka7mqlxh7vgi9) document description, register Tuya developer account and complete the application To create, replace the package name of Sample with the package name set during creation.
2、According to the [Integration SDK](https://developer.tuya.com/en/docs/app-development/android-app-sdk/integrated?id=Ka7mqm2xsvs4n) document description, integrate the security picture and reset the AppKey And AppSecret.
#### 2. UI
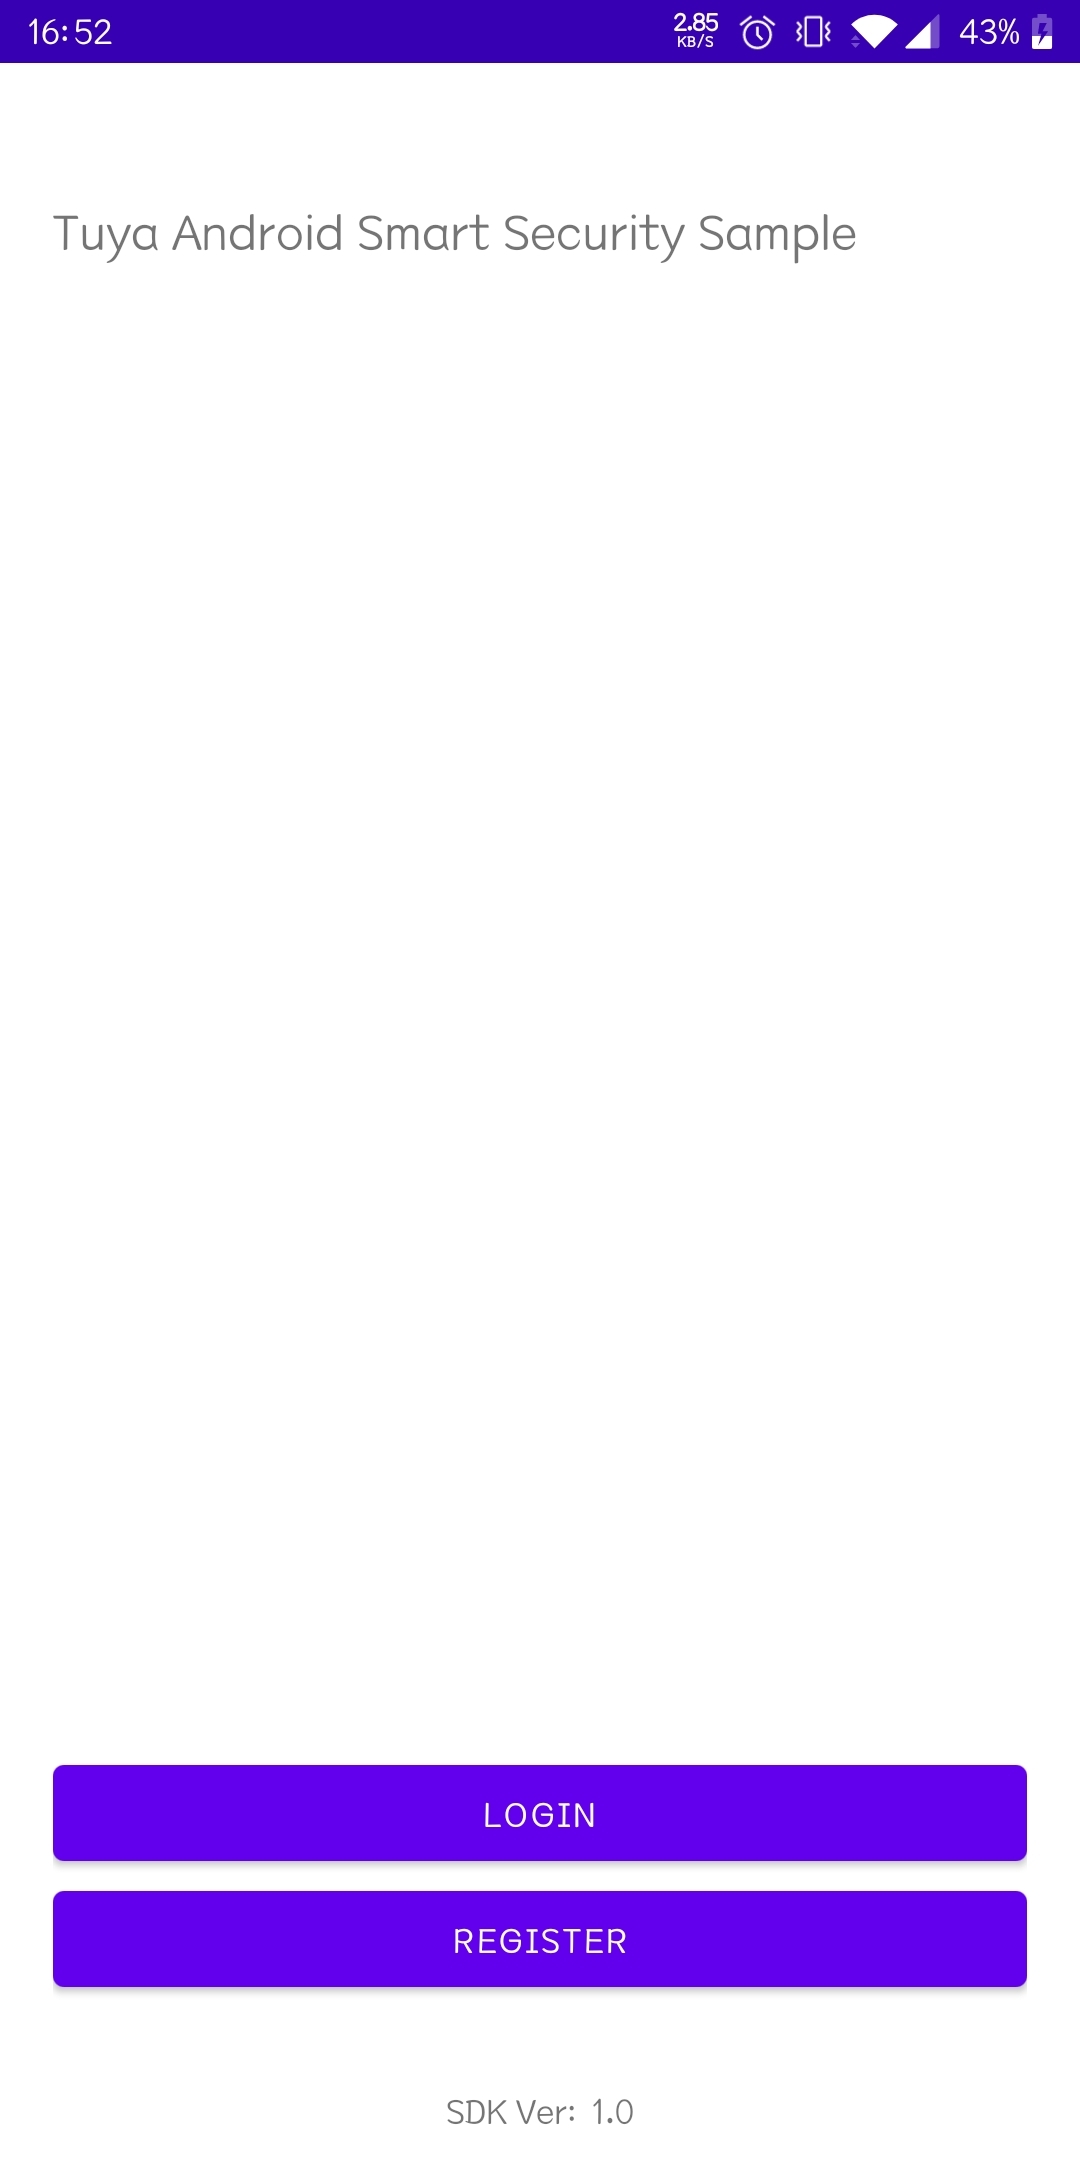
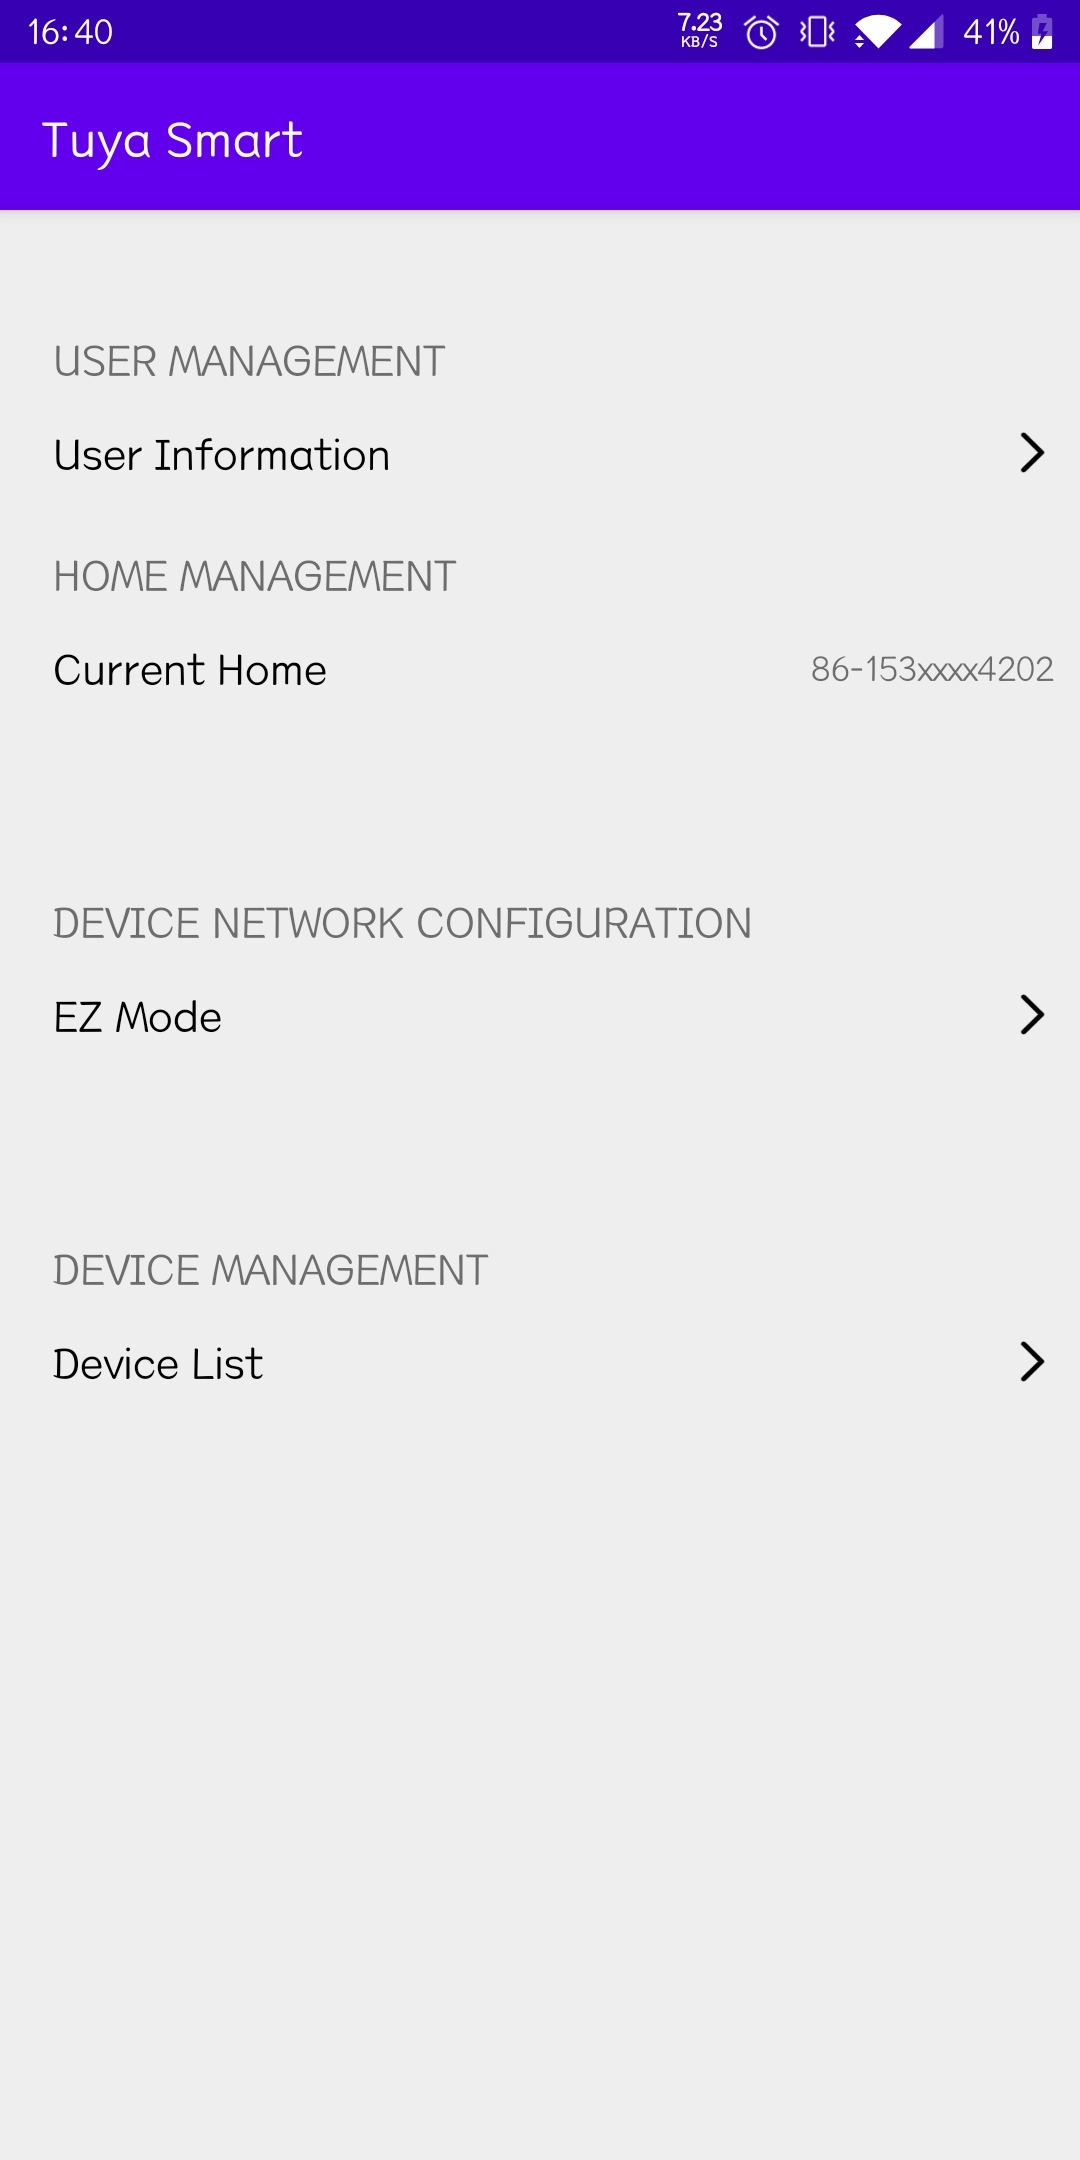
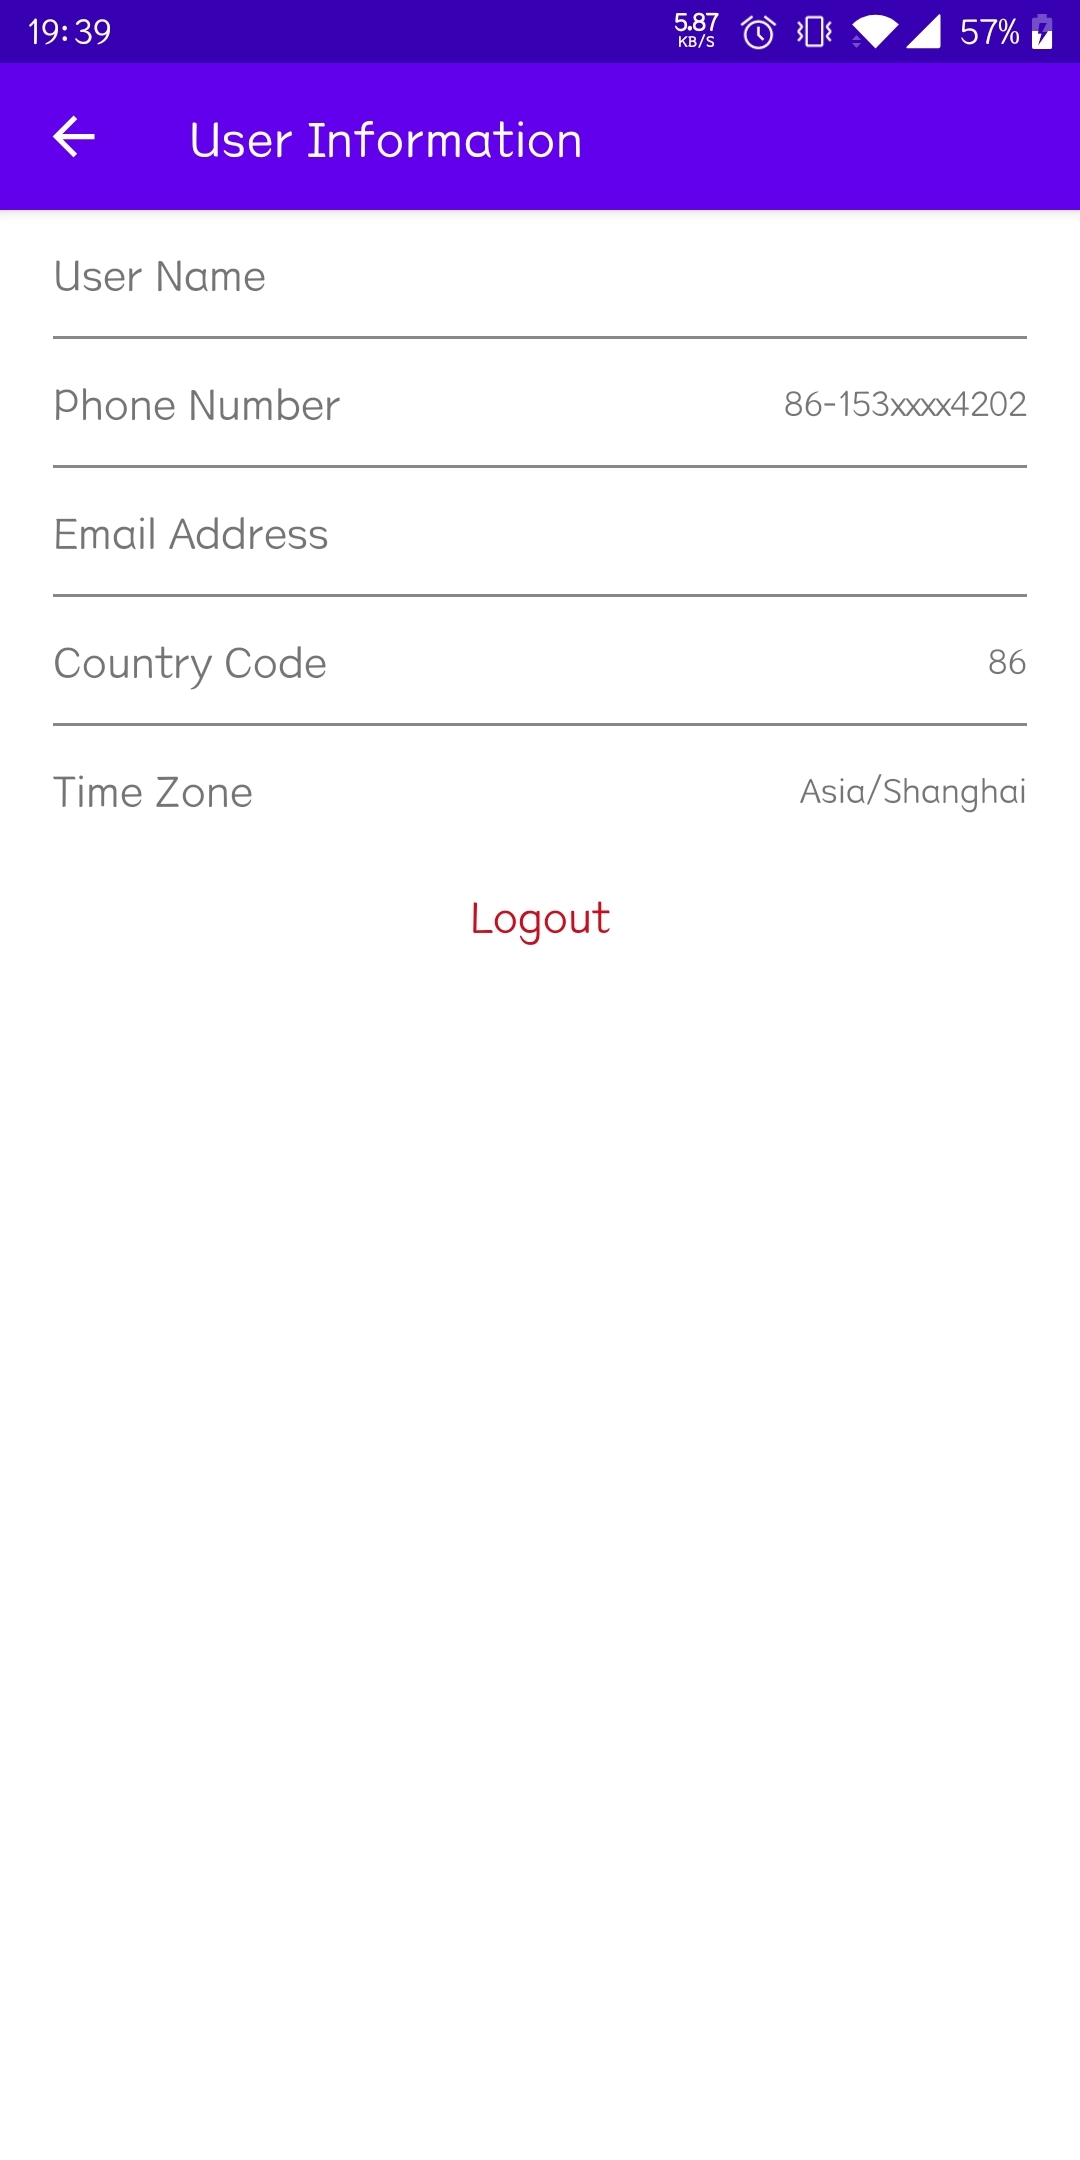
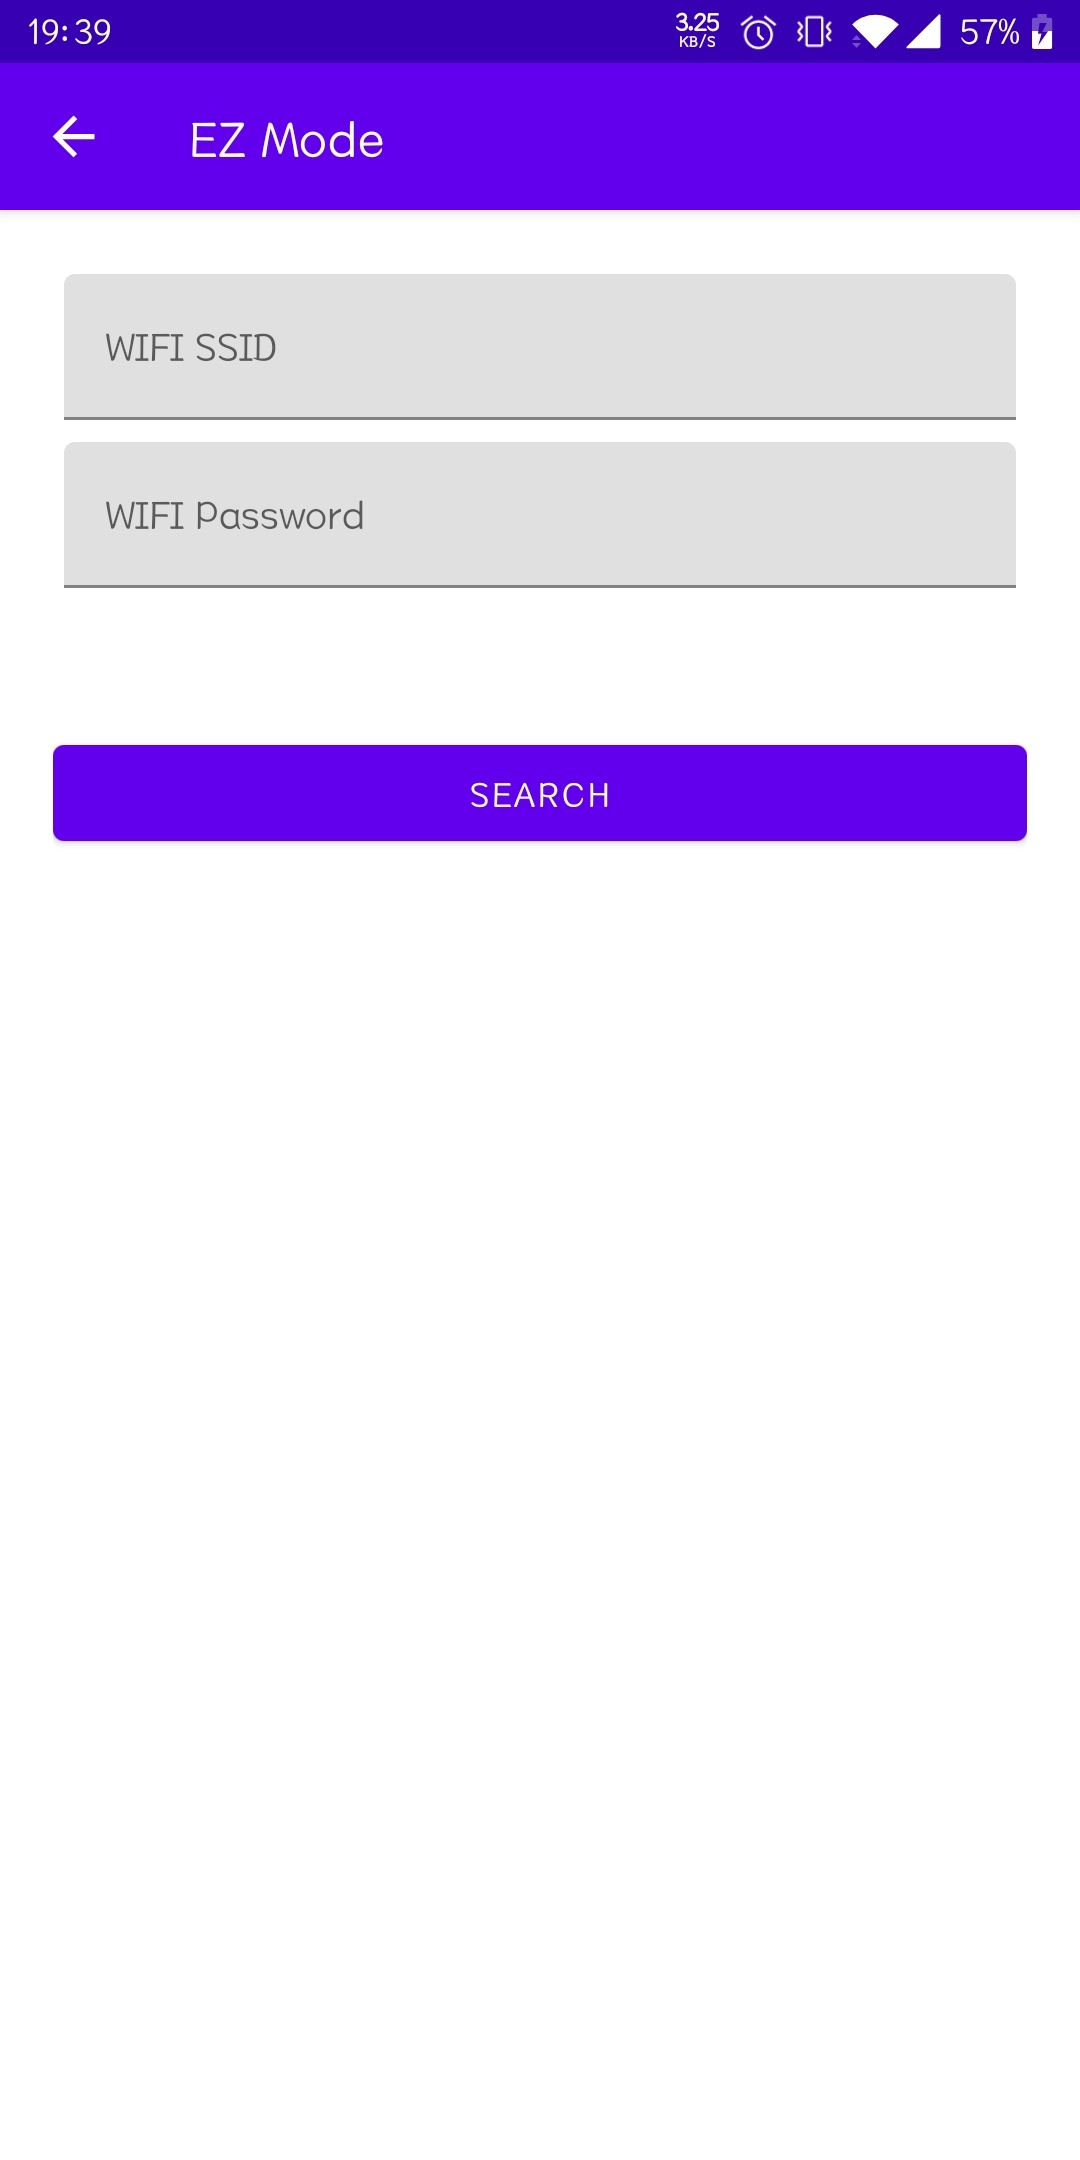
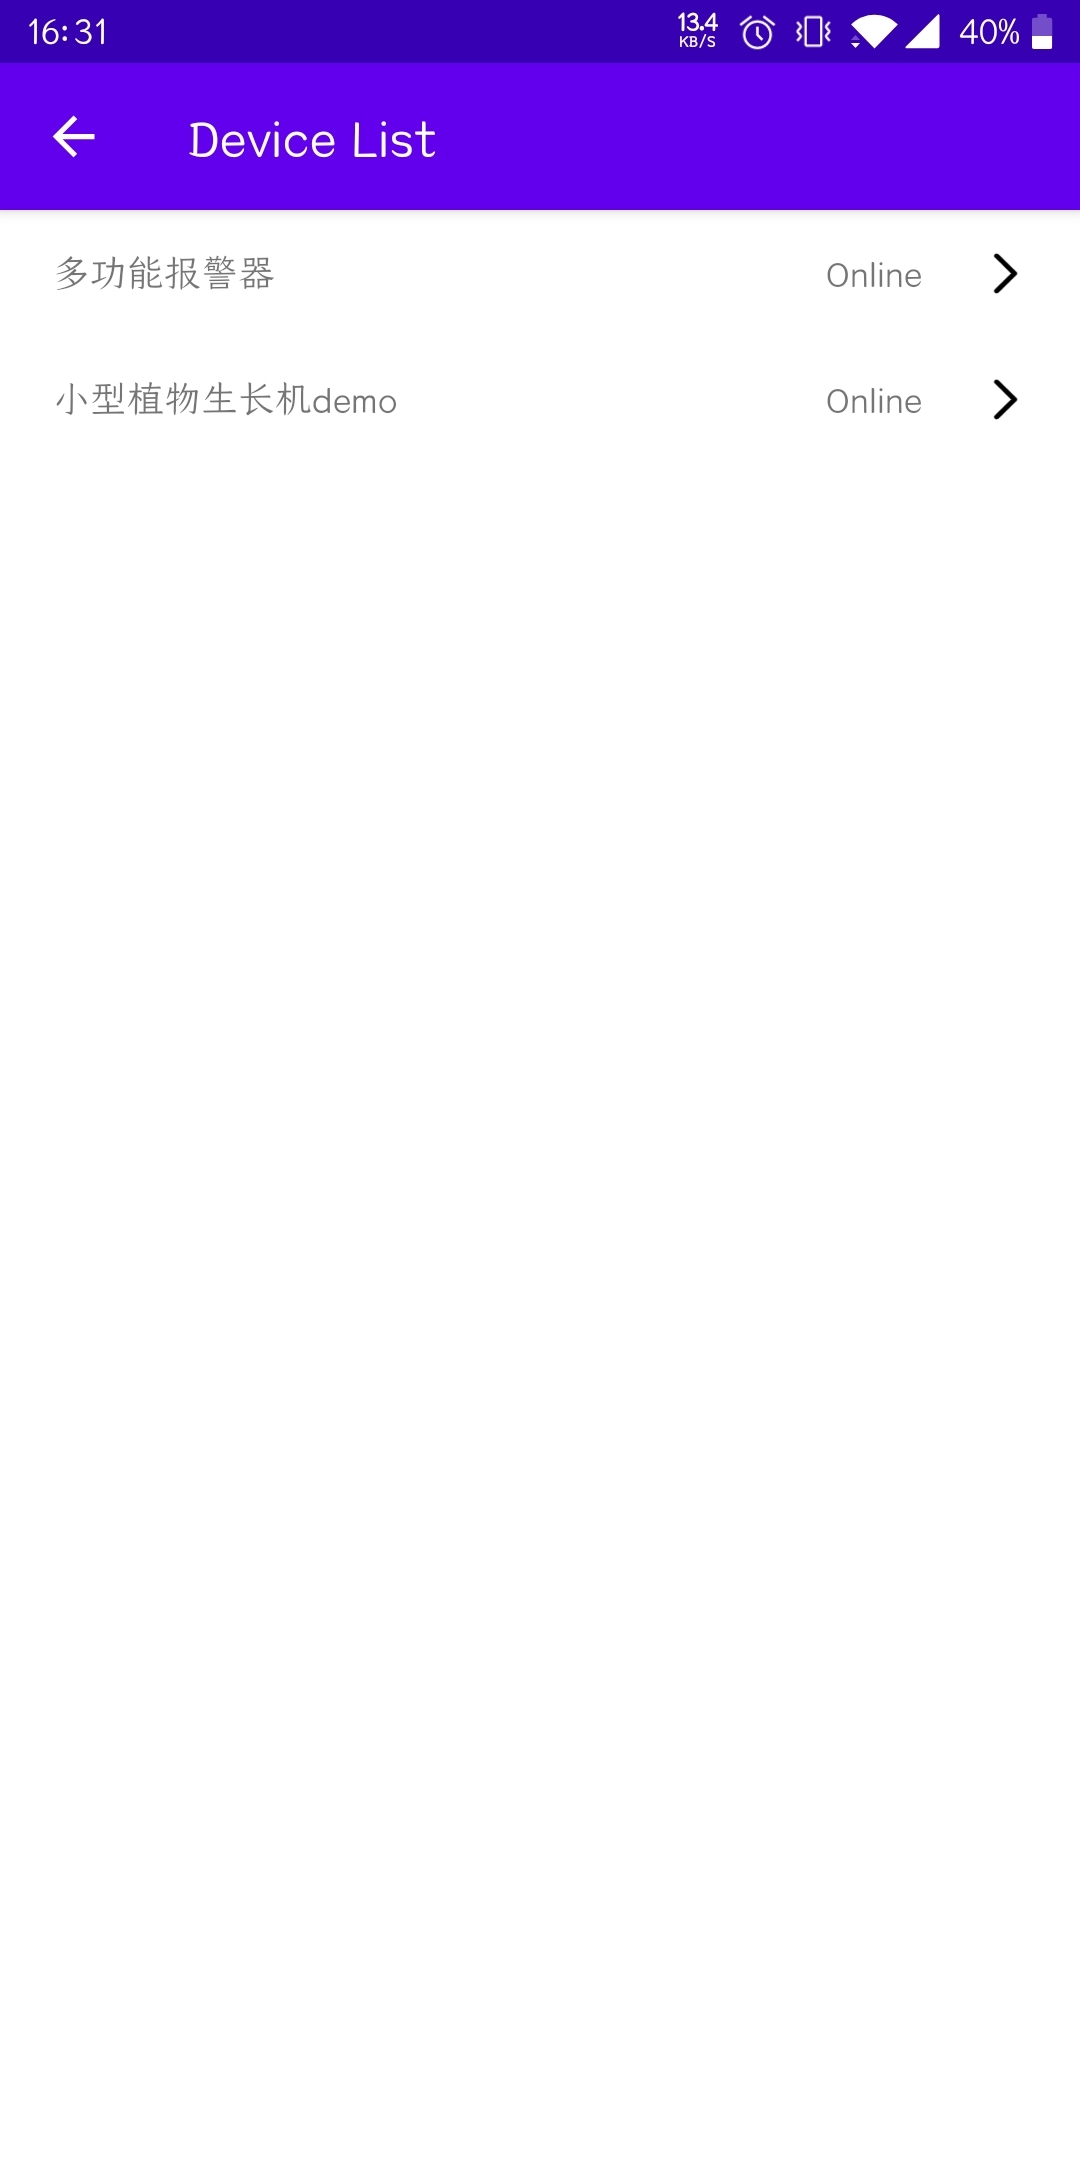
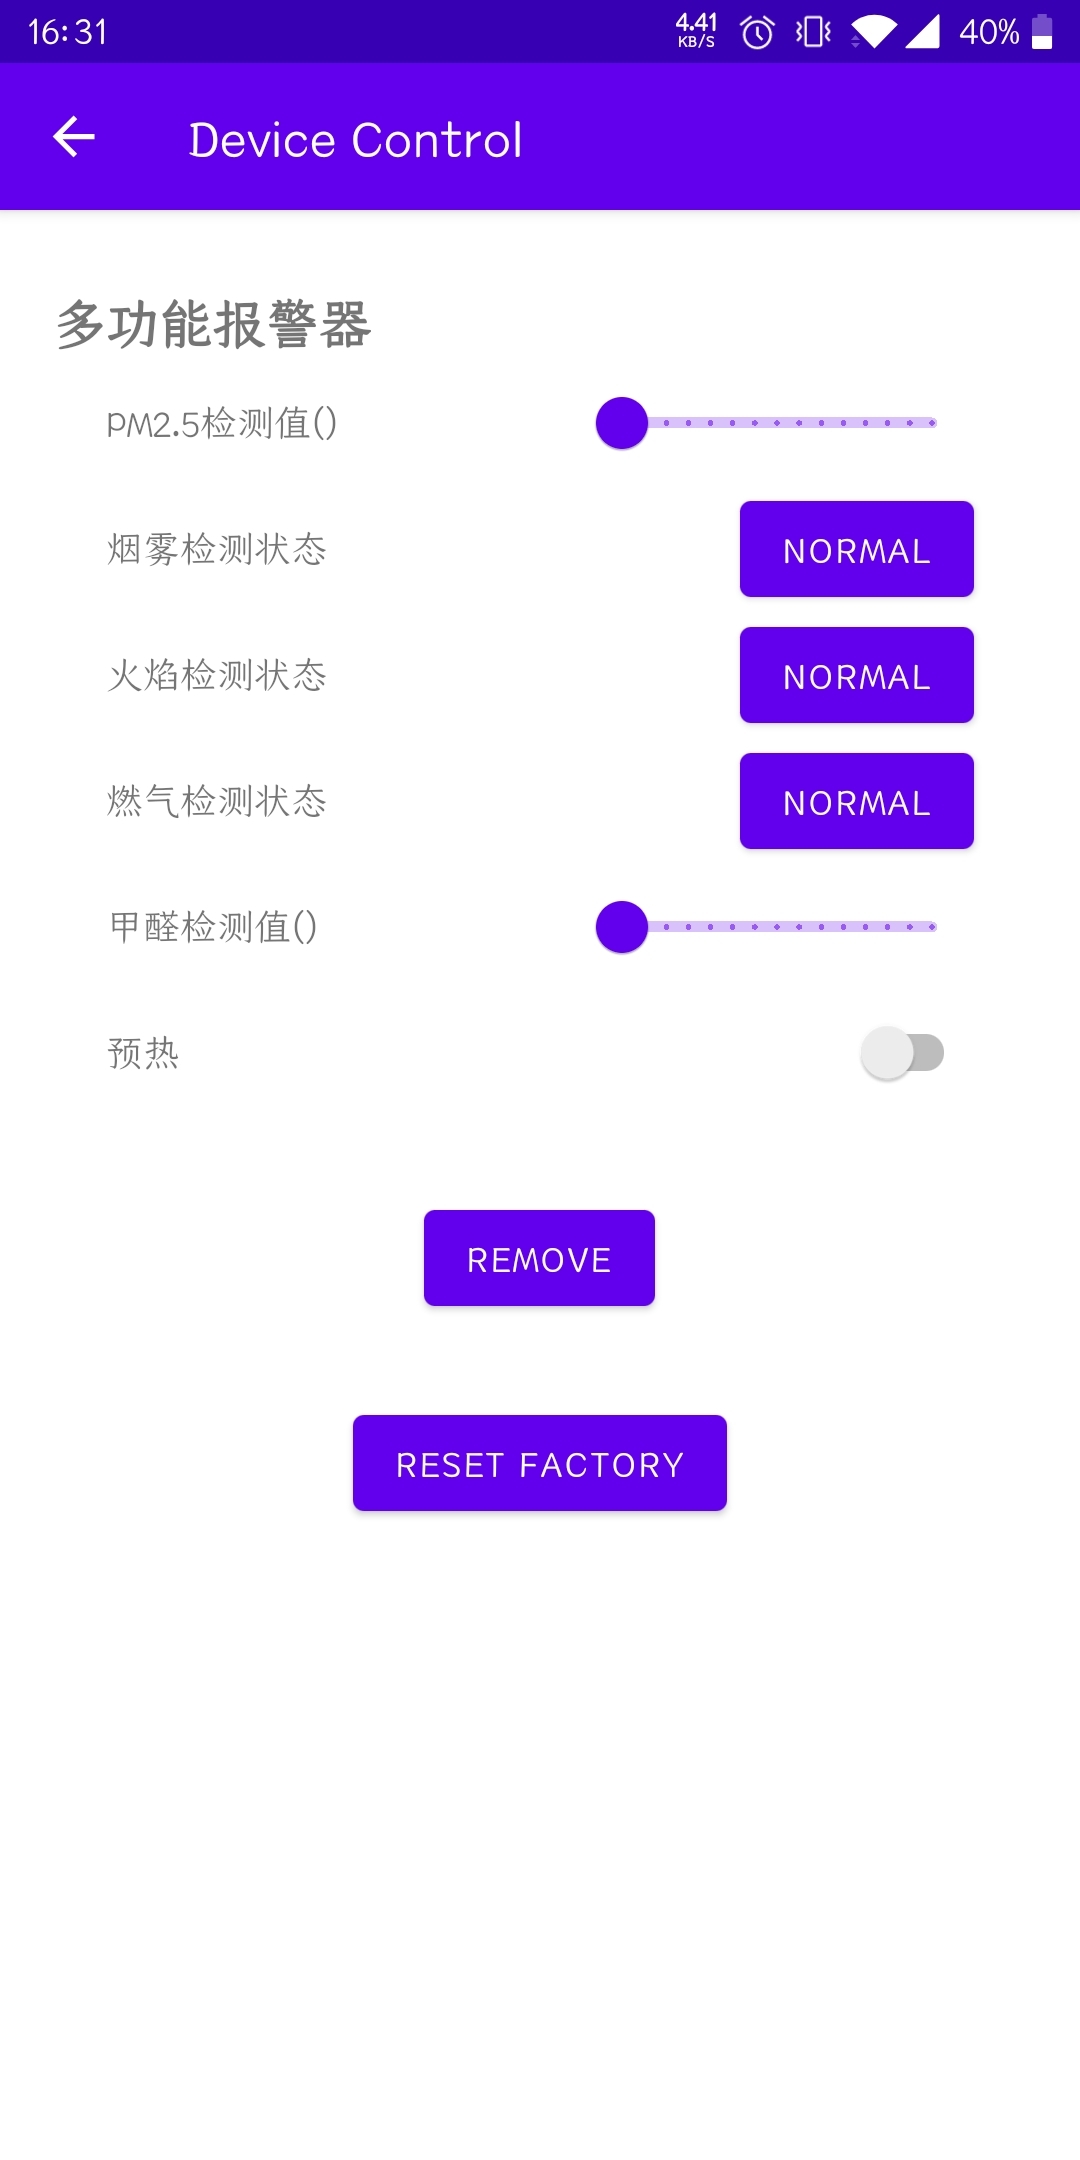
After completing the above project configuration, run the program, the App displays the various interfaces as follows:
| Home | Register | Login |
| :----------------------------------------------------------: | :----------------------------------------------------------: | :----------------------------------------------------------: |
|  |
|  |
|  |
|
| Reset Password | Home Page | User Information |
|  |
|  |
|  |
|
| EZ Mode | Device List | Device Control |
|  |
|  |
|  |
|
#### 3. User Management Module
The user management module involves user registration and login and password reset. For more information about user management and Api interface calls, please refer to [User Management](https://developer.tuya.com/en/docs/app-development/android-app-sdk/user-management/usermanage?id=Ka69qtzy9l8nc).
##### 3.1 Get verification code
```java
// phone
TuyaHomeSdk.getUserInstance().getValidateCode(String countryCode, String phoneNumber, final IValidateCallback callback);
// IValidateCallback
public interface IValidateCallback {
void onSuccess();
void onError(String code, String error);
}
// email
void getRegisterEmailValidateCode(String countryCode, String email, IResultCallback callback);
// IResultCallback
public interface IResultCallback {
void onError(String var1);
void onSuccess();
}
```
##### 3.2 Registered
```java
// phone
TuyaHomeSdk.getUserInstance().registerAccountWithPhone(final String countryCode, final String phoneNumber, final String passwd, final String code, final IRegisterCallback callback);
// email
TuyaHomeSdk.getUserInstance().registerAccountWithEmail(final String countryCode, final String email, final String passwd, final String code, final IRegisterCallback callback);
// IRegisterCallback
public interface IRegisterCallback {
void onSuccess(User user);
void onError(String code, String error);
}
```
##### 3.3 Login
```java
// phone
TuyaHomeSdk.getUserInstance().loginWithPhonePassword(String countryCode, String phone, String passwd, final ILoginCallback callback);
// email
TuyaHomeSdk.getUserInstance().loginWithEmail(String countryCode, String email, String passwd, final ILoginCallback callback);
// ILoginCallback
public interface ILoginCallback {
void onSuccess(User user);
void onError(String code, String error);
}
```
##### 3.4 Logout
```java
TuyaHomeSdk.getUserInstance().logout(new ILogoutCallback() {
@Override
public void onSuccess() {
}
@Override
public void onError(String errorCode, String errorMsg) {
}
});
```
> If it prompts insufficient permissions when registering or logging in, please check whether the project configuration steps are completed correctly.
#### 四、Home Management Module
Before adding Tuya devices, you need to create a family. This Demo only creates a default family based on the user’s mobile phone information when the program is launched. For more information about family management and related API interfaces, please refer to [Home Management](https://developer.tuya.com/en/docs/app-development/android-app-sdk/home-management/homemanage?id=Ka6kjkgere4ae).
##### 4.1 Get the family list
```java
void queryHomeList(ITuyaGetHomeListCallback callback)
// ITuyaGetHomeListCallback
public interface ITuyaGetHomeListCallback {
void onSuccess(List homeBeans);
void onError(String errorCode, String error);
}
```
##### 4.2 Create a family
```java
void createHome(String name, double lon, double lat, String geoName, List rooms, ITuyaHomeResultCallback callback)
// ITuyaHomeResultCallback
public interface ITuyaHomeResultCallback {
void onSuccess(HomeBean bean);
void onError(String errorCode, String errorMsg);
}
```
#### 5. Wi-Fi Network Configuration Mode
The Device supports EZ network distribution and AP network distribution in WiFi mode. This demo only provides EZ network distribution examples. For more equipment network configuration information and API interfaces, please refer to [Wi-Fi Network Configuration](https://developer.tuya.com/en/docs/app-development/android-app-sdk/wifinetwork?id=Ka6ki8lbwu82c).
Before the Wi-Fi network configuration, the SDK needs to obtain the network configuration Token from the Tuya Cloud.
The term of validity of Token is 10 minutes, and the Token becomes invalid once the network configuration succeeds.
A new Token has to be obtained if you have to reconfigure the network.
##### 5.1 **Get Network Configuration Token**
```java
TuyaHomeSdk.getActivatorInstance().getActivatorToken(homeId,
new ITuyaActivatorGetToken() {
@Override
public void onSuccess(String token) {
}
@Override
public void onFailure(String s, String s1) {
}
});
```
**Parameters**
| Parameters | Description |
| :--------- | :----------------------------------------------------------- |
| homeId | Family ID, please refer to the family management section for details |
```java
ActivatorBuilder builder = new ActivatorBuilder()
.setSsid(ssid)
.setContext(context)
.setPassword(password)
.setActivatorModel(ActivatorModelEnum.TY_EZ)
.setTimeOut(timeout)
.setToken(token)
.setListener(new ITuyaSmartActivatorListener() {
@Override
public void onError(String errorCode, String errorMsg) {
}
@Override
public void onActiveSuccess(DeviceBean devResp) {
//If multiple devices are activated at the same time, they will be called back multiple times
}
@Override
public void onStep(String step, Object data) {
}
}
));
```
**Parameters**
| Parameters | Description |
| :------------- | :----------------------------------------------------------- |
| token | Activation key required for Configuration |
| context | context |
| ssid | WiFi ssid |
| password | WiFi password |
| activatorModel | Configuration Mode, EZ Mode: ActivatorModelEnum.TY_EZ |
| timeout | Configuration timeout, default setting is 100s, unit is second |
##### 5.2 Configuration method invocation
```java
ITuyaActivator mTuyaActivator = TuyaHomeSdk.getActivatorInstance().newMultiActivator(builder);
//Start configuration
mTuyaActivator.start();
//Stop configuration
mTuyaActivator.stop();
//Exit the page to destroy some cache data and monitoring data.
mTuyaActivator.onDestroy();
```
#### 6. Device Management
When the equipment is successfully configured, you can view the device that has been configured in the equipment list. Select the equipment and enter the control panel. For more information about the equipment and API interface, please refer to [Device Management](https://developer.tuya.com/en/docs/app-development/android-app-sdk/device-management/devicemanage?id=Ka6ki8r2rfiuu).
##### 6.1 Device List
The device control must first initialize the data, call the following method to obtain the device information under the family, and it is sufficient to initialize it once every time the APP is alive. In addition, the switching family also needs to be initialized:
```java
TuyaHomeSdk.newHomeInstance(homeId).getHomeDetail(new ITuyaHomeResultCallback() {
@Override
public void onSuccess(HomeBean homeBean) {
}
@Override
public void onError(String errorCode, String errorMsg) {
}
});
```
The onSuccess method of this interface will return `HomeBean`, and then call `getDeviceList` of `HomeBean` to get the device list:
```java
List deviceList = homeBean.getDeviceList();
```
##### 6.2 Get all the function points of the device
```java
Map schemaBeanList = TuyaHomeSdk.getDataInstance().getSchema(int deviceId)
```
##### 6.3. Device control
The device control interface function is to send function points to the device to change the device state or function.
```java
ITuyaDevice.publishDps(dps, callback);
```
**Parameters**
| Parameters | Description |
| ---------- | --------------------------------------------------------- |
| dps | data points, device function point, format is json string |
| callback | Callback to send control instruction success |
The dps attribute of the DeviceBean class defines the state of the device, and is called the data point (DP) or the function point. Each key in the dps dictionary refers to a dpId of a function point, and the dpValue is the value of the function point.
**Command Format**
The control commands shall be sent in the format given below. {"(dpId)":"(dpValue)"}
**Example**
Assuming that the function point of the device that turns on the light is 101, the control code for turning on the light is as follows:
```java
mDevice.publishDps("{\"101\": true}", new IResultCallback() {
@Override
public void onError(String code, String error) {
Toast.makeText(mContext, "turn on the light failure", Toast.LENGTH_SHORT).show();
}
@Override
public void onSuccess() {
Toast.makeText(mContext, "turn on the light success", Toast.LENGTH_SHORT).show();
}
});
```
DP control points of alarm apparatus:
1. Smoke detection status:
2. The preheating:
3. Gas detection status:
4. PM2.5 readings
5. Formaldehyde detection value
6. Flame detection value
##### 6.4. Remove device
Used to remove a device from the user device list
```java
void removeDevice(IResultCallback callback);
```
##### 6.5. Reset
It is used to reset the device and restore it to the factory state. After the device is restored to the factory settings, it will re-enter the network-ready state (quick connection mode), and the related data of the device will be cleared.
```java
void resetFactory(IResultCallback callback);
```
## Issue Feedback
You can provide feedback on your issue via **Github Issue** or [Technical Support Council](https://service.console.tuya.com)
## LICENSE
Tuya Android Home SDK Sample is available under the MIT license. Please see the [LICENSE]() file for more info.