https://github.com/useflyyer/flyyer-ruby
Ruby helpers to create https://cdn.flyyer.io URLs | Og:Image as a Service
https://github.com/useflyyer/flyyer-ruby
flyyer gem image-generator open-graph rails ruby seo twitter-cards
Last synced: 12 months ago
JSON representation
Ruby helpers to create https://cdn.flyyer.io URLs | Og:Image as a Service
- Host: GitHub
- URL: https://github.com/useflyyer/flyyer-ruby
- Owner: useflyyer
- License: mit
- Created: 2020-08-08T17:08:51.000Z (almost 6 years ago)
- Default Branch: master
- Last Pushed: 2021-10-21T13:41:11.000Z (over 4 years ago)
- Last Synced: 2025-07-02T21:23:03.878Z (about 1 year ago)
- Topics: flyyer, gem, image-generator, open-graph, rails, ruby, seo, twitter-cards
- Language: Ruby
- Homepage: https://rubygems.org/gems/flyyer
- Size: 75.2 KB
- Stars: 12
- Watchers: 2
- Forks: 0
- Open Issues: 2
-
Metadata Files:
- Readme: README.md
- License: LICENSE.txt
Awesome Lists containing this project
README
# flyyer-ruby
The AI-powered preview system built from your website (no effort required).

**This gem is agnostic to any Ruby framework.**
## Index
- [Get started (5 minutes)](#get-started-5-minutes)
- [Advanced usage](#advanced-usage)
- [Flyyer Render](#flyyer-render)
- [Development](#development)
- [Test](#test)
## Get started (5 minutes)
Haven't registered your website yet? Go to [Flyyer.io](https://flyyer.io?ref=flyyer-ruby) and create a project (e.g. `website-com`).
### 1. Install the library
Add this line to your application's Gemfile:
```ruby
gem 'flyyer'
```
And then execute:
```sh
bundle install
```
Or install it yourself as:
```sh
gem install flyyer
```
### 2. Get your Flyyer.io smart image link
In your website code (e.g. your landing or product/post view file), set the following:
```ruby
flyyer = Flyyer::Flyyer.create do |f|
# Your project slug
f.project = 'website-com'
# The current path of your website
f.path = '/path/to/product' # In Ruby on Rails you can use `request.env['PATH_INFO']`
# (Optional, Recommended) Default or main image for each page
f.default="/static/image-1.png" # or https://your-site.com/static/image-1.png
end
# Check:
puts flyyer.href
# > https://cdn.flyyer.io/v2/website-com/_/__v=1618281823&_def=%2Fstatic%2Fimage-1.png/path/to/product
```
### 3. Put your smart image link in your `` tags
You'll get the best results like this:
```ruby
# .haml
%meta{ property: 'og:image', content: flyyer.href }
%meta{ name: 'twitter:image', content: flyyer.href }
%meta{ name: 'twitter:card', content: 'summary_large_image' }
# .erb
# IMPORTANT: if you're using Ruby on Rails, please use `flyyer.href.html_safe` to prevent double serialization
```
### 4. Create a `rule` for your project
Go to your dashboard [here](https://flyyer.io/dashboard/_/projects/_/manage) and create a rule like the following:
[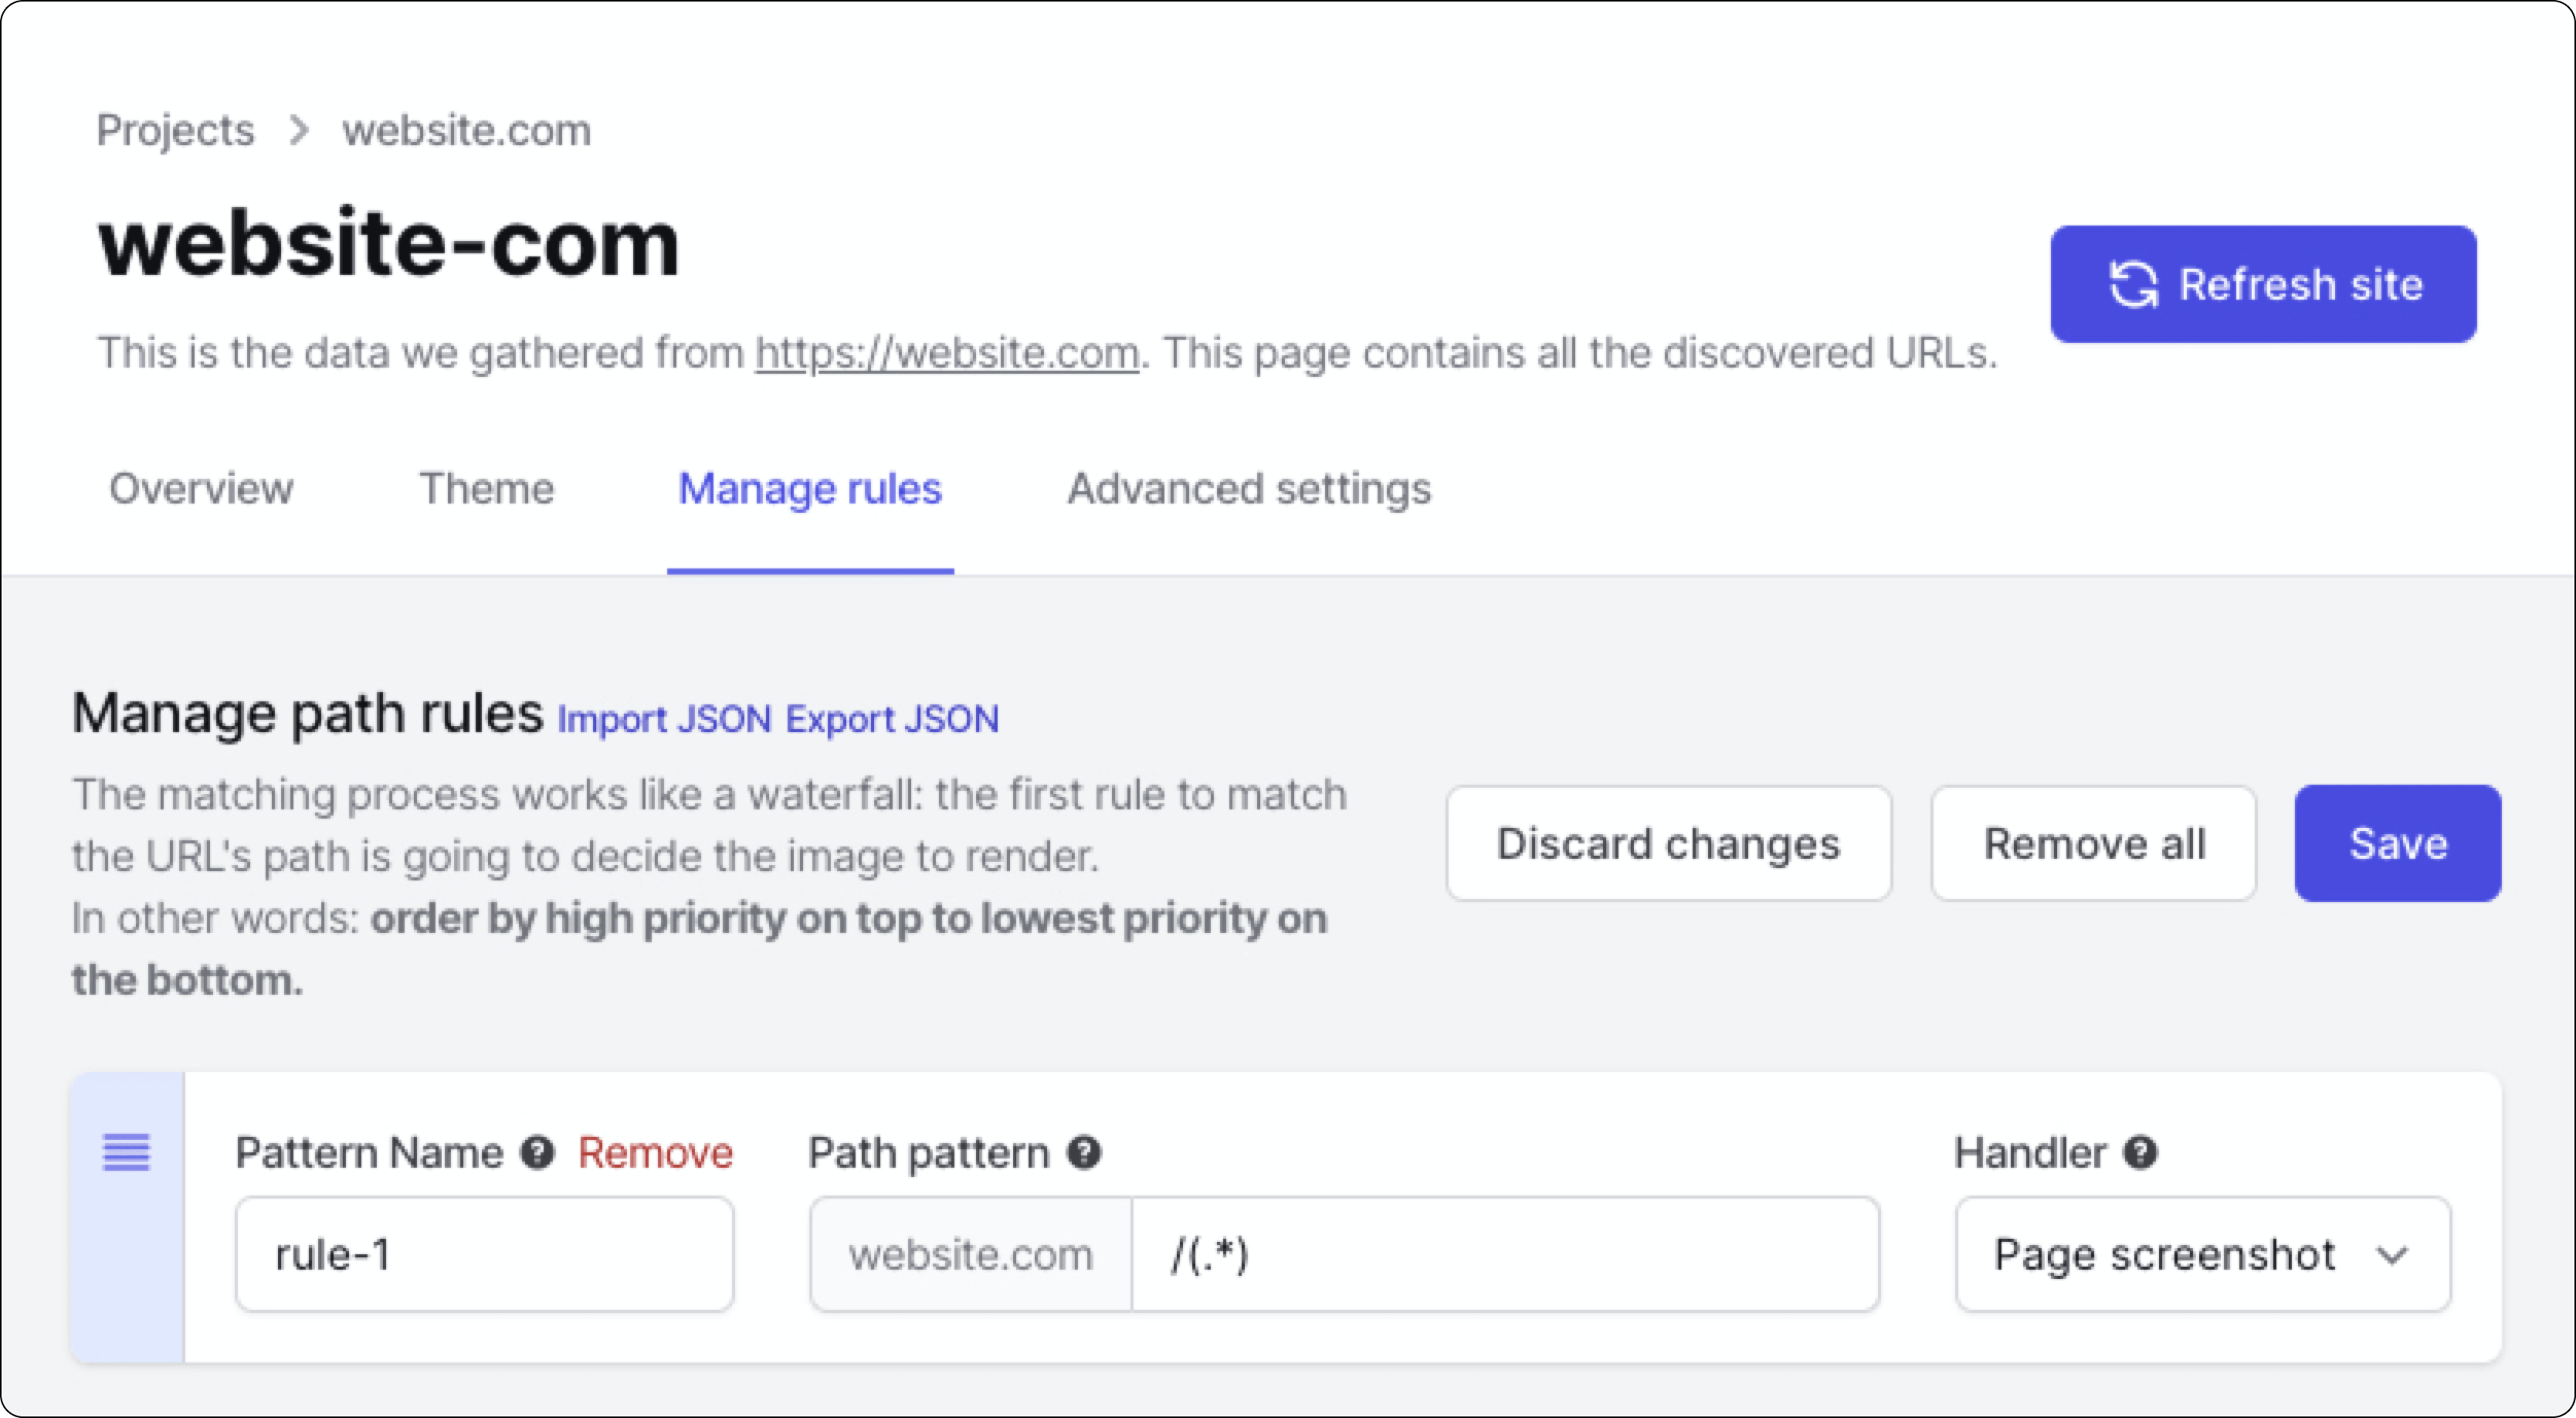](https://flyyer.io/dashboard)
Voilà!
## Advanced usage
Advanced features include:
- Custom variables: additional information for your preview that is not present in your website. [Note: if you need customization you should take a look at [Flyyer Render](#flyyer-render)]
- Custom metadata: set custom width, height, resolution, and more (see example).
- Signed URLs.
Here you have a detailed full example for project `website-com` and path `/path/to/product`.
```ruby
flyyer = Flyyer::Flyyer.create do |f|
# [Required] Your project slug, find it in your dashboard https://www.flyyer.io/dashboard/_/projects/_/integrate.
f.project = 'website-com'
# [Recommended] The current path of your website (by default it's `/`).
f.path = '/path/to/product'
# [Optional] In case you want to provide information that is not present in your page set it here.
f.variables = {
'title': 'Product name',
'img': 'https://flyyer.io/img/marketplace/flyyer-banner.png',
}
# [Optional] Custom metadata for rendering the image. ID is recommended so we provide you with better statistics.
f.meta = {
'id': 'jeans-123', # recommended for better stats
'v': '12369420123', # specific handler version, by default it's a random number to circumvent platforms' cache,
'width': 1200,
'height': 600,
'resolution': 0.9, # from 0.0 to 1.0
'agent': 'whatsapp', # force dimensions for specific platform
}
end
# Use this image in your