https://github.com/usulpro/storybook-addon-api
https://github.com/usulpro/storybook-addon-api
Last synced: over 1 year ago
JSON representation
- Host: GitHub
- URL: https://github.com/usulpro/storybook-addon-api
- Owner: usulpro
- License: mit
- Created: 2021-02-21T18:53:05.000Z (over 5 years ago)
- Default Branch: main
- Last Pushed: 2021-02-21T21:12:43.000Z (over 5 years ago)
- Last Synced: 2025-02-06T07:12:08.279Z (over 1 year ago)
- Language: JavaScript
- Size: 8.79 KB
- Stars: 2
- Watchers: 2
- Forks: 0
- Open Issues: 0
-
Metadata Files:
- Readme: README.md
- License: LICENSE
Awesome Lists containing this project
README
# Storybook Addon Kit
Simplify the creation of Storybook addons
- 📝 Live-editing in development
- ⚛️ React/JSX support
- 📦 Transpiling and bundling with Babel
- 🏷 Plugin metadata
- 🚢 Release management with [Auto](https://github.com/intuit/auto)
- 🧺 Boilerplate and sample code
## Getting Started
Click the **Use this template** button to get started.
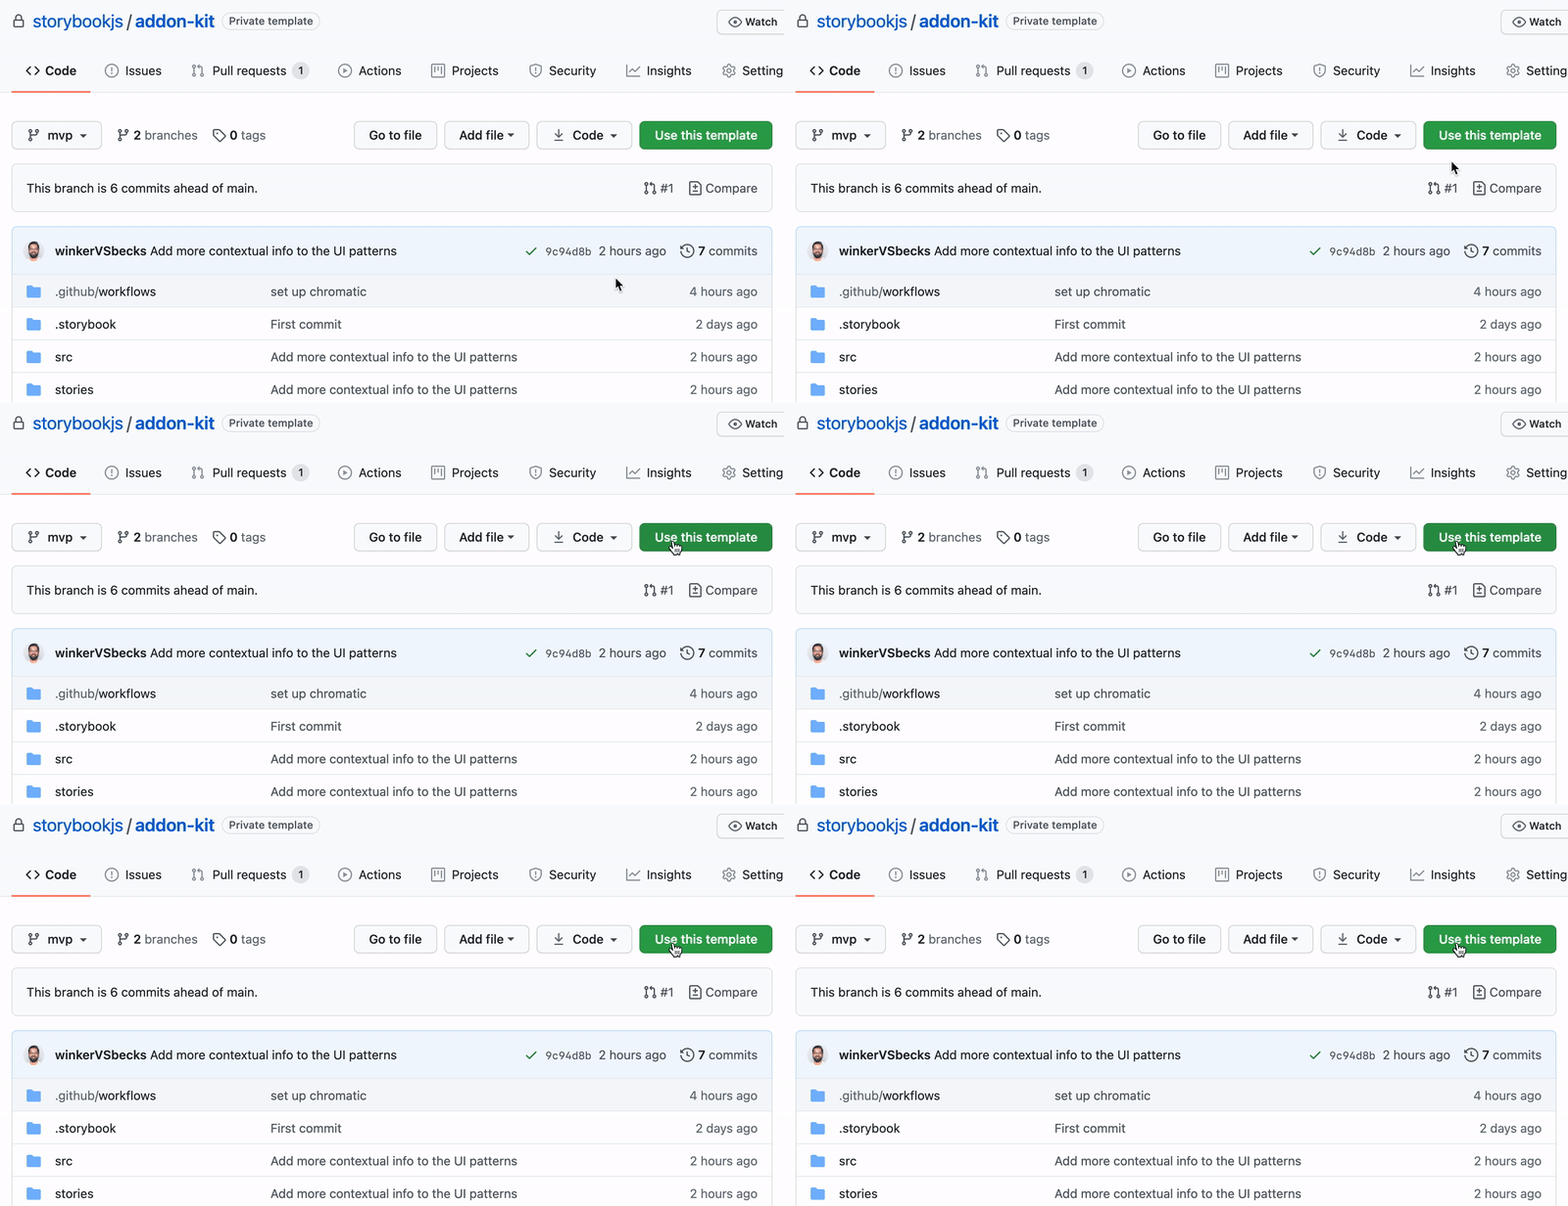
Clone your repository and install dependencies.
```*sh*
npm install
```
### Development scripts
- `npm run start` runs babel in watch mode and starts Storybook
- `npm run build` build and package your addon code
## What's included?
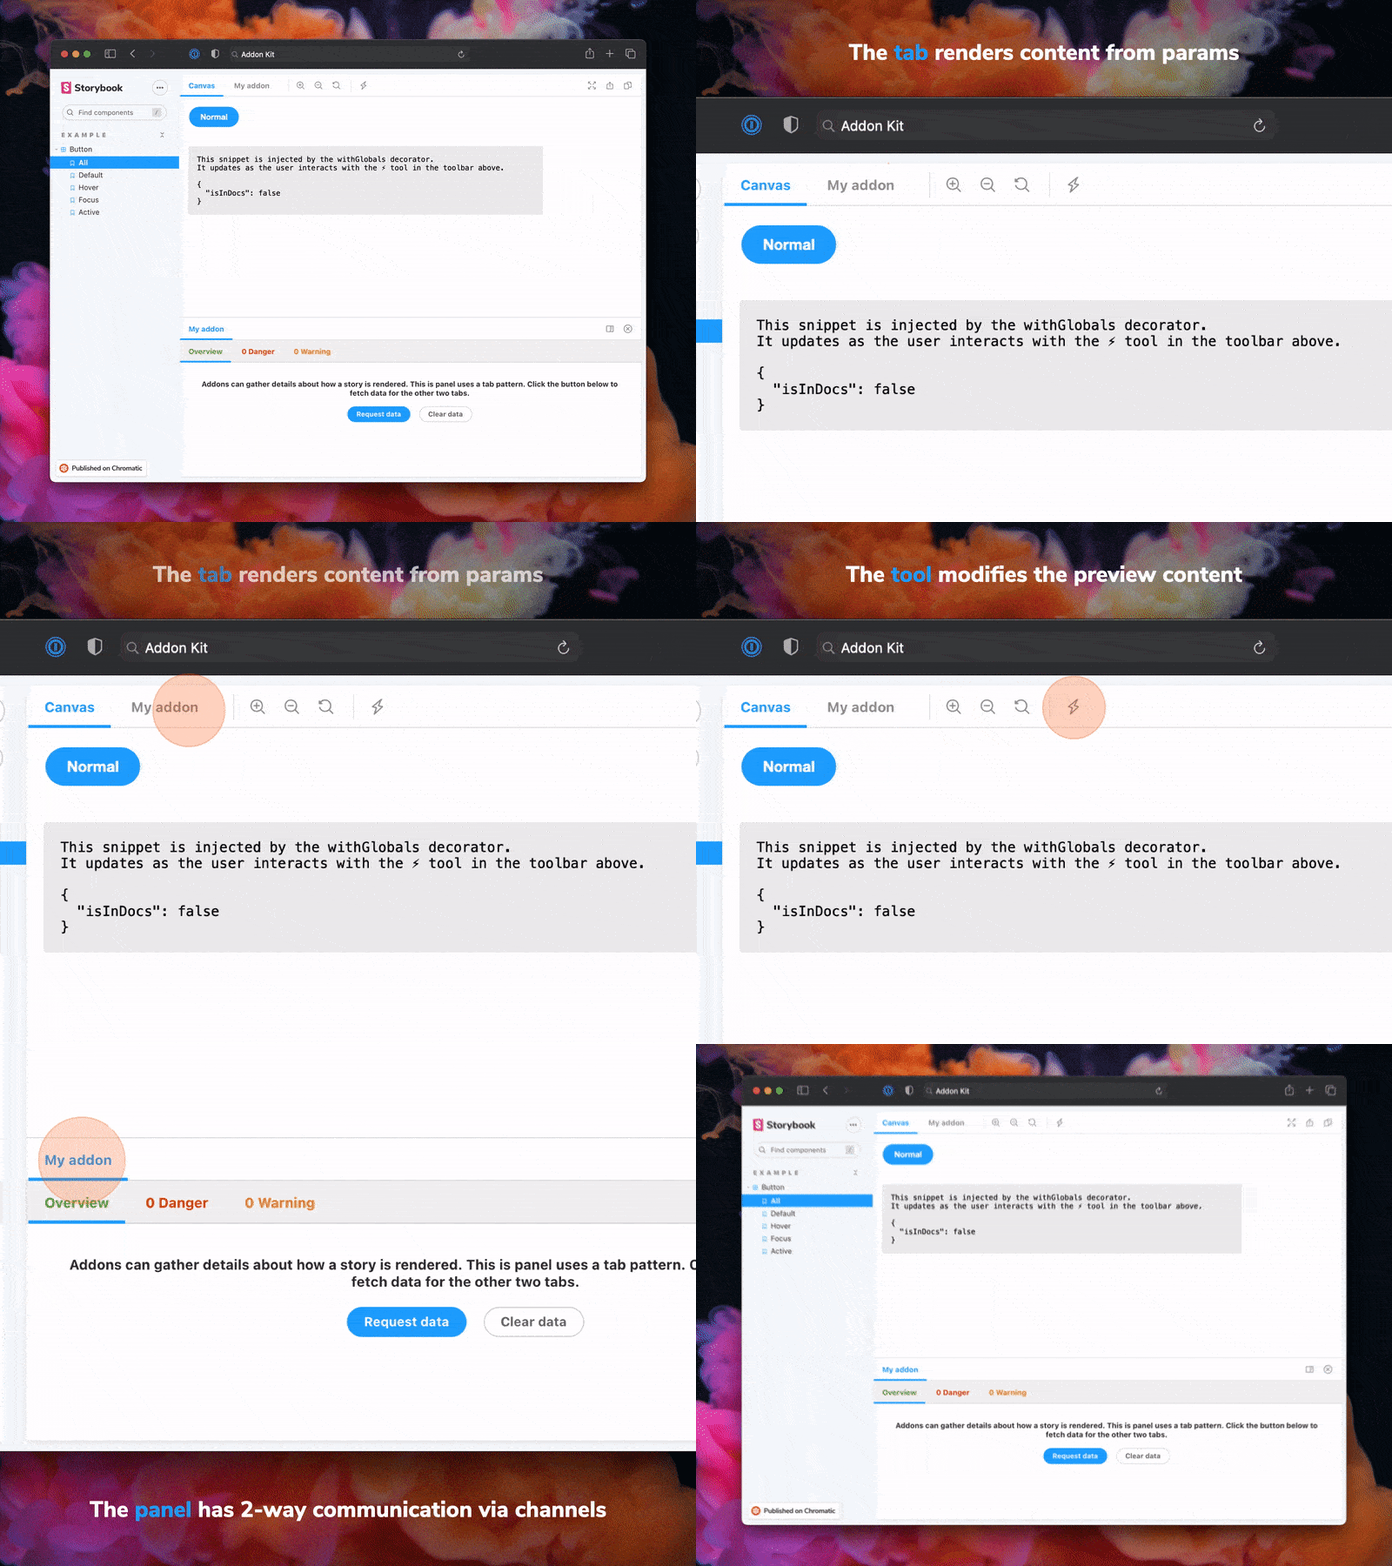
The addon code lives in `src`. It demonstrates all core addon related concepts. The three [UI paradigms](https://storybook.js.org/docs/react/addons/addon-types#ui-based-addons)
- `src/Tool.js`
- `src/Panel.js`
- `src/Tab.js`
Which, along with the addon itself, are registered in `src/preset/manager.js`.
Managing State and interacting with a story:
- `src/withGlobals.js` & `src/Tool.js` demonstrates how to use `useGlobals` to manage global state and modify the contents of a Story.
- `src/withRoundTrip.js` & `src/Panel.js` demonstrates two-way communication using channels.
- `src/Tab.js` demonstrates how to use `useParameter` to access the current story's parameters.
Your addon might use one or more of these patterns. Feel free to delete unused code. Update `src/preset/manager.js` and `src/preset/preview.js` accordingly.
Lastly, configure you addon name in `src/constants.js`.
### Metadata
Storybook addons are listed in the [catalog](https://storybook.js.org/addons) and distributed via npm. The catalog is populated by querying npm's registry for Storybook-specific metadata in `package.json`. This project has been configured with sample data. Learn more about available options in the [Addon metadata docs](https://storybook.js.org/docs/react/addons/addon-catalog#addon-metadata).
## Release management
### Setup
This project is configured to use [Auto](https://github.com/intuit/auto) for release management. It generates a changelog and pushes it to both GitHub and npm. Therefore, you need to configure access to both:
- Authenticate using [`npm adduser`](https://docs.npmjs.com/cli/adduser.html)
- Create an [access token](https://docs.npmjs.com/creating-and-viewing-access-tokens#creating-access-tokens). You’ll need a token with both _Read and Publish_ permissions.
- Similarly, generate a [Github token](https://github.com/settings/tokens). This token will need the repo scope.
Create a `.env` file at the root of your project and add both these tokens to it:
```
GH_TOKEN=
NPM_TOKEN=
```
Lastly, **create labels on GitHub**. You’ll use these labels in the future when making changes to the package.
```
npx auto create-labels
```
If you check on GitHub, you’ll now see a set of labels that Auto would like you to use. Use these to tag future pull requests.
### Creating a releasing
```sh
npm run release
```
That will:
- Build and package the addon code
- Bump the version
- Push a release to GitHub and npm
- Push a changelog to GitHub