Ecosyste.ms: Awesome
An open API service indexing awesome lists of open source software.
https://github.com/vsantos1711/my-blog
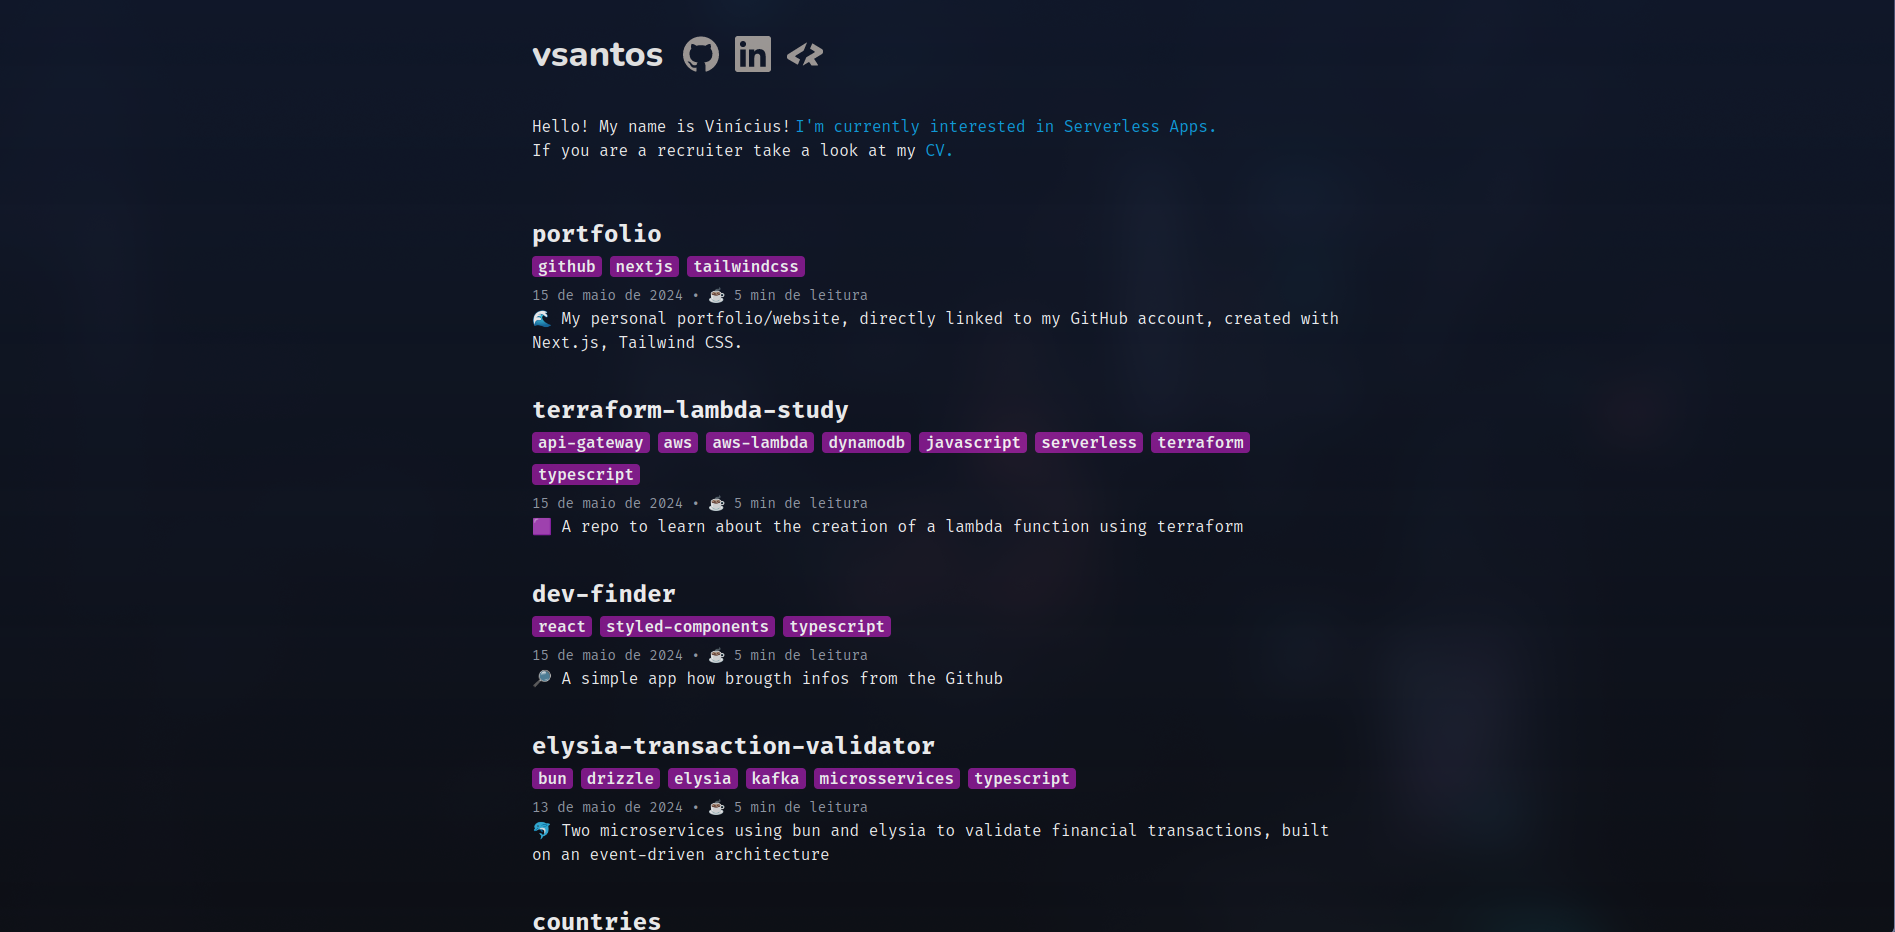
🌊 My personal website, directly linked to my GitHub account, created with Next.js, Tailwind CSS.
https://github.com/vsantos1711/my-blog
github nextjs tailwindcss
Last synced: 7 days ago
JSON representation
🌊 My personal website, directly linked to my GitHub account, created with Next.js, Tailwind CSS.
- Host: GitHub
- URL: https://github.com/vsantos1711/my-blog
- Owner: vsantos1711
- License: mit
- Created: 2024-05-10T17:06:52.000Z (8 months ago)
- Default Branch: main
- Last Pushed: 2024-10-24T11:18:34.000Z (2 months ago)
- Last Synced: 2024-10-24T12:32:39.358Z (2 months ago)
- Topics: github, nextjs, tailwindcss
- Language: TypeScript
- Homepage:
- Size: 974 KB
- Stars: 0
- Watchers: 1
- Forks: 0
- Open Issues: 0
-
Metadata Files:
- Readme: README.md
- License: LICENSE.md
Awesome Lists containing this project
README
# 🌊 My blog

## Project Status

> [!IMPORTANT]
> Since the application is still under development, please note that topics not yet completed will be highlighted by a message like that
## Description
Welcome to my personal blog, a platform built with Next.js and TailwindCSS, specifically designed for developers who want to showcase their work in a dynamic and 100% integrated way with GitHub.
#### Main features:
- **Direct Connection with GitHub:** All my posts and projects are linked to my GitHub repositories. Any updates made to my repositories will automatically be reflected in the blog.
- **Dynamic Blog:** Each repository becomes a post on my blog. Information is extracted directly from the README.md files of my repositories, displaying details about projects, challenges, and studies.
- **"About Me" and "CV" Sections:** Includes an "About Me" section where you can learn more about me, and a "CV" section where you can view my skills and experiences!
- **No Database or API:** No database or API needed. All content displayed on the website is hosted directly on GitHub, eliminating the need for additional databases or APIs. Simple and efficient!
## Technologies Used

- **[Next.js:](https://nextjs.org/)** The React framework used to build the blog, providing server-side rendering and static site generation.
- **[TypeScript:](https://www.typescriptlang.org/)** The primary programming language for the project, ensuring type safety and enhancing code quality.
- **[TailwindCSS:](https://tailwindcss.com/)** Utility-first CSS framework used for styling the blog quickly and efficiently.
- **[Vercel:](https://vercel.com/)** Platform used to host the blog, providing seamless deployment and serverless functions.
- **[GitHub:](https://github.com/)** Version control system used to fetch and display data directly from repositories, keeping the blog content updated.
- **[Zustand:](https://zustand-demo.pmnd.rs/)** A small, fast, and scalable state management library for React applications. It is used to create a global state to manage user information in the app.
## Usage
> [!IMPORTANT]
> We are currently assessing the need for standardizing the README.md files of projects so that they can be read by the application...
> To start using our app, you need to make some changes and follow standard README.md formatting, which can be found [here](https://github.com/vsantos1711/useful-things)
> It's important that your github username is the same as the one you use on your social media, as this is built into the default icon link URL
> Another point is that the api will consider that the main branch of your project is the MAIN, to change that, change the .env file
## Development
If you like and want to customize your own portfolio, you can run the application locally for code generation purposes or contributions. Follow the steps below to get started
Pre-requisites
To be able to start development the application make sure that you have the following pre-requisites installed:
- Pnpm
```bash
npm install -g pnpm
```
- Node.js (versão LTS)
---
Running the app
To setup a local development environment the following steps can be followed:
1. Clone the repository and install dependencies:
```bash
git clone https://github.com/vsantos1711/my-blog.git && cd my-blog && pnpm install
```
2. Change the env file :
```
rename the .evn.example to .env
change the GITHUB_USER value to your user
change the DEFAULT_BRANCH value.
// the default branch needs to be the same in all of your projects
change the GITHUB_TOKEN value to a token generated by github
// this will prevent problems like Rate Limit on Github API
```
3. Run the app:
```bash
pnpm run dev
```
## To-do
- [ ] Create CV page
- [ ] Create "About me" page
- [ ] Create a global state using [zustand](https://zustand-demo.pmnd.rs/)
- [ ] Add errors functions
- [ ] Add internationalization
## License
Licensed under the [MIT license](https://github.com/vsantos1711/portfolio/blob/main/LICENSE.md).