https://github.com/wagiminator/attiny13-tinybling
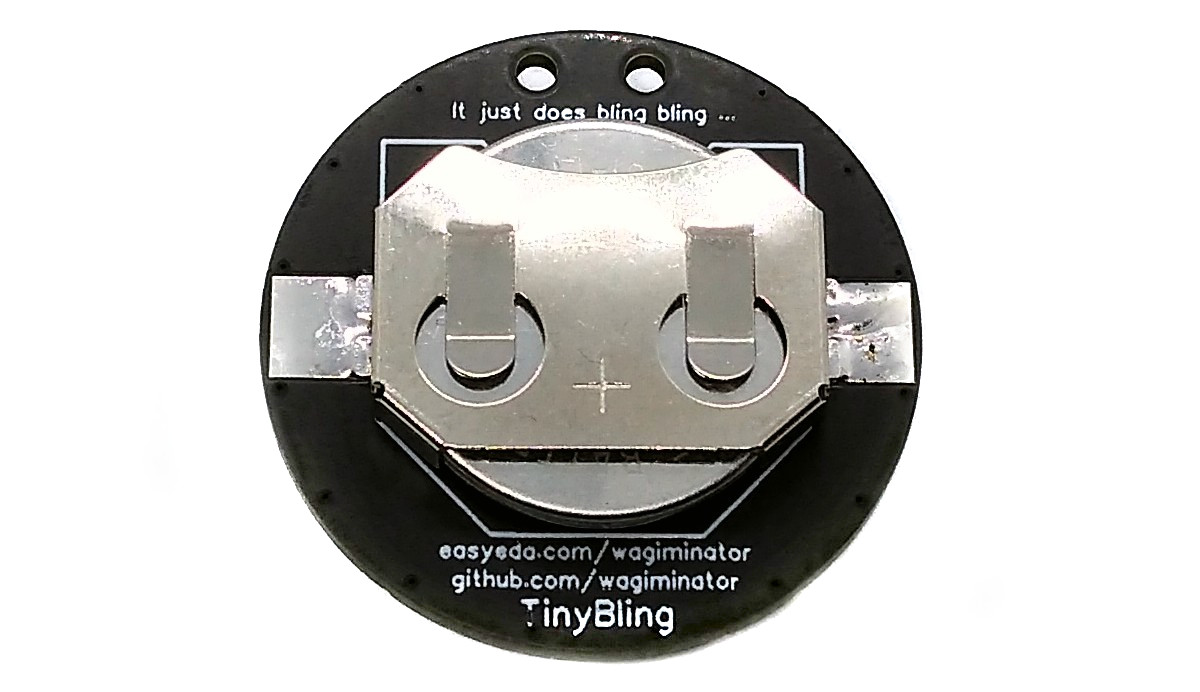
It just does bling bling ...
https://github.com/wagiminator/attiny13-tinybling
arduino attiny attiny13 attiny13a avr diy led neopixel pcb project
Last synced: 11 months ago
JSON representation
It just does bling bling ...
- Host: GitHub
- URL: https://github.com/wagiminator/attiny13-tinybling
- Owner: wagiminator
- License: other
- Created: 2021-06-13T18:59:18.000Z (about 5 years ago)
- Default Branch: main
- Last Pushed: 2022-12-12T19:06:27.000Z (over 3 years ago)
- Last Synced: 2025-06-23T00:08:44.282Z (about 1 year ago)
- Topics: arduino, attiny, attiny13, attiny13a, avr, diy, led, neopixel, pcb, project
- Language: C++
- Homepage: https://oshwlab.com/wagiminator/attiny13-tinybling
- Size: 1.71 MB
- Stars: 15
- Watchers: 1
- Forks: 4
- Open Issues: 0
-
Metadata Files:
- Readme: README.md
- License: LICENSE
Awesome Lists containing this project
README
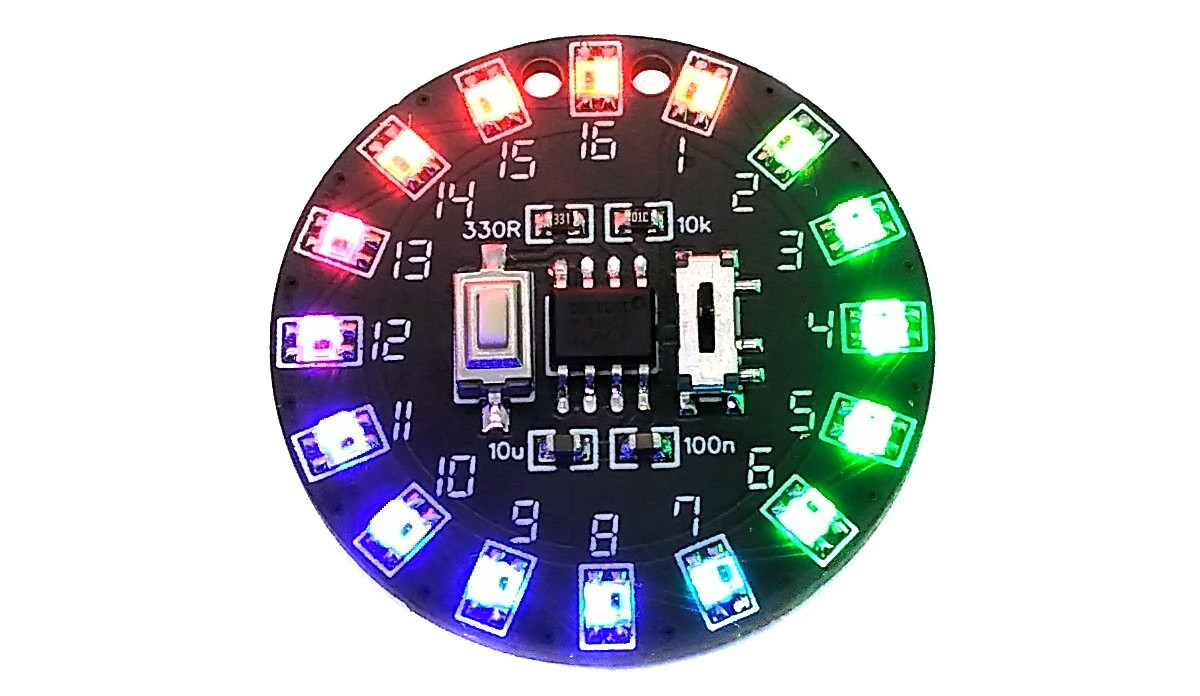
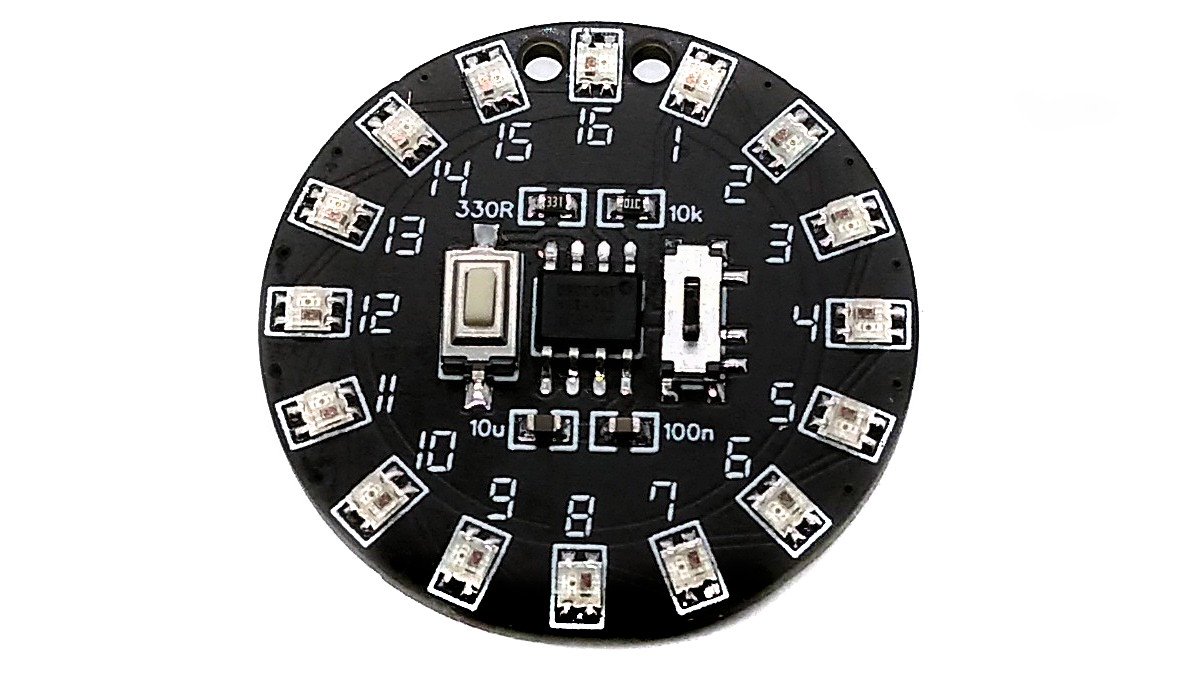
# TinyBling - it just does bling bling...
TinyBling is a completely pointless device that just does bling bling. It's wasted an ATtiny13A, 16 WS2812C-2020 5mA addressable LEDs, and a LIR2032 rechargeable coin cell battery.
- Project Video (Youtube): https://youtu.be/-KiLh9RPjs4
- Design Files (EasyEDA): https://easyeda.com/wagiminator/attiny13-tinybling
# Compiling and Uploading the Firmware
Since there is no ICSP header on the board, you have to program the ATtiny either before soldering using an [SOP adapter](https://aliexpress.com/wholesale?SearchText=sop-8+150mil+adapter), or after soldering using an [EEPROM clip](https://aliexpress.com/wholesale?SearchText=sop8+eeprom+programming+clip). The [AVR Programmer Adapter](https://github.com/wagiminator/AVR-Programmer/tree/master/AVR_Programmer_Adapter) can help with this.
## If using the Arduino IDE
- Make sure you have installed [MicroCore](https://github.com/MCUdude/MicroCore).
- Go to **Tools -> Board -> MicroCore** and select **ATtiny13**.
- Go to **Tools** and choose the following board options:
- **Clock:** 9.6 MHz internal osc.
- **BOD:** BOD 2.7V
- **Timing:** Micros disabled
- Connect your programmer to your PC and to the ATtiny.
- Go to **Tools -> Programmer** and select your ISP programmer (e.g. [USBasp](https://aliexpress.com/wholesale?SearchText=usbasp)).
- Go to **Tools -> Burn Bootloader** to burn the fuses.
- Open the TinyBling sketch and click **Upload**.
## If using the precompiled hex-file
- Make sure you have installed [avrdude](https://learn.adafruit.com/usbtinyisp/avrdude).
- Connect your programmer to your PC and to the ATtiny.
- Open a terminal.
- Navigate to the folder with the hex-file.
- Execute the following command (if necessary replace "usbasp" with the programmer you use):
```
avrdude -c usbasp -p t13 -U lfuse:w:0x3a:m -U hfuse:w:0xff:m -U flash:w:tinybling.hex
```
## If using the makefile (Linux/Mac)
- Make sure you have installed [avr-gcc toolchain and avrdude](http://maxembedded.com/2015/06/setting-up-avr-gcc-toolchain-on-linux-and-mac-os-x/).
- Connect your programmer to your PC and to the ATtiny.
- Open a terminal.
- Navigate to the folder with the makefile and the sketch.
- Run `PROGRMR=usbasp make install` to compile, burn the fuses and upload the firmware (change PROGRMR accordingly).
# References, Links and Notes
1. [ATtiny13A datasheet](http://ww1.microchip.com/downloads/en/DeviceDoc/doc8126.pdf)
2. [WS2812-2020 Datasheet](https://www.led-stuebchen.de/download/WS2812-2020_V1.1_EN.pdf)
3. [NeoPixel Implementation](https://github.com/wagiminator/ATtiny13-NeoController)
# License

This work is licensed under Creative Commons Attribution-ShareAlike 3.0 Unported License.
(http://creativecommons.org/licenses/by-sa/3.0/)