https://github.com/wintercms/web-installer
Web-based installer for Winter CMS
https://github.com/wintercms/web-installer
hacktoberfest installer php vue wintercms
Last synced: about 1 year ago
JSON representation
Web-based installer for Winter CMS
- Host: GitHub
- URL: https://github.com/wintercms/web-installer
- Owner: wintercms
- License: mit
- Created: 2021-04-25T03:17:52.000Z (about 5 years ago)
- Default Branch: main
- Last Pushed: 2024-10-03T02:18:46.000Z (almost 2 years ago)
- Last Synced: 2025-04-27T12:39:10.501Z (about 1 year ago)
- Topics: hacktoberfest, installer, php, vue, wintercms
- Language: Vue
- Homepage: https://wintercms.com/
- Size: 3.03 MB
- Stars: 29
- Watchers: 5
- Forks: 4
- Open Issues: 8
-
Metadata Files:
- Readme: README.md
- License: LICENSE
Awesome Lists containing this project
- awesome-wintercms - Web installer
README
# Winter CMS Web Installer
[](https://discord.gg/D5MFSPH6Ux)
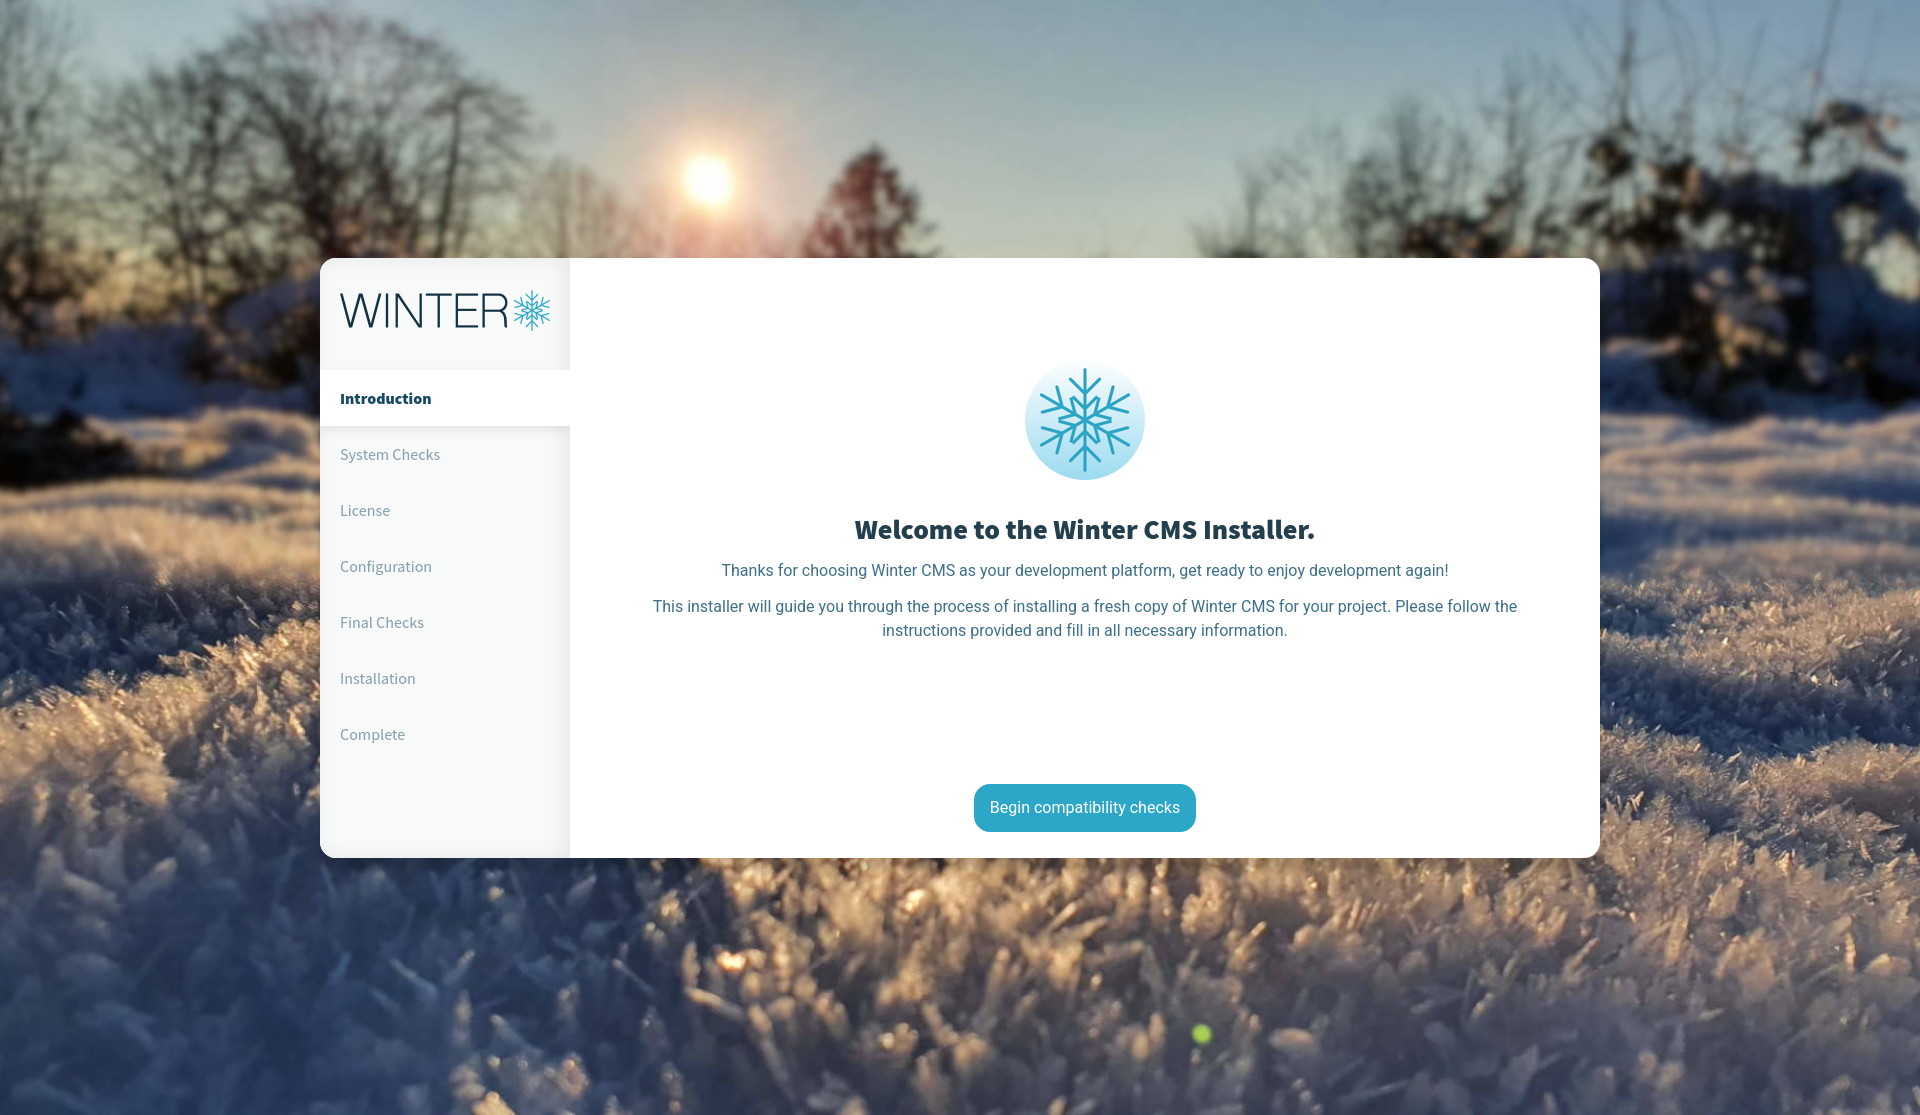
A web-based installation script that will install a fresh copy of Winter CMS. This is the recommended method of installation for **non-technical users**. It is simpler than the command-line installation or Composer methods and does not require any special skills.
For developers, we recommend the following methods:
- [Composer installation](https://wintercms.com/docs/v1.2/docs/architecture/using-composer#installing-winter-via-composer)
- [Command-line installation](https://github.com/wintercms/cli)
## Installation
> **NOTE:** This installer installs Winter CMS 1.2, which requires PHP 8.0 or above. If you are still running PHP 7.4 or below, please use [v1.0.2](https://github.com/wintercms/web-installer/releases/download/v1.0.2/install.zip) of this installer, which installs Winter 1.1. Do note that this branch of Winter is now end-of-life and will only be receiving security fixes.
1. Prepare an empty directory on the web server that will host your Winter CMS installation. It can be a main domain, sub-domain or subfolder.
2. [Download the latest "install.zip" file](https://github.com/wintercms/web-installer/releases/latest/download/install.zip) into this folder.
3. Unzip the downloaded ZIP file.
4. Grant write permissions to all files and folders that were extracted.
5. In your web browser, navigate to the URL pointing to that folder, and include `/install.html` at the end of the URL.
6. Follow the instructions given in the installer.
## Links
For further information and requirements for Winter CMS, [consult the documentation](https://wintercms.com/docs). To review the files that will be installed, visit the [main Winter CMS repository](https://github.com/wintercms/winter).
## Development
The Web installer is built on [VueJS](https://vuejs.org) and uses a primarily NodeJS-driven development pipeline, but does
contain a PHP API element to run checks on the system and perform the installation of Winter CMS. You will need the following:
- `node` v14 or above.
- `npm` v6 or above.
- `php` v8.0 or above
To install all necessary dependencies, run the following:
```
npm install
```
You will also need to install the PHP dependencies located in the `public/install/api` directory. Run the following from the root directory to do so:
```
composer --working-dir=./public/install/api install
```
### Development server (hot-reloading)
The included dependencies include a simple web-server which performs hot-reloading of the app when changes are made. To start this server, run the following:
```
npm run dev
```
You will be given a URL in which you can review the application in your browser.
When developing in this format, you will need to provide a URL in order to access the PHP API file located in `public/install/api.php`. You will need to create a file called `.env.local` inside the root folder of your development copy, and add the following line:
```
VITE_APP_INSTALL_URL=""
```
Substituting `` with the URL to the `public/install` directory as it would be located on your web server. You can run the in-built PHP server to serve this, by navigating to this folder and running the following command:
```
php -S 127.0.0.1:8081
```
In following the above, the `.env.local` file should contain the following:
```
VITE_APP_INSTALL_URL="http://127.0.0.1:8081"
```
### Building the application
Building the application is a piece of cake! Simply run the following:
```
npm run build
```
The build will then be made available in the `dist` subfolder.
### Linting
This application is built on a strict code formatting and quality standard, and will be checked on commit. If you want to fix common issues and check that your code meets the standard, you can run the following:
```
npm run lint
```