https://github.com/writeonlycode/next-portfolio-splash
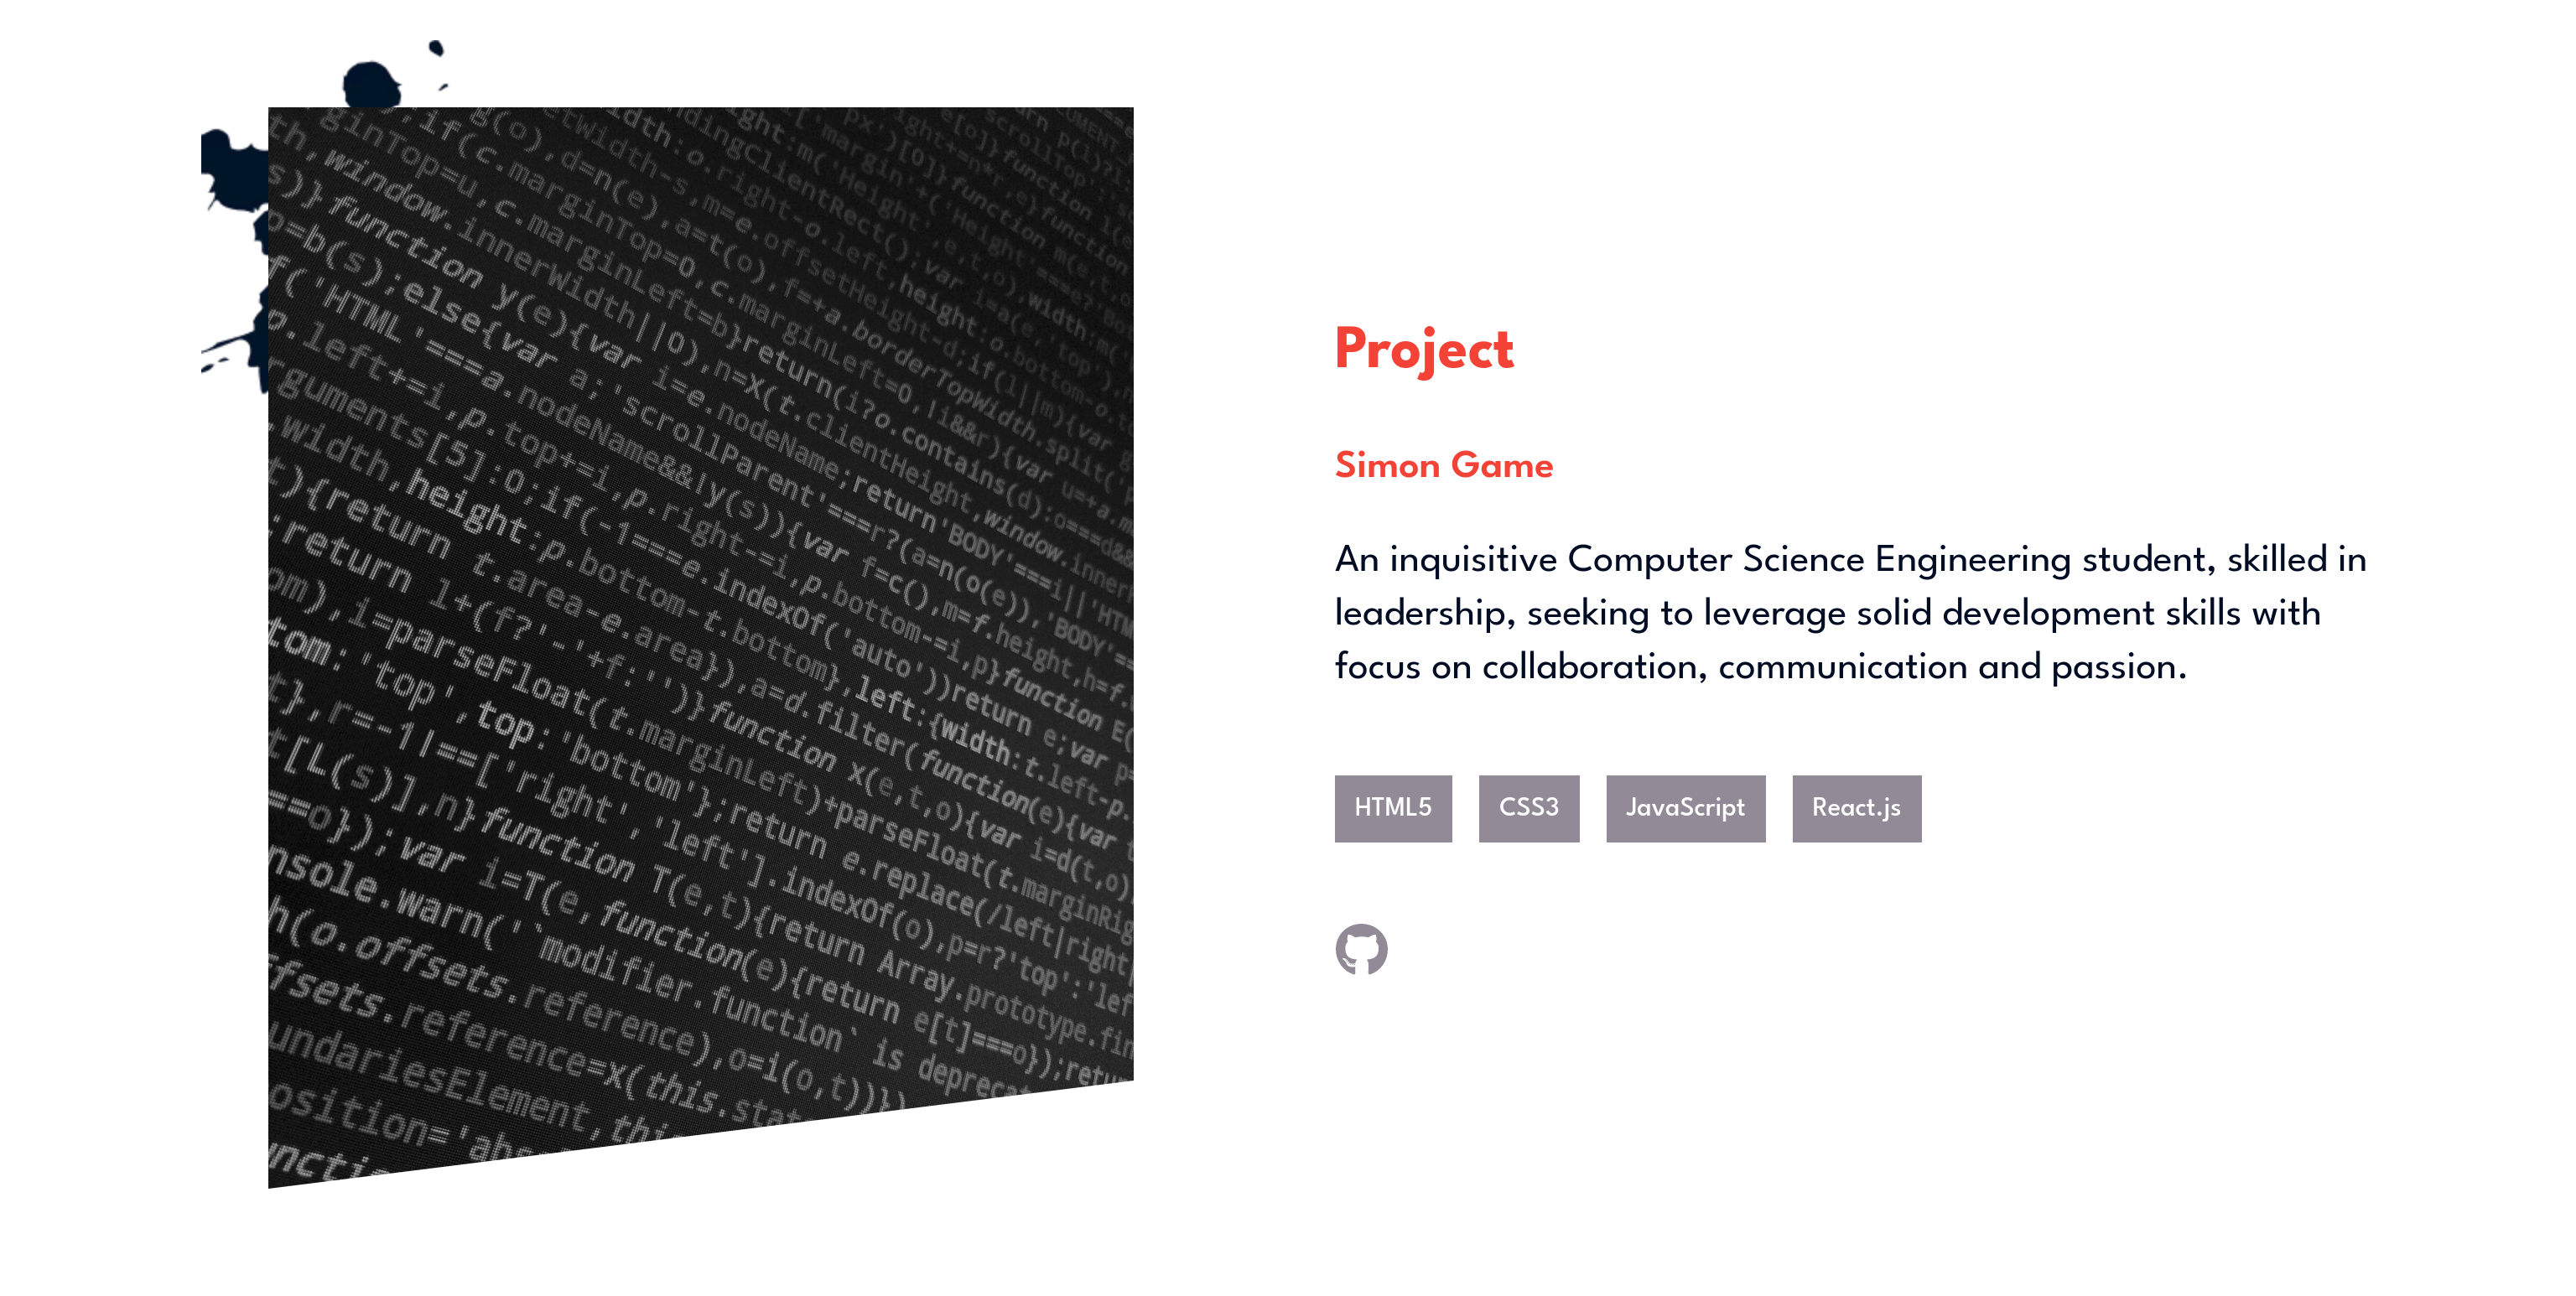
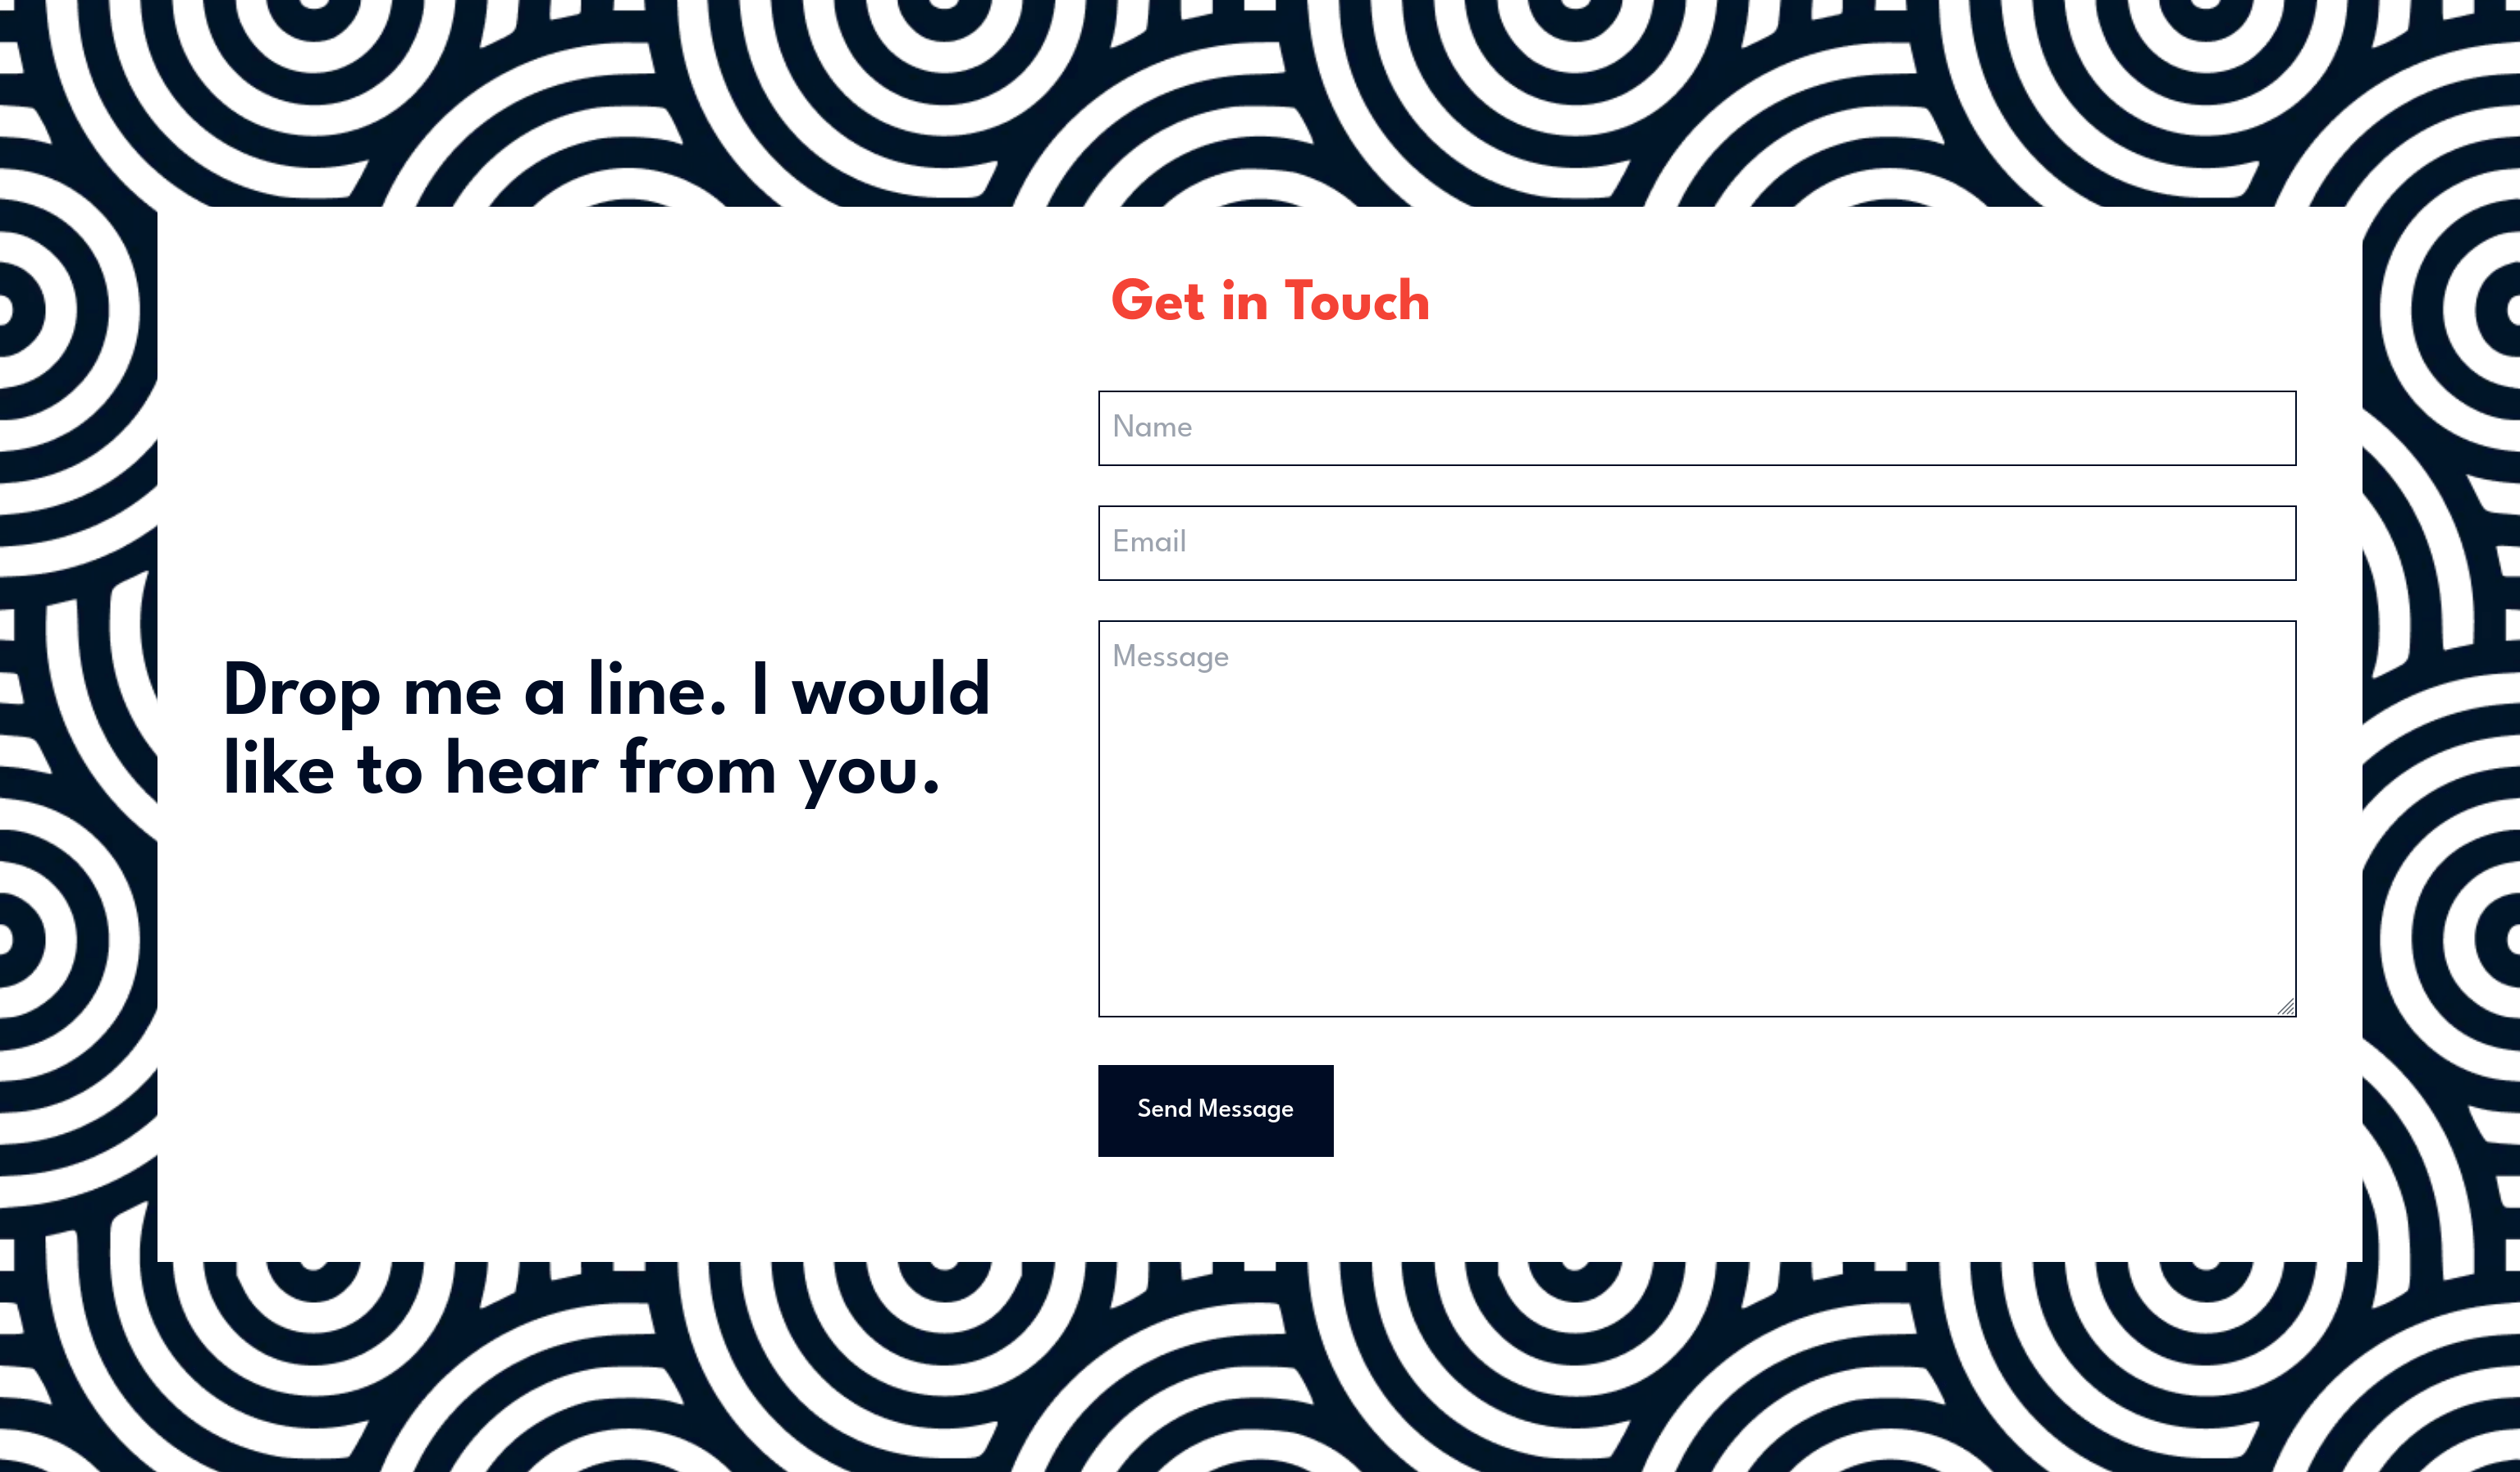
Next Portfolio Splash is a visually captivating portfolio website designed for developers to showcase their skills and projects.
https://github.com/writeonlycode/next-portfolio-splash
Last synced: 3 months ago
JSON representation
Next Portfolio Splash is a visually captivating portfolio website designed for developers to showcase their skills and projects.
- Host: GitHub
- URL: https://github.com/writeonlycode/next-portfolio-splash
- Owner: writeonlycode
- Created: 2023-08-10T07:30:33.000Z (over 2 years ago)
- Default Branch: master
- Last Pushed: 2023-10-03T12:10:14.000Z (over 2 years ago)
- Last Synced: 2024-12-29T07:44:51.819Z (about 1 year ago)
- Language: TypeScript
- Homepage: https://next-portfolio-splash.vercel.app/
- Size: 22.3 MB
- Stars: 0
- Watchers: 1
- Forks: 0
- Open Issues: 0
-
Metadata Files:
- Readme: README.md
Awesome Lists containing this project
README
# Next Portfolio Splash
Next Portfolio Splash is a visually captivating portfolio website designed
specifically for developers to showcase their skills and projects in an elegant
and engaging manner.

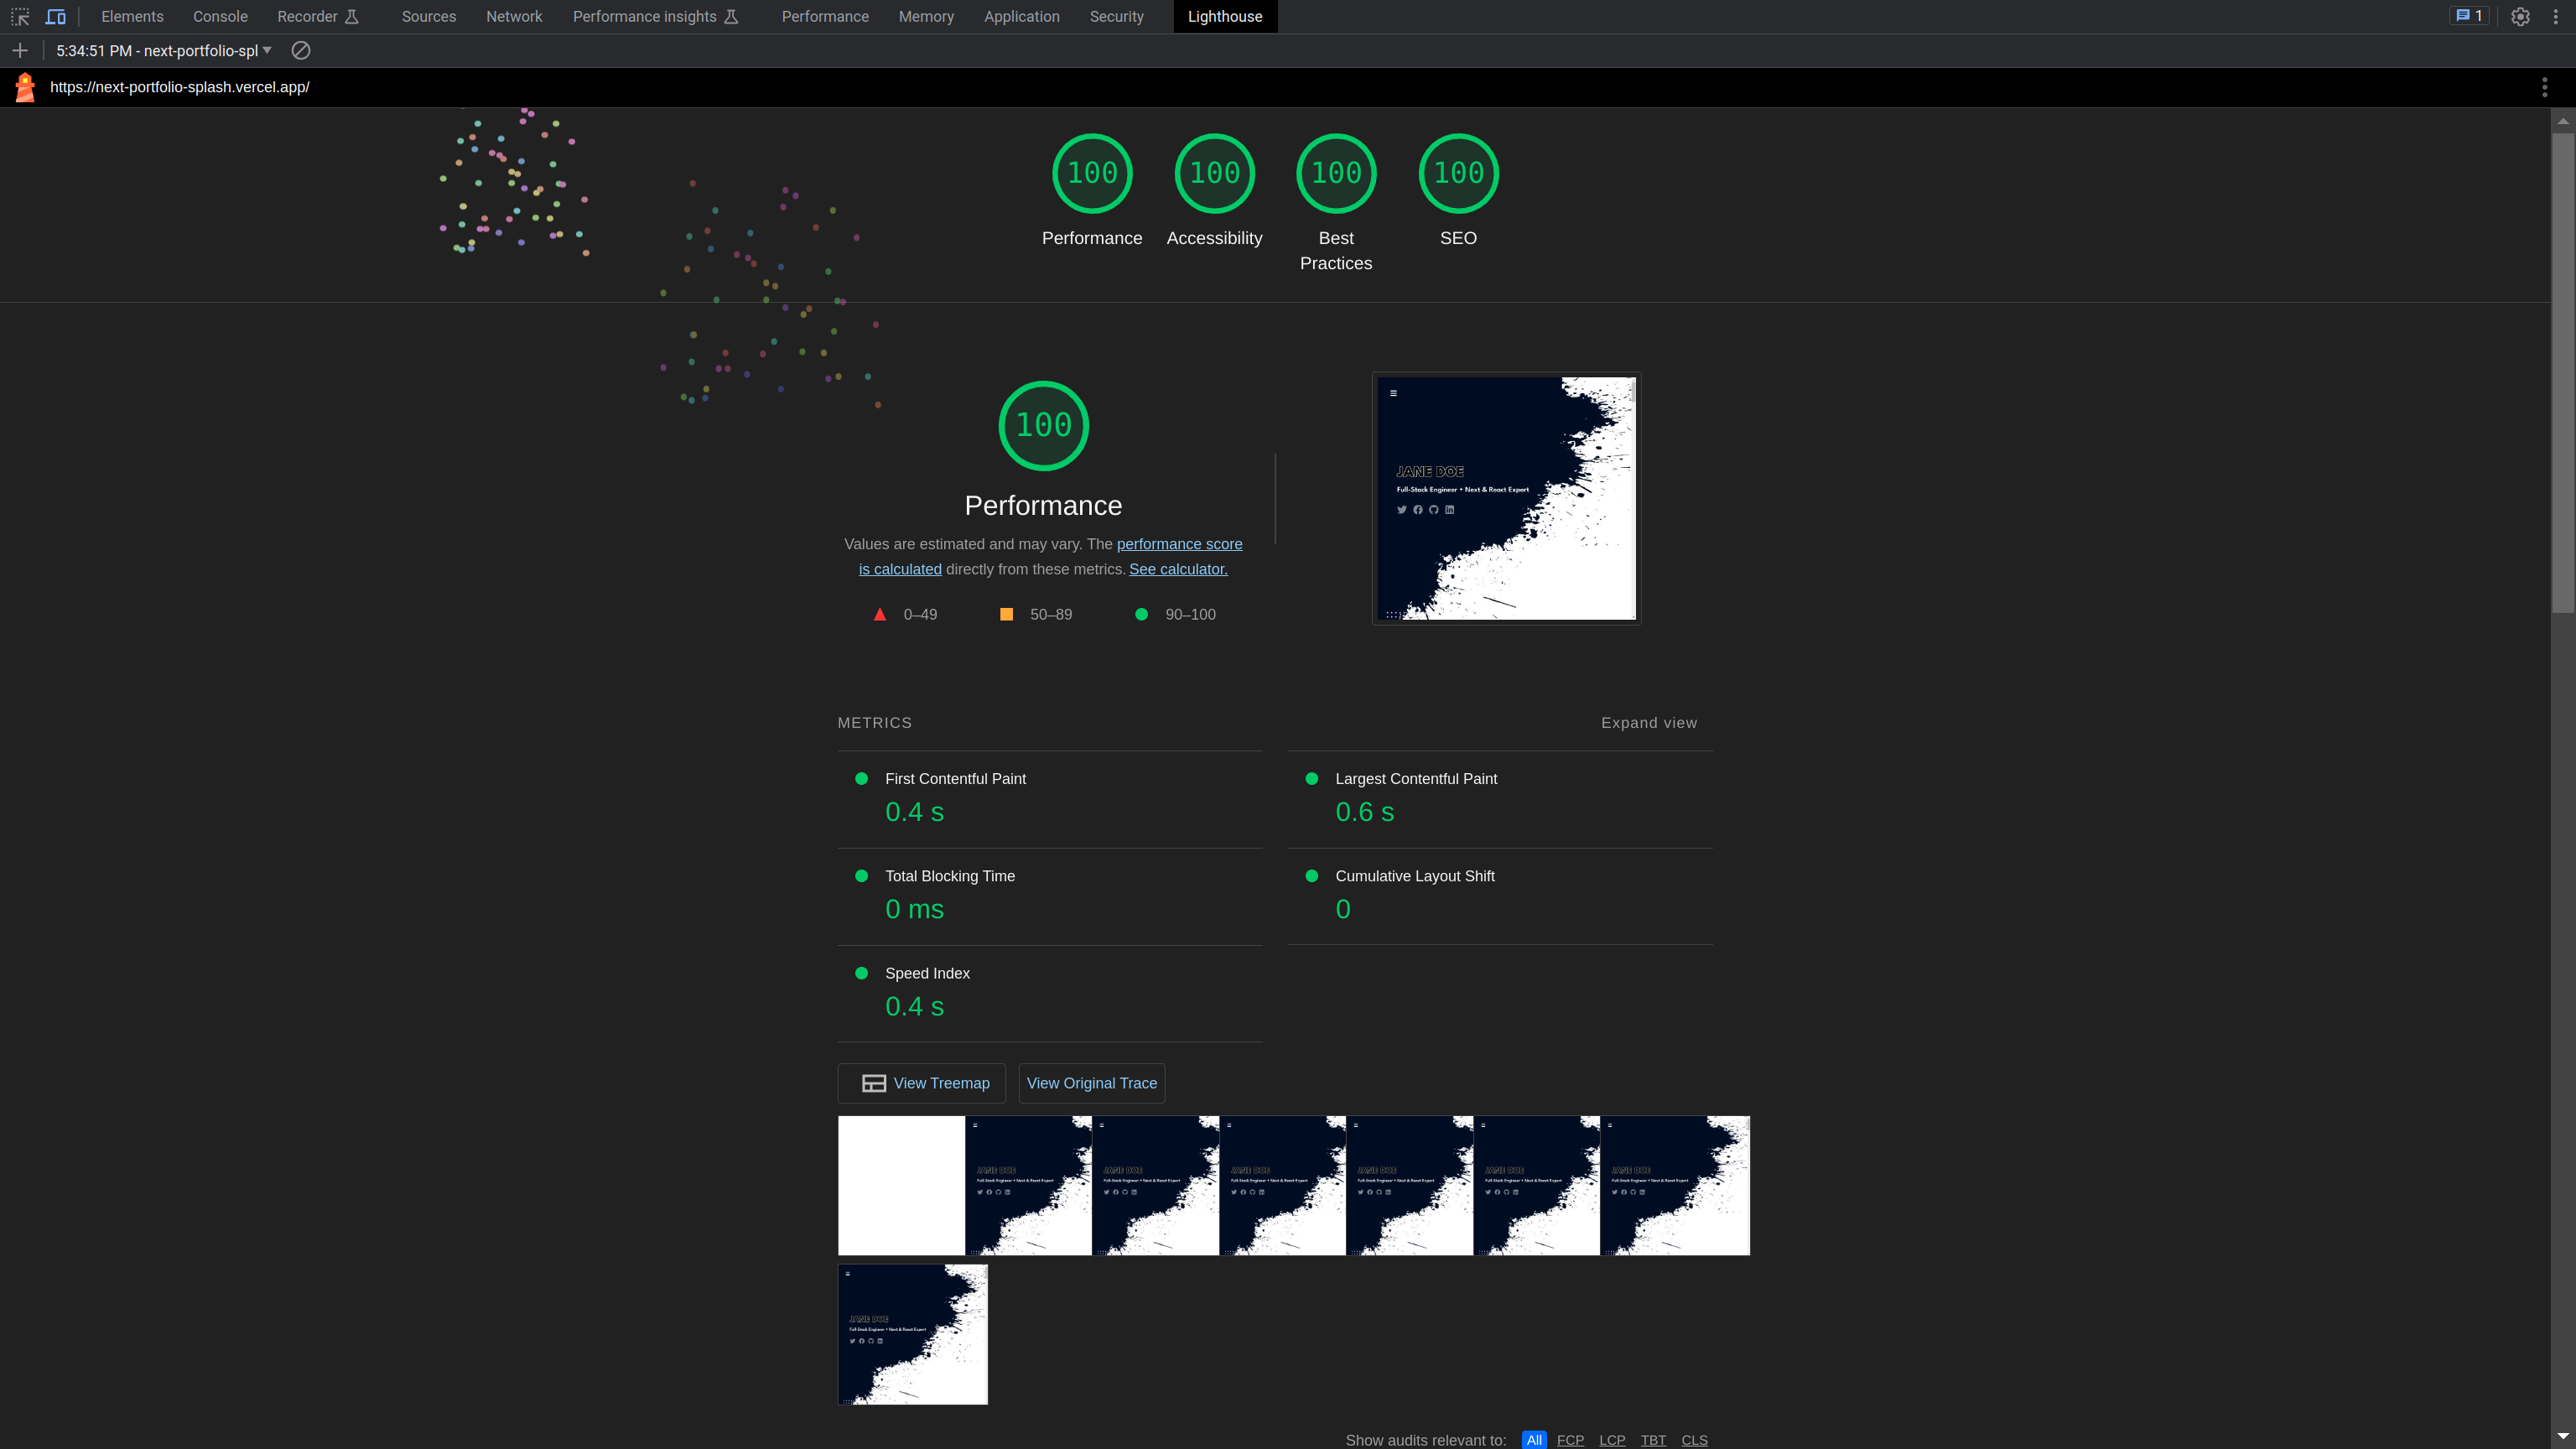
## Demo Website
To see a live demo of the Next Landing website, please visit
[https://next-portfolio-splash.vercel.app/](https://next-portfolio-splash.vercel.app/).
Please note that this is a demo website and not a official website. If you have
any questions or feedback, please feel free to contact us!
## Technologies Used
- [Next.js](https://nextjs.org): A React framework for building server-rendered
applications and static websites.
- [Tailwind CSS](https://tailwindcss.com): A utility-first CSS framework for
building responsive and stylish user interfaces.
- [ContentLayer](https://contentlayer.dev): A powerful tool for managing and
querying content in Next.js applications.
- [React Icons](https://react-icons.github.io/react-icons): A library of
customizable icons for React projects.
- [Resend](https://resend.com/): Is a service for building, testing, and
sending transactional emails at scale.
## Instructions to Run Locally
1. Clone the repository:
```
git clone https://github.com/writeonlycode/next-portfolio-splash.git
```
2. Navigate to the project directory:
```
cd next-portfolio-splash
```
3. Install dependencies using npm:
```
npm install
```
4. Start the development server:
```
npm run dev
```
5. Open your web browser and visit `http://localhost:3000` to see the website in action.
## Instructions to Deploy to Vercel
1. Sign up for a Vercel account at [https://vercel.com](https://vercel.com) if
you don't have one.
2. Install the Vercel CLI globally:
```
npm install -g vercel
```
3. Navigate to the project directory (if you're not already there):
```
cd next-portfolio-splash
```
4. Run the following command to deploy to Vercel:
```
vercel
```
5. Follow the prompts to link your Vercel account and configure your deployment
settings.
6. Once the deployment is successful, your Next Portfolio Splash website will
be live at the provided URL.
Feel free to customize and enhance the website according to your preferences
and showcase your work to the world!
## Configuring the Contact Form with Resend
To enable email functionality for the contact form, you'll need to configure
Resend with your API key. This will allow you to send emails to the specified
destination and provide confirmation to the user who submitted the form.
Before proceeding, you should go to [https://resend.com/](https://resend.com/),
create an account, and create an API key to use with your website.
### Local Configuration
1. Open the `.env` file in your project's root directory.
2. Set the following environment variables with your details:
```dotenv
RESEND_API_KEY=your-resend-api-key
DESTINATION_EMAIL=your-email
```
3. Save the `.env` file.
4. Make sure you have Resend and any required dependencies installed in
your project:
5. Make sure the `.env` file is in your .gitignore and that you don't commit it
to a repository.
### Configuration on Vercel
1. Log in to your Vercel account and navigate to your project's dashboard.
2. Go to the project settings.
3. In the "Environment Variables" section, add the following environment
variables with your details:
```dotenv
RESEND_API_KEY=your-resend-api-key
DESTINATION_EMAIL=your-email
```
4. Save the changes.
5. Deploy your project to Vercel.
With these configurations in place, your contact form should now be able to
send emails using Resend both locally and when deployed to Vercel.
# Screenshots