https://github.com/xingxi521/vue-blog-community
vue社区博客-vue全家桶-koa2-mongoose-mongoDB
https://github.com/xingxi521/vue-blog-community
antd-vue blog community koa2 mongo mongoose node vue vue3 vuejs
Last synced: 3 months ago
JSON representation
vue社区博客-vue全家桶-koa2-mongoose-mongoDB
- Host: GitHub
- URL: https://github.com/xingxi521/vue-blog-community
- Owner: xingxi521
- Created: 2022-02-13T13:43:02.000Z (about 3 years ago)
- Default Branch: master
- Last Pushed: 2022-05-25T01:35:56.000Z (almost 3 years ago)
- Last Synced: 2025-01-30T17:38:21.411Z (3 months ago)
- Topics: antd-vue, blog, community, koa2, mongo, mongoose, node, vue, vue3, vuejs
- Language: Vue
- Homepage:
- Size: 624 KB
- Stars: 30
- Watchers: 1
- Forks: 6
- Open Issues: 0
-
Metadata Files:
- Readme: README.md
Awesome Lists containing this project
README
## 背景
一直以来都想自己编写一个自己的社区博客,后来在网上找了一下,最后决定参考慕课网的一个社区项目,决定改用vue2.6+AntdForVue+koa2+mongoose实现一套社区博客。
## 简介
这是一个基于VUE全家桶+AntdForVue+koa2+mongo实现的一套社区交流源码,前端页面是响应式的,适合想往全栈发展,ko2学习,mongoDB学习的同学,废话不多说。

## 成品演示地址
http://82.157.55.15/#/
## API接口文档地址
http://82.157.55.15:4999/web/#/7/50
## 掘金对应帖子地址
https://juejin.cn/post/7079638553386287134
## 源码地址
- 前端:https://github.com/xingxi521/community-pc
- 后端:https://github.com/xingxi521/community-api
## 技术栈
- vue2.6全家桶+antdforvue+dayjs+websocket
- koa2+mongoose+redis+websocket+nodemailer
## 功能列表
- [x] 登录
- [x] 注册
- [x] 邮箱找回密码
- [x] 个人中心
- [x] 签到模块
- [x] 文章周热议
- [x] 增删改查文章
- [x] 增删改查评论
- [x] 评论点赞
- [x] 采纳最佳评论
- [x] websocket实时消息-断线重连机制
## 目录结构
### 前端SRC目录结构
```
├── assets
├── components # 公共组件
├── Custom # 自定义组件
├── Home # 首页公用组件
├── Link.vue,Sign.vue ... # 签到 友情链接等公用模块
├── api # 各模块请求的API
├── config # 项目的参数配置
├── plugins # antd按需引入
├── router # 路由
├── store # vuex
├── utils # 工具类
├── const # 各模块的变量
└── views
├── Center # 个人中心模块
└── Post # 文章模块
├── Home # 首页
├── Login # 登录
├── ReSetPassWord # 重置密码
├── User # 个人主页
```
### 后端SRC目录结构
```
├── api # 各模块Controller层-接口逻辑
├── config # 项目的参数配置
├── index # 基础配置
├── MailerConfig # 邮件服务配置
├── MongoDB # mongoDB数据库配置
├── RedisConfig # Redis配置
├── WebSocket # WebSocket配置
├── model # 各模块mongo的Schema表
├── router # 路由-各模块接口的入口
```
## 部署方法
1. 先把前后端两个项目源码clone到本地
2. 然后安装好mongoDB和redis(这里我用的是redis6.2.6版本的,mongoDB是5.0.5)
3. 在在后端项目里有个DateBse文件夹里面有7个数据库文件,自己去根据文件名创建7个数据库集合
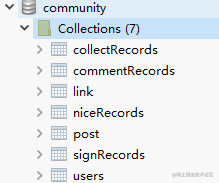
然后把对应7个文件里面的数据copy到对应的集合表里即可!
4. 打开后端项目用`npm i`安装依赖
5. 打开后端项目的config文件夹下的`index.js`根据自己数据库和redis情况设置好对应的参数
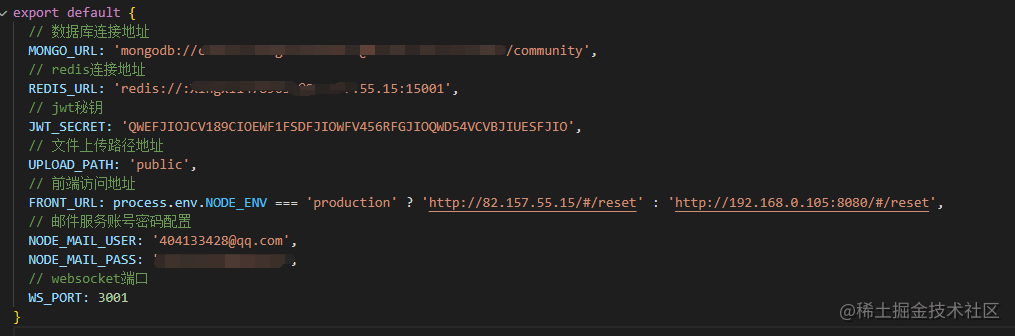
7. 使用`npm run serve`启动服务,至此后端项目就完成启动了
8. 接下来打开前端项目同样使用`npm i`安装依赖
9. 然后打开config目录下的`index.js`文件进行各参数配置
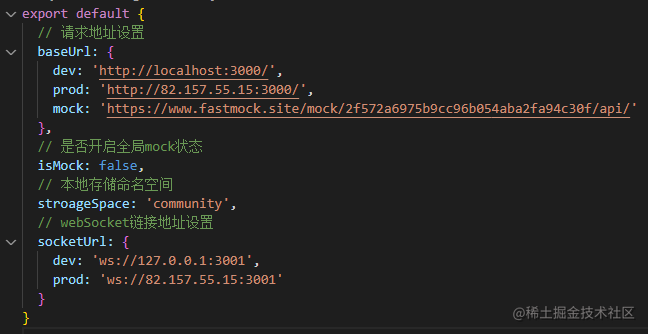
10. 最后使用`npm run serve`启动项目就好了
## 前端config配置文件部分参数说明
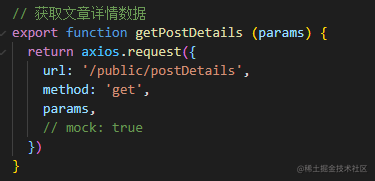
isMock为true时则开启整个项目走mock请求
想要置顶某个接口走mock也可以
## 项目展示
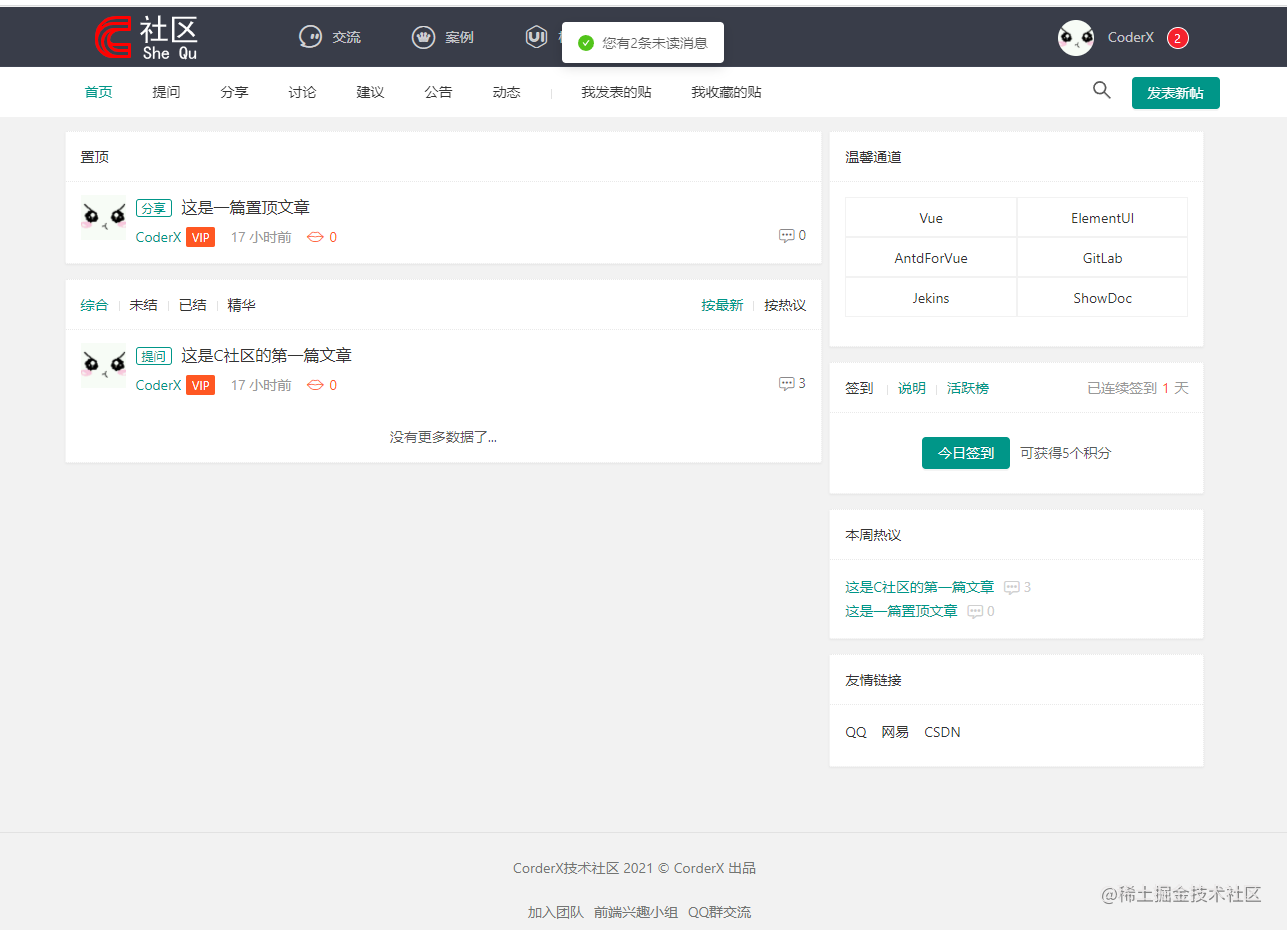
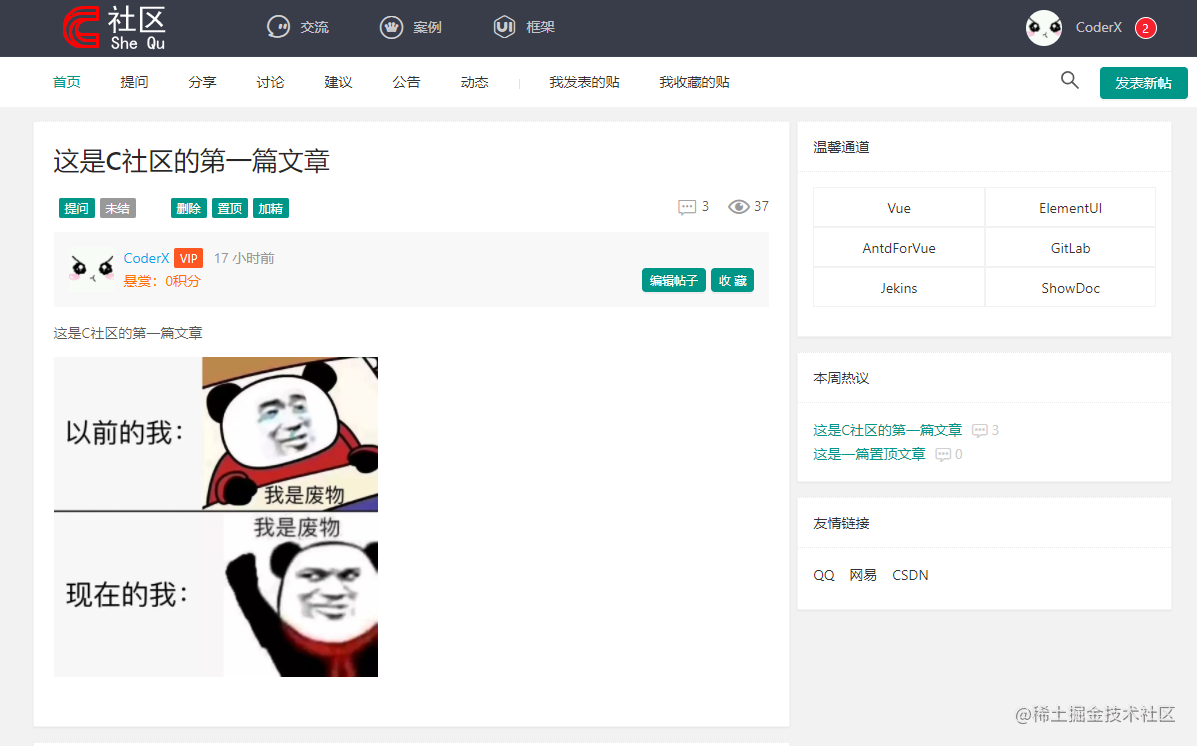
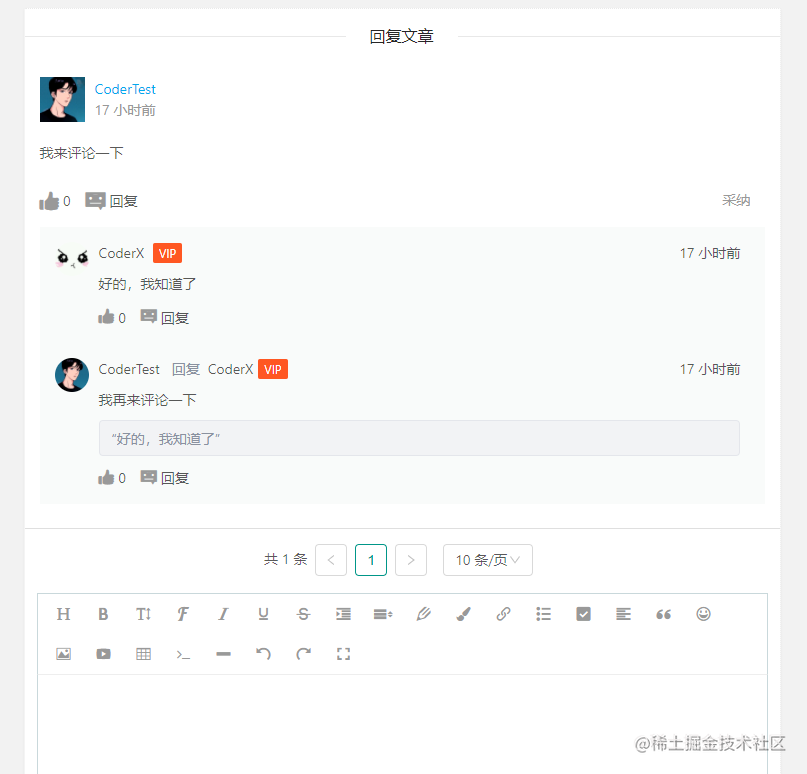
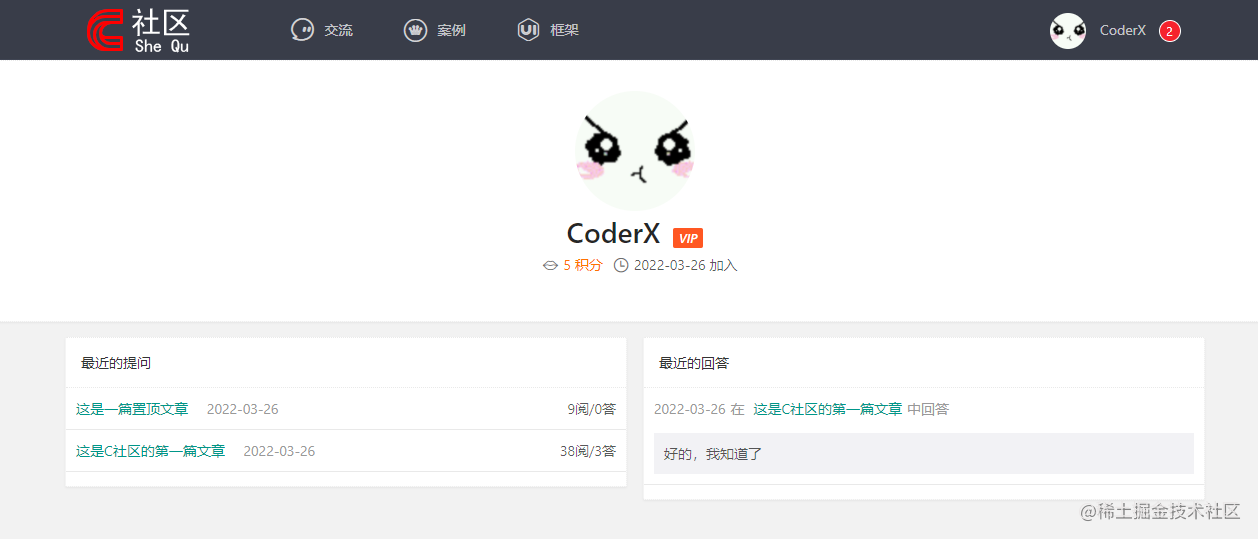
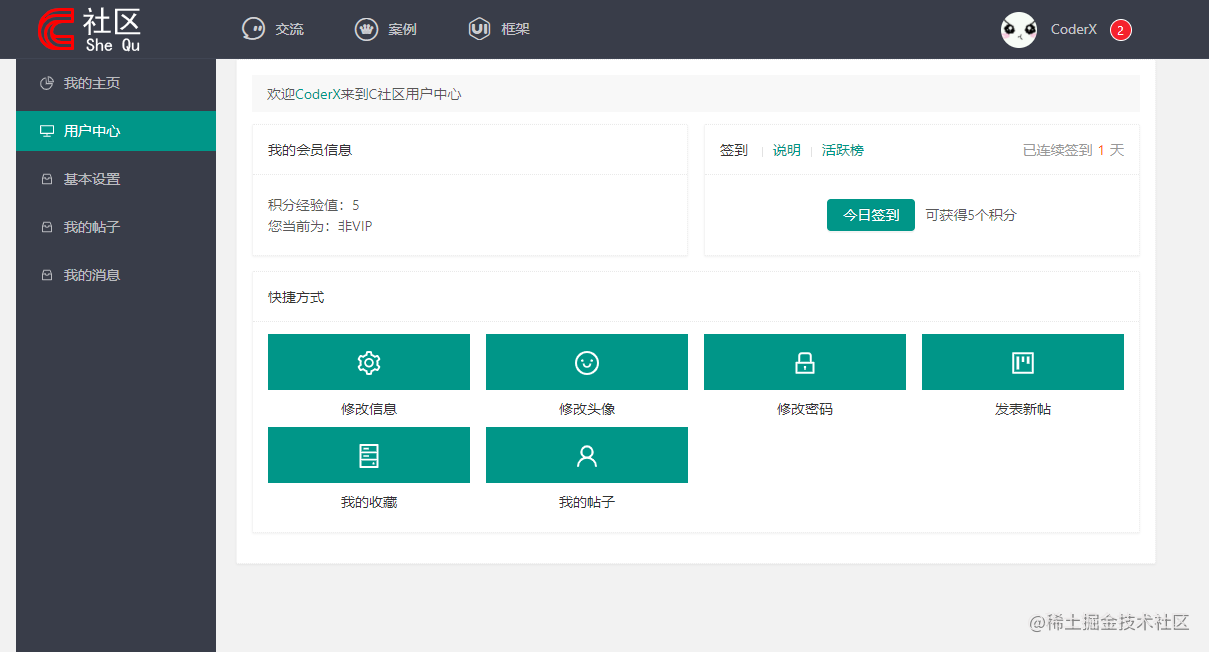
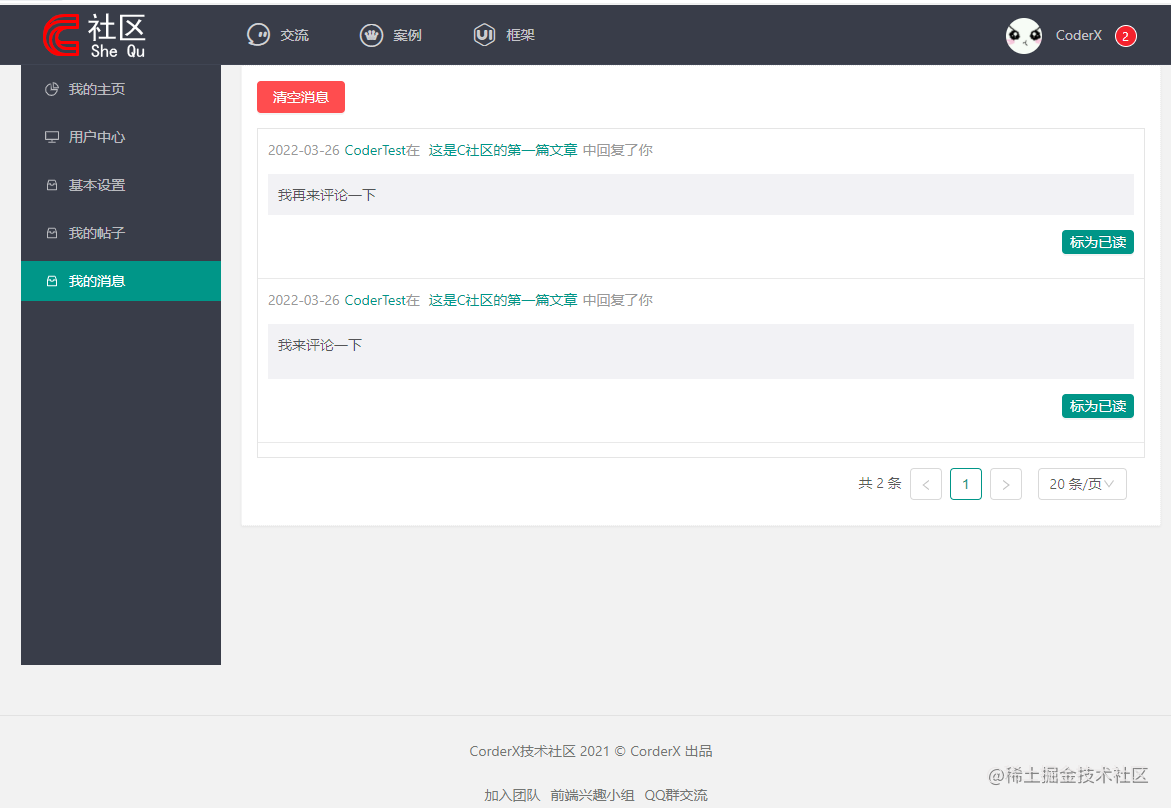
更多情况自行克隆下来看吧~
## 最后
本项目适合向往全栈发展的同学,比较适合入门,觉得项目对你有用的话可以github上给他`Star`星星

注:UI布局以及部分逻辑是参考慕课网某个社区项目的进行重构的