https://github.com/yandaozi/PPress
一个基于Python的博客CMS系统,采用Flask极致构建。
https://github.com/yandaozi/PPress
Last synced: 6 months ago
JSON representation
一个基于Python的博客CMS系统,采用Flask极致构建。
- Host: GitHub
- URL: https://github.com/yandaozi/PPress
- Owner: yandaozi
- License: mit
- Created: 2024-11-25T08:24:33.000Z (over 1 year ago)
- Default Branch: master
- Last Pushed: 2025-04-29T07:27:25.000Z (10 months ago)
- Last Synced: 2025-04-29T07:41:18.011Z (10 months ago)
- Language: Python
- Homepage:
- Size: 7.91 MB
- Stars: 236
- Watchers: 7
- Forks: 18
- Open Issues: 4
-
Metadata Files:
- Readme: README.md
- License: LICENSE
Awesome Lists containing this project
- awesome-hacking-lists - yandaozi/PPress - 一个基于Python的博客CMS系统,采用Flask极致构建。 (Python)
README
# PPress

强大的 Python 内容管理系统
## 🌟 系统简介
PPress 是一个基于 Flask 框架开发的功能丰富的内容管理系统(CMS)。它采用现代化的架构设计,提供流畅的博客写作和管理体验,适用于个人博客和内容驱动的网站。
### ✨ 核心特性
- **高性能设计**
- Redis内存缓存机制
- 缓存预热优化
- 支持 SQLite 和 MySQL 数据库
- 响应迅速的用户界面
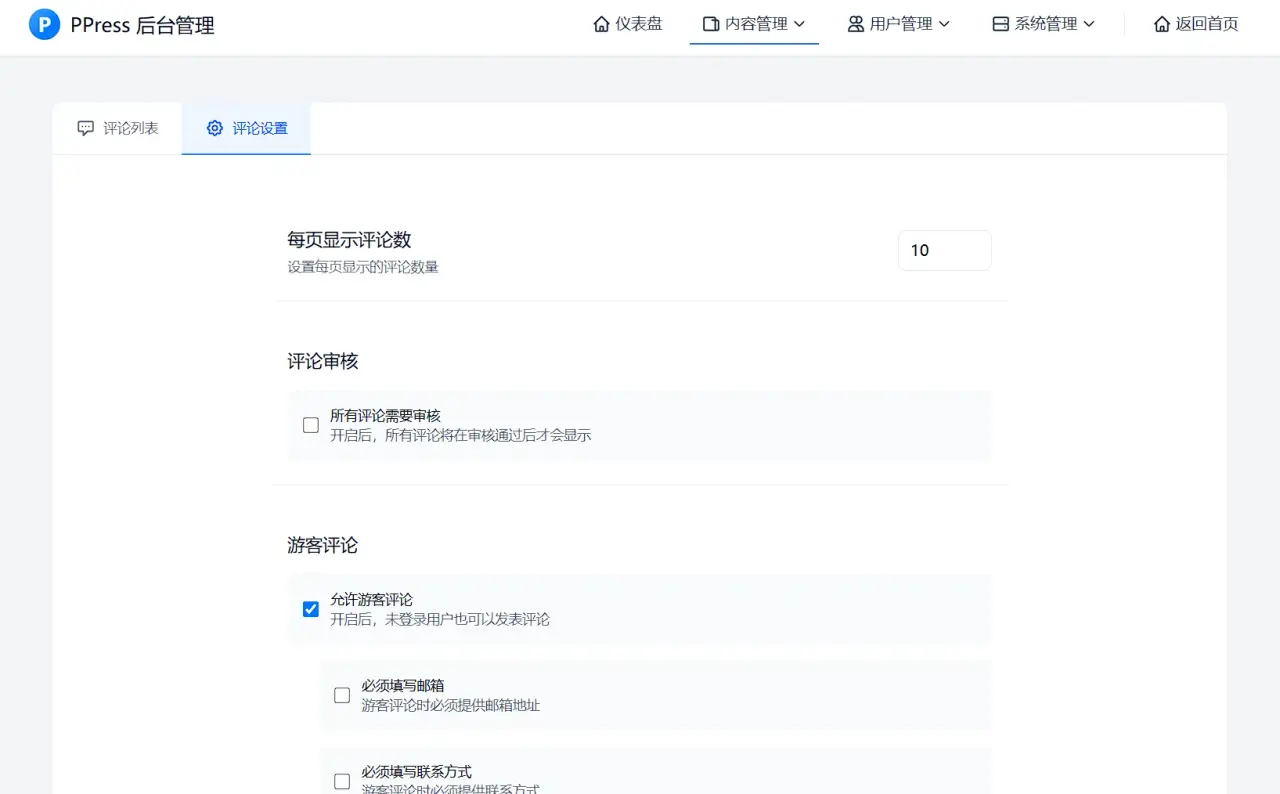
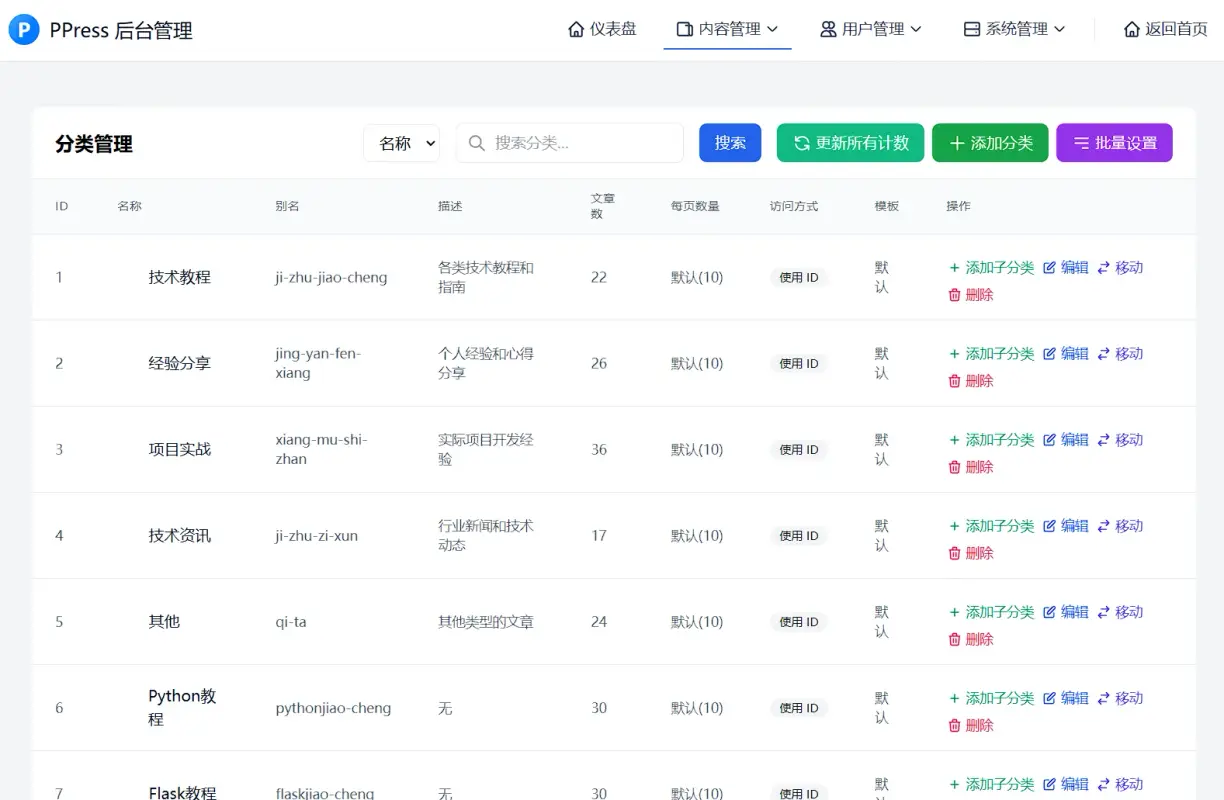
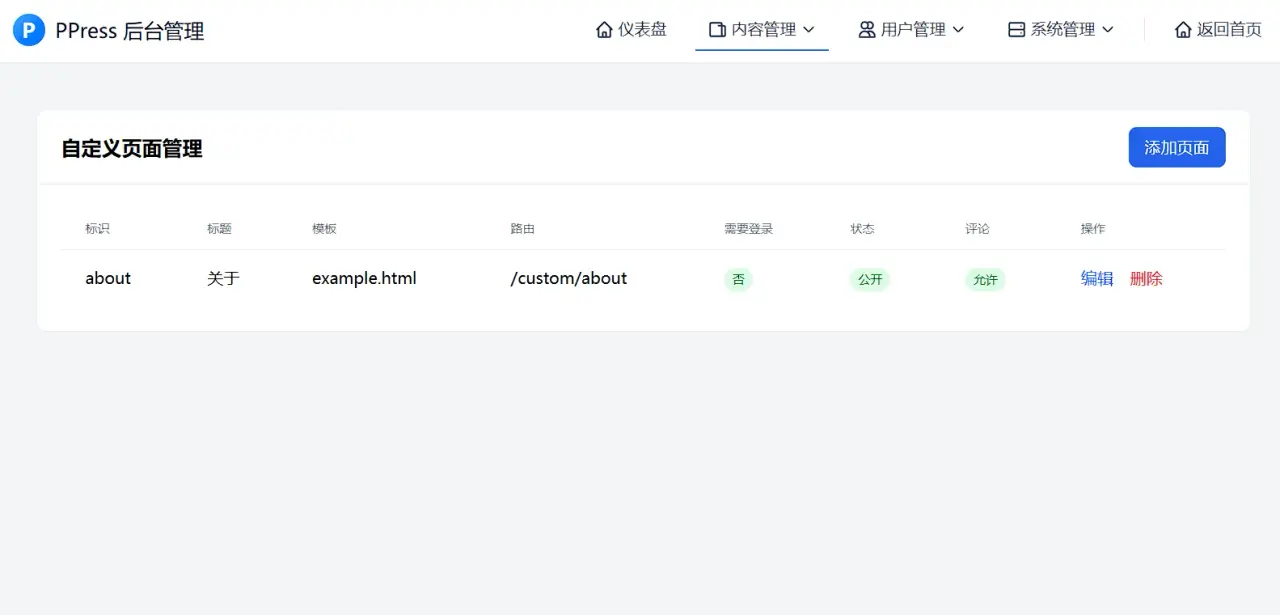
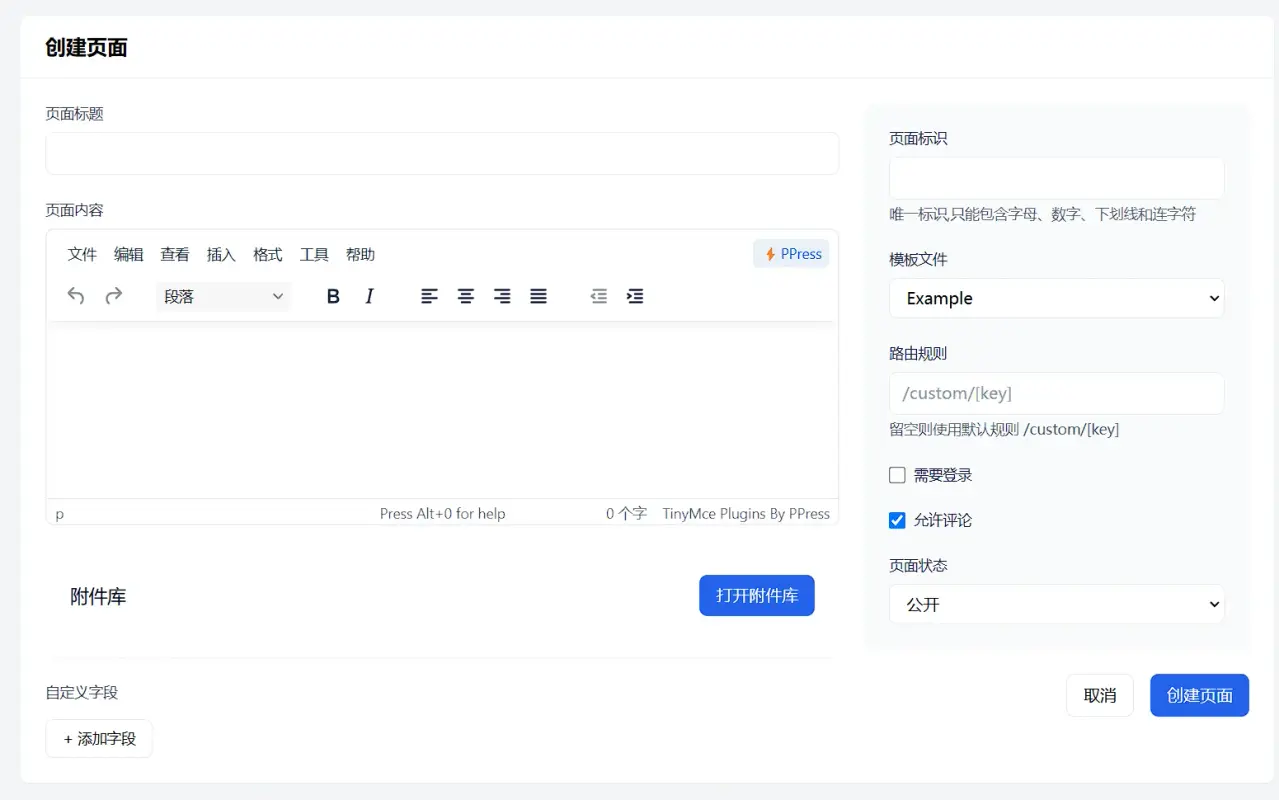
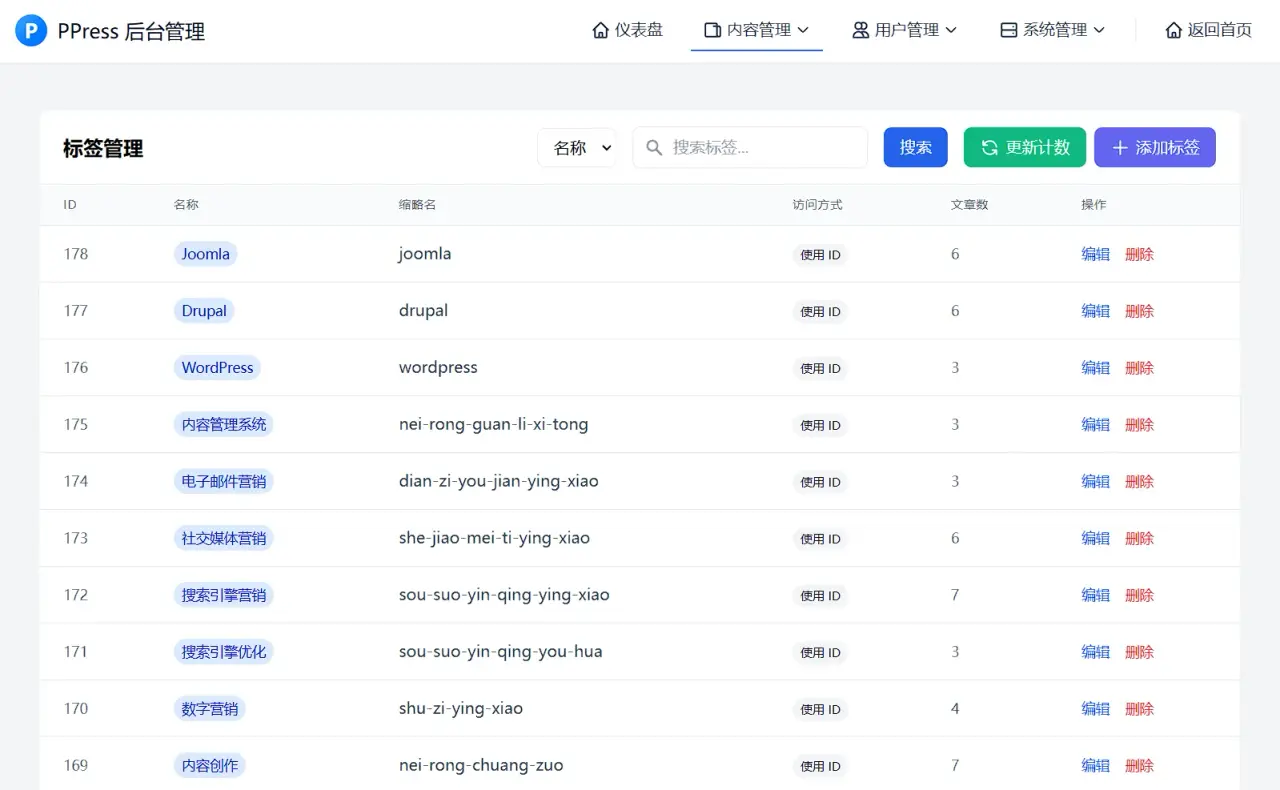
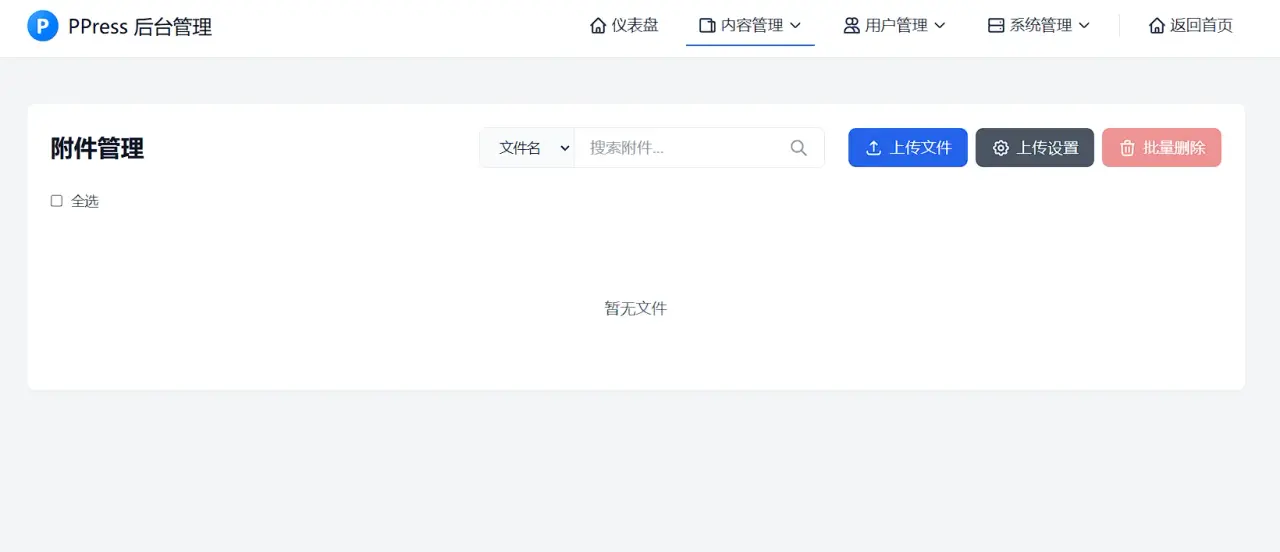
- **完整的管理系统**
- 文章管理
- 分类管理
- 页面管理
- 用户管理
- 评论系统
- 系统配置
- 模板管理
- 插件系统
- **用户友好界面**
- 清新现代的设计风格
- 响应式布局
- 直观的管理后台
## 🚀 快速开始
### Centos7 Shell 一键安装脚本
```bash
# 使用 wget 下载
wget https://gitee.com/fojie/PPress/raw/master/install.sh
# 给脚本添加执行权限
chmod +x install.sh
# 运行脚本
./install.sh
```
用脚本安装完成后,可以使用 ppress 命令管理服务,支持以下命令:
```bash
ppress status #显示当前状态
ppress start #启动服务
ppress stop #停止服务
ppress restart #重启服务
ppress port #修改端囗
ppress help #显示帮助信息
```
状态会显示:运行状态 、进程 ID 、当前端口 、访问地址
### Docker运行
```bash
# 1. 构建并启动服务
docker-compose up -d
# 2. 查看日志
docker-compose logs -f
# 3. 停止服务
docker-compose down
```
- 应用将在 http://localhost:5000 运行,Redis 服务将在 localhost:6379 运行
- 数据持久化: SQLite 数据库文件存储在 ./instance 目录,Redis 数据使用 Docker volume 持久化
- 如果您需要修改任何配置,可以直接编辑相应的文件,然后重新构建
### 视频教程
- [CentOS 7 安装教程](https://www.bilibili.com/video/BV1jezSY3Eag/)
- [Windows 安装教程](https://www.bilibili.com/video/BV1sEzSYHEHc/)
### 安装步骤
1. **获取源码**
```bash
git clone https://gitee.com/fojie/PPress.git
cd ppress
```
2. **安装依赖**
```bash
pip install -r requirements.txt
```
3. **运行应用**
- 运行 `run.py`
- 通过浏览器访问安装页面
- 填写系统配置信息
- 安装完成后重启应用
- Redis + 发送邮件验证码功能,需在config/database.py自行配置Redis链接和SMTP
- coze工作流配置 services/article_api_service.py文件,配好API_KEY和WORKFLOW_ID,API规则需得自行修改,管理函数是admin的aiartauto
5. **访问后台**
- 后台地址:`/admin/`
- 默认管理员账号:
- 用户名:`admin`
- 密码:`123456`
## 📚 开发文档
详细的开发文档请访问:[https://www.ppress.cc/doc.html](https://www.ppress.cc/doc.html)
## 🛠️ 技术栈
- **后端框架**: Flask
- **数据库**: SQLite/MySQL
- **缓存系统**: Flask-Caching、Redis
- **用户认证**: Flask-Login
- **数据库 ORM**: SQLAlchemy
- **模板引擎**: Jinja2
- **图像处理**: Pillow
## 📄 开源协议
PPress 采用 [MIT 开源协议](LICENSE)。
## 🤝 参与贡献
我们欢迎各种形式的贡献:
- 报告问题和 Bug
- 提出新功能建议
- 提交代码改进
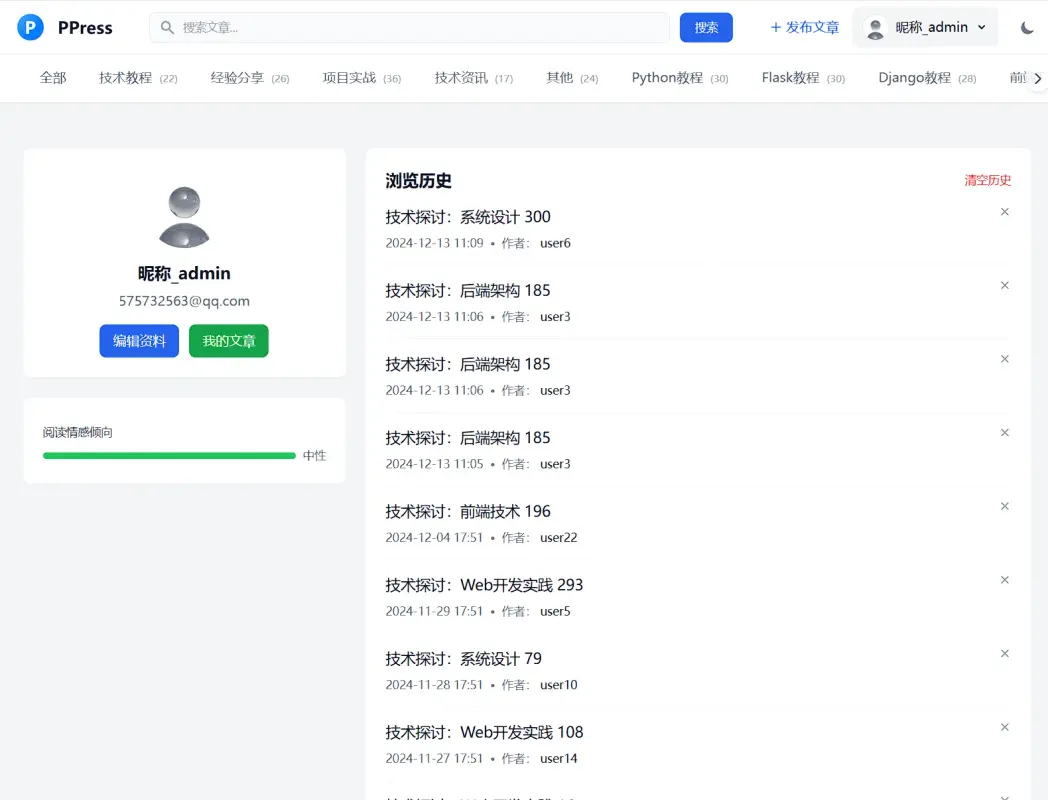
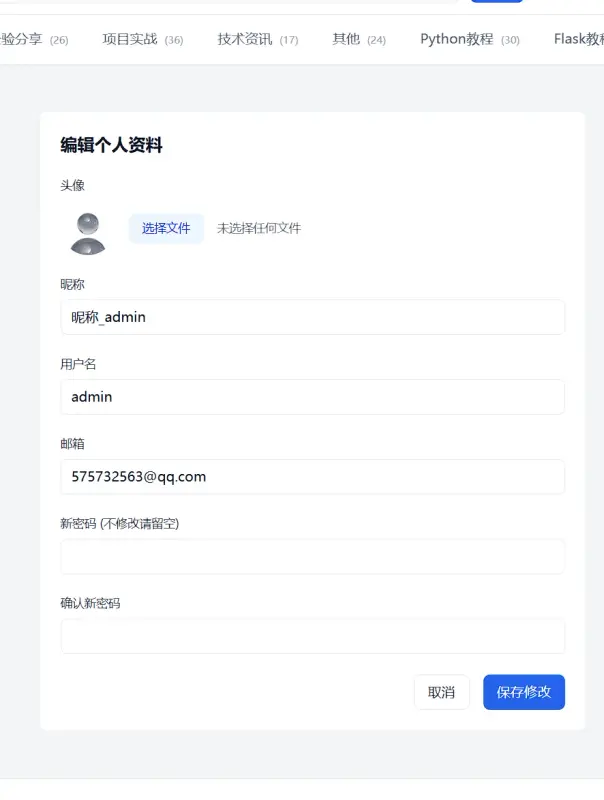
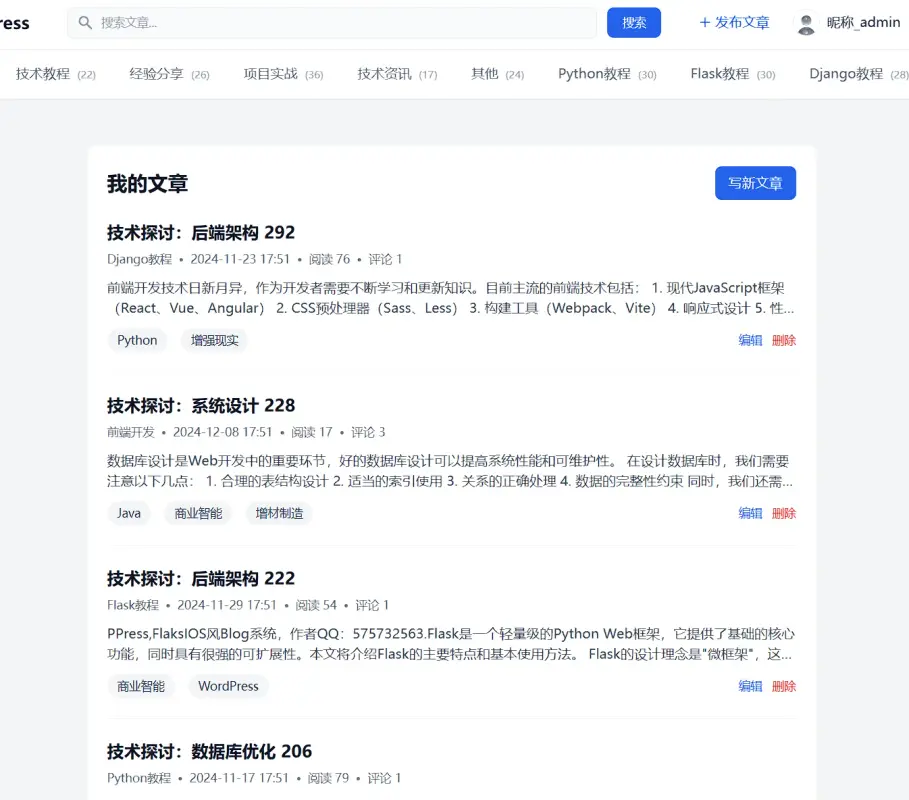
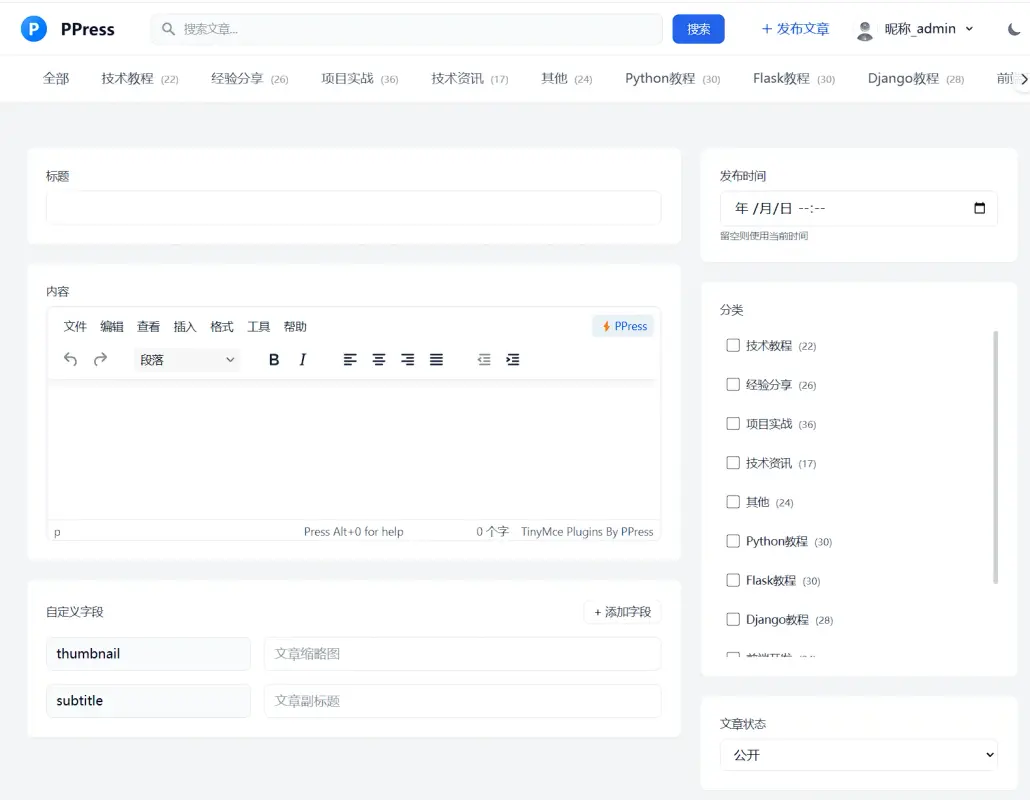
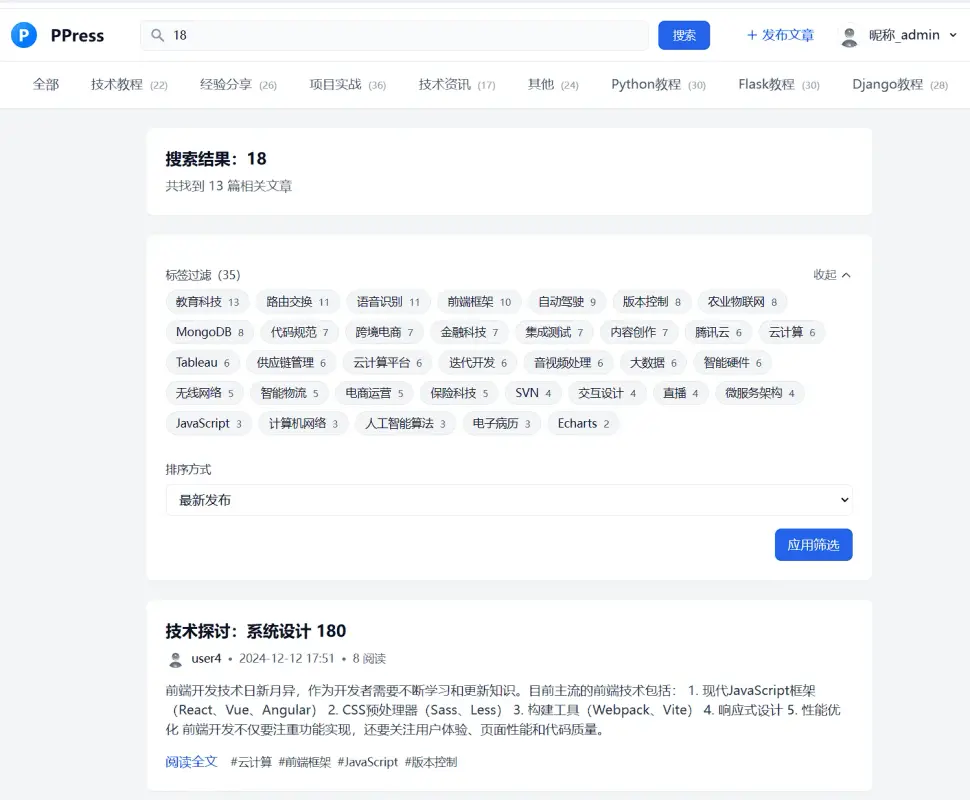
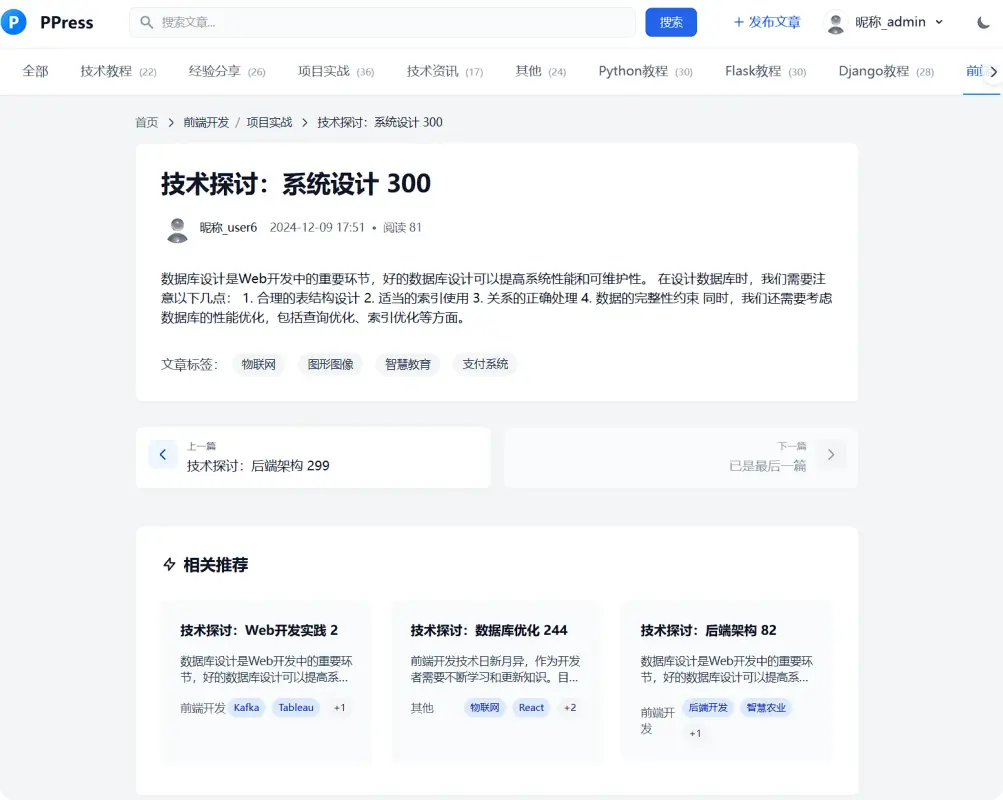
## 🖼️ 系统预览
### 前台页面展示
| 页面预览 | 页面预览 | 页面预览 |
|:---:|:---:|:---:|
| 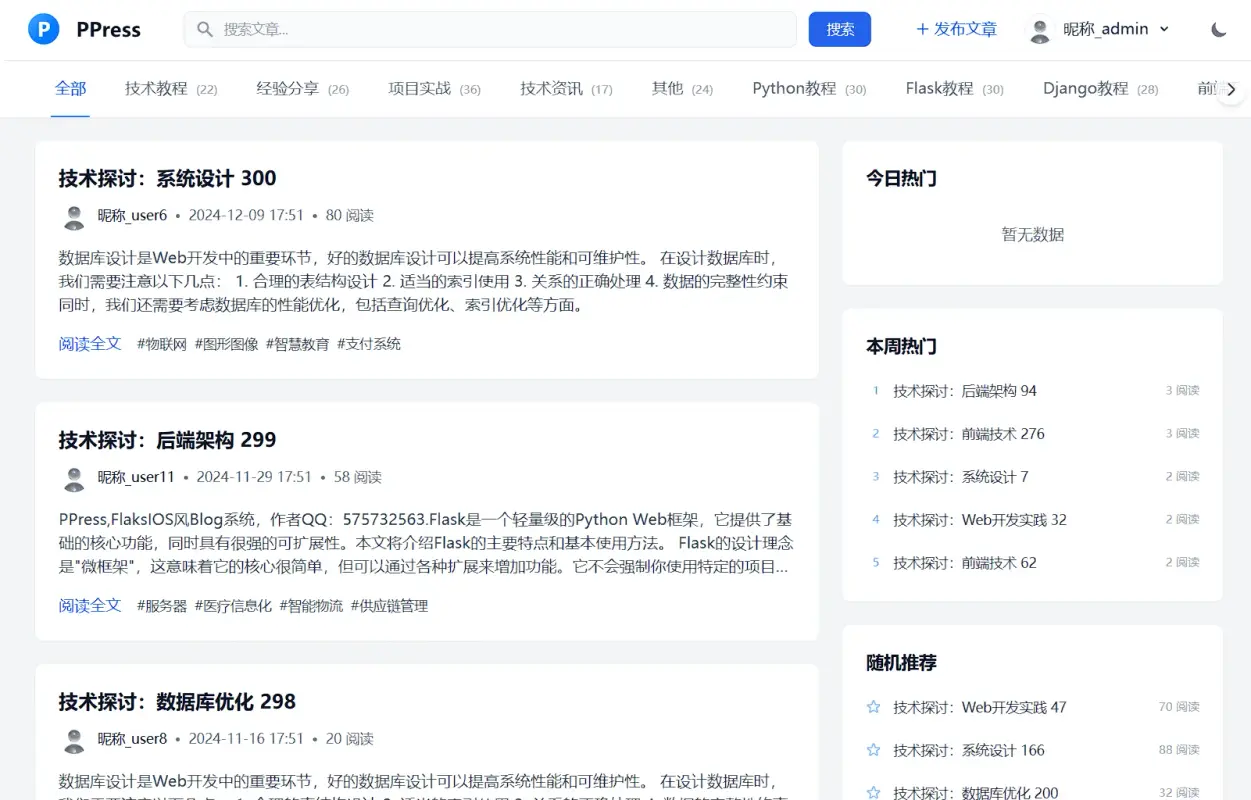 |  |  |
| 前台页面1 | 前台页面2 | 前台页面3 |
|  |  |  |
| 前台页面4 | 前台页面5 | 前台页面6 |
|  | | |
| 前台页面7 | | |
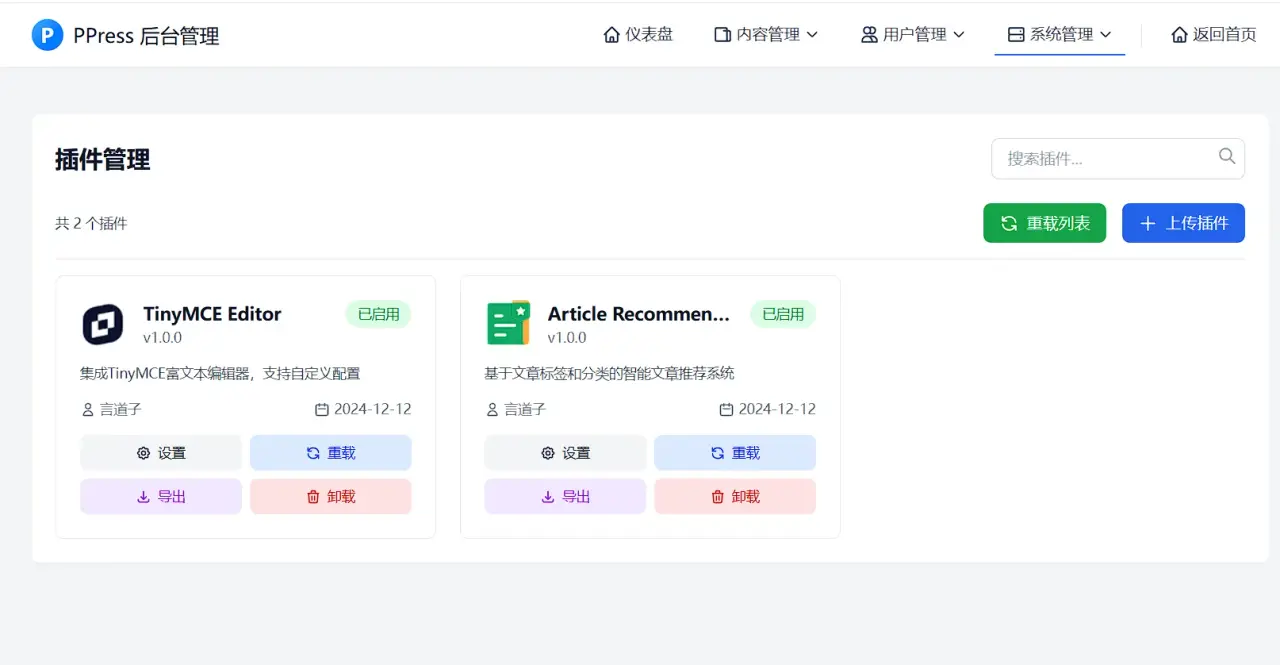
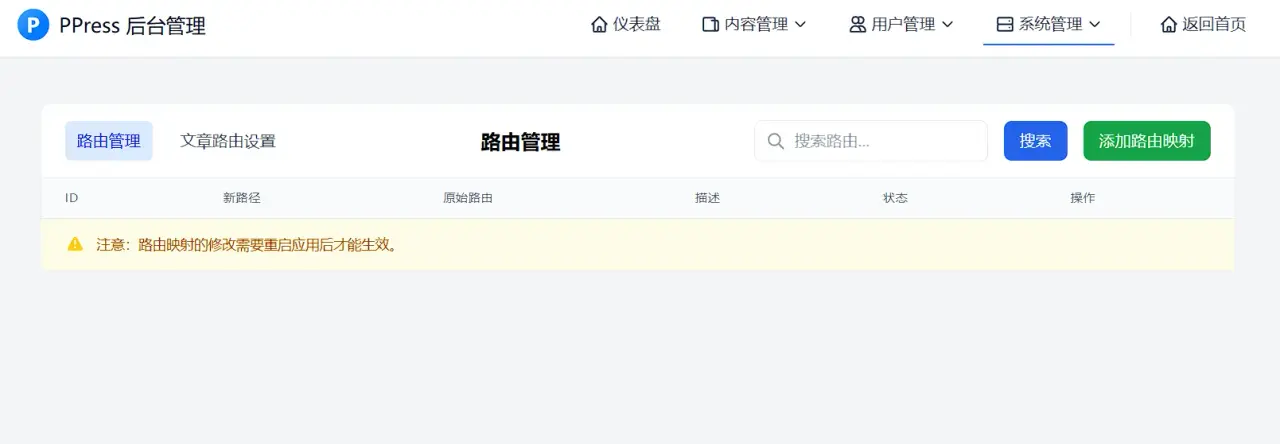
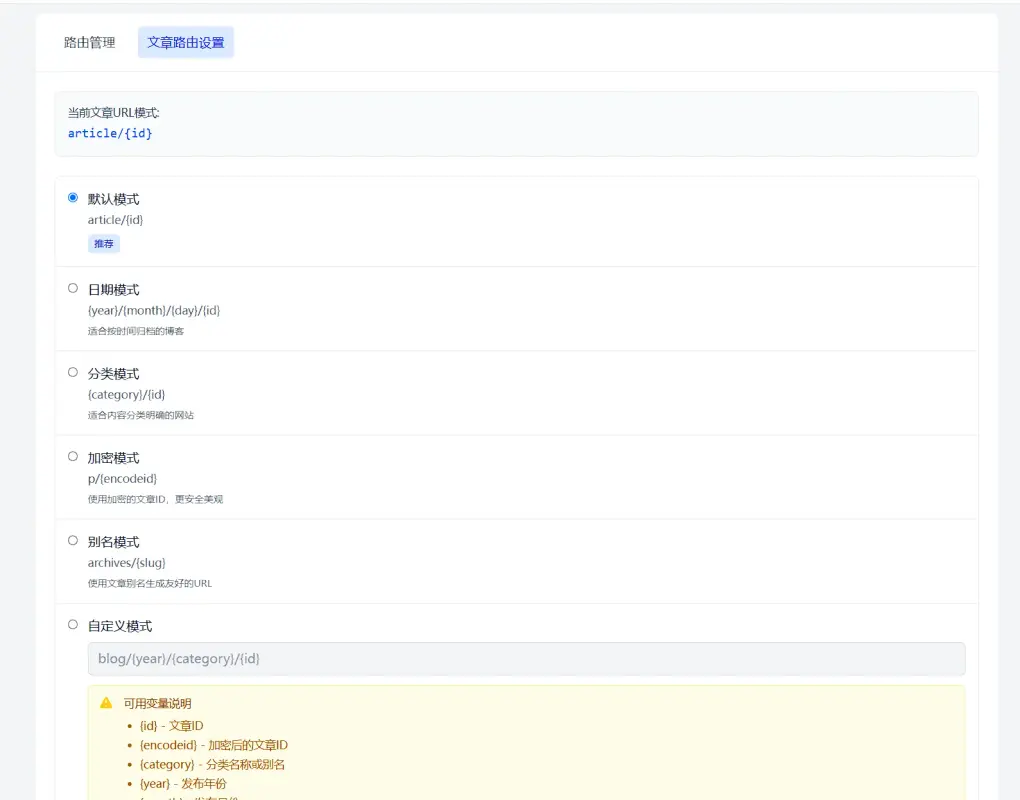
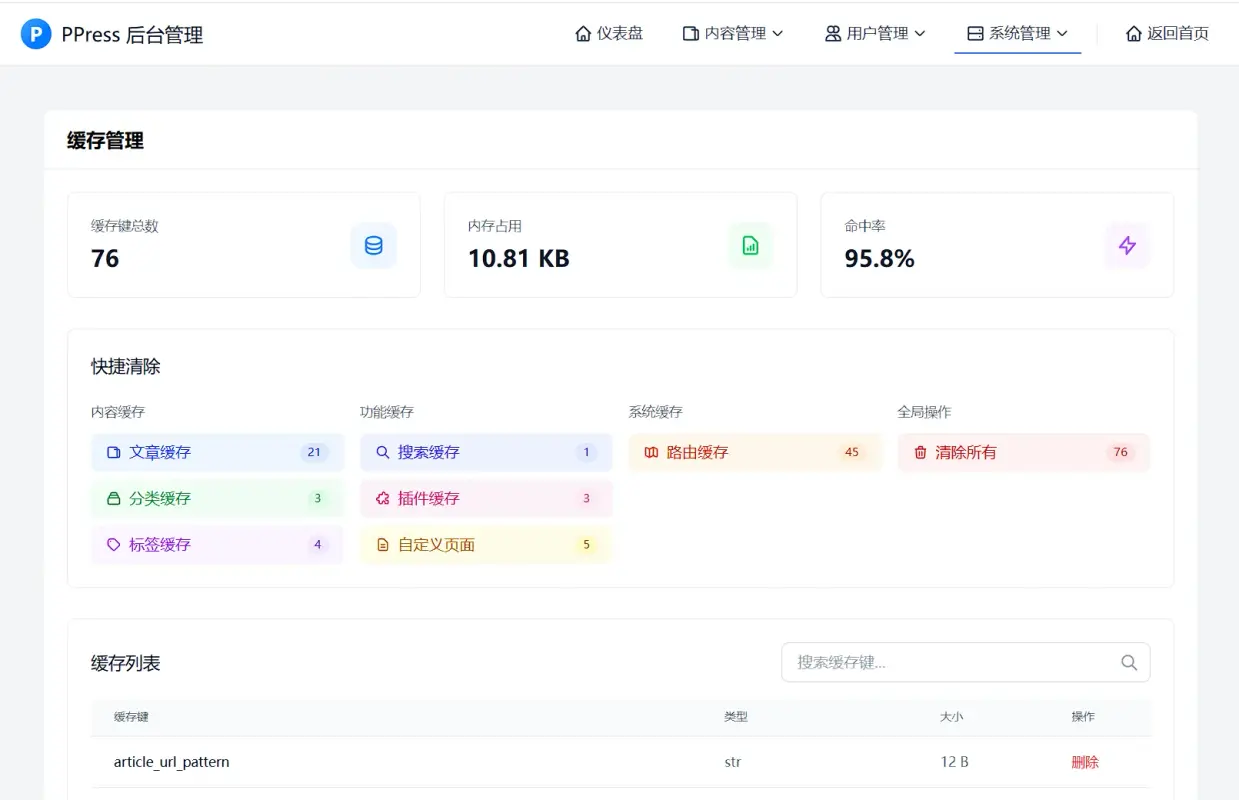
### 后台页面展示
| 页面预览 | 页面预览 | 页面预览 |
|:---:|:---:|:---:|
| 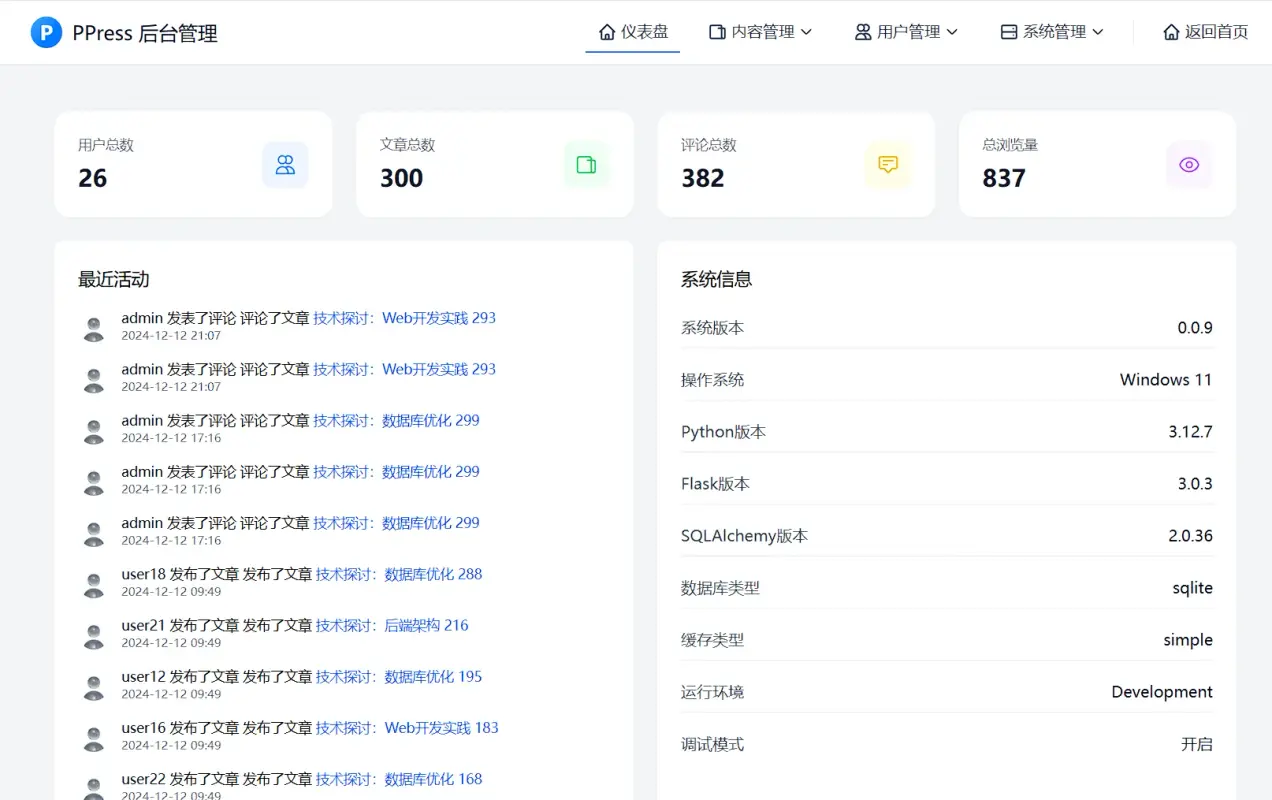 | 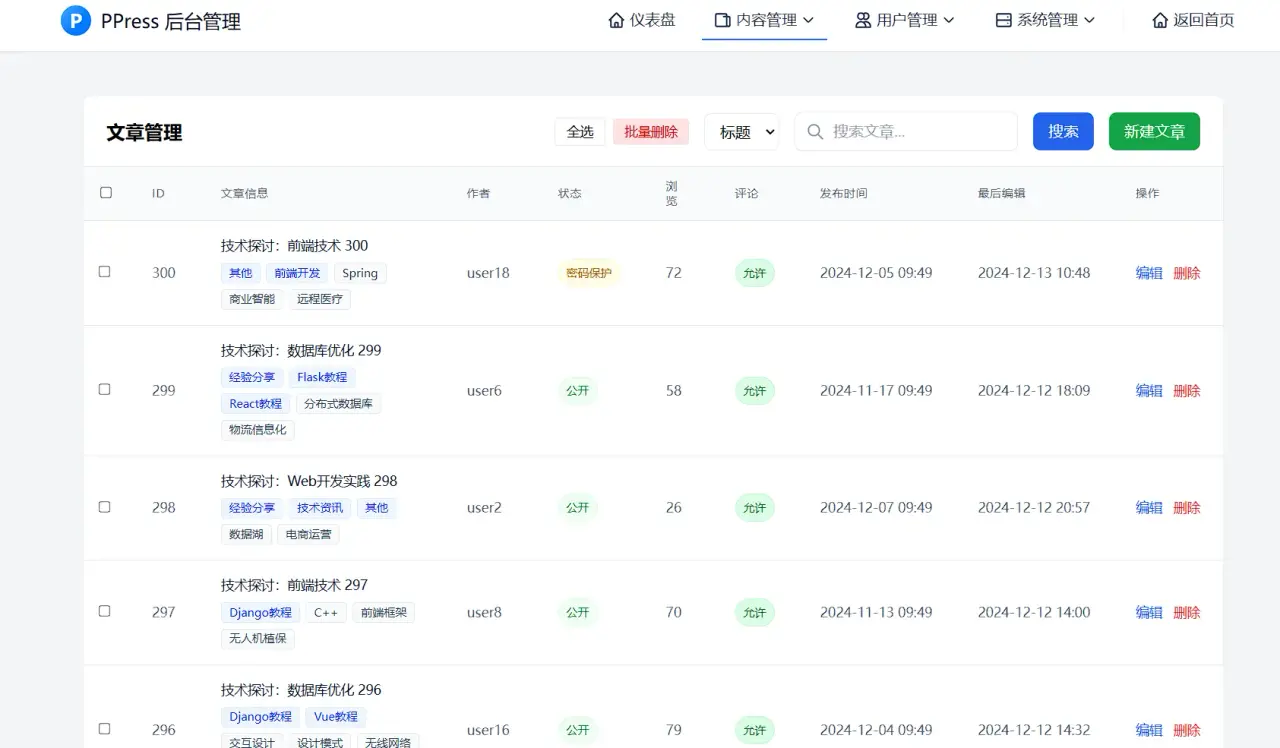 | 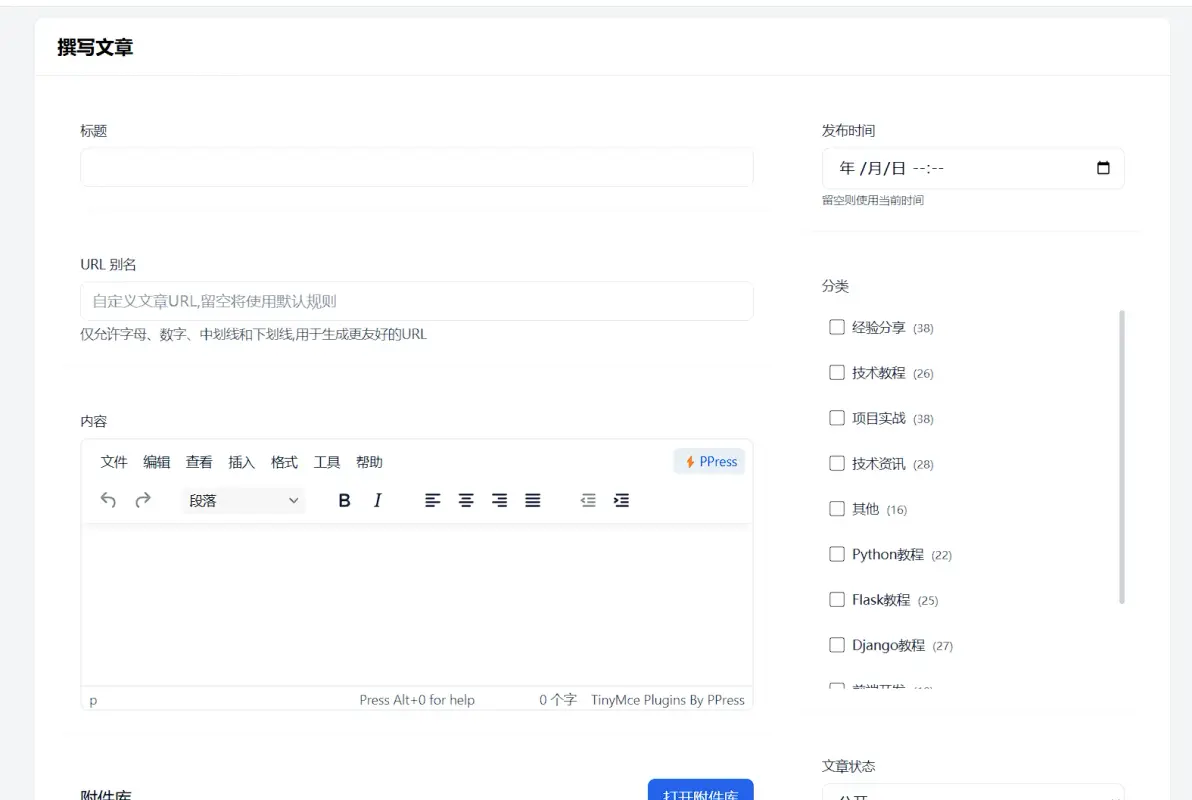 |
| 后台页面1 | 后台页面2 | 后台页面3 |
|  |  |  |
| 后台页面4 | 后台页面5 | 后台页面6 |
|  |  |  |
| 后台页面7 | 后台页面8 | 后台页面9 |
|  | 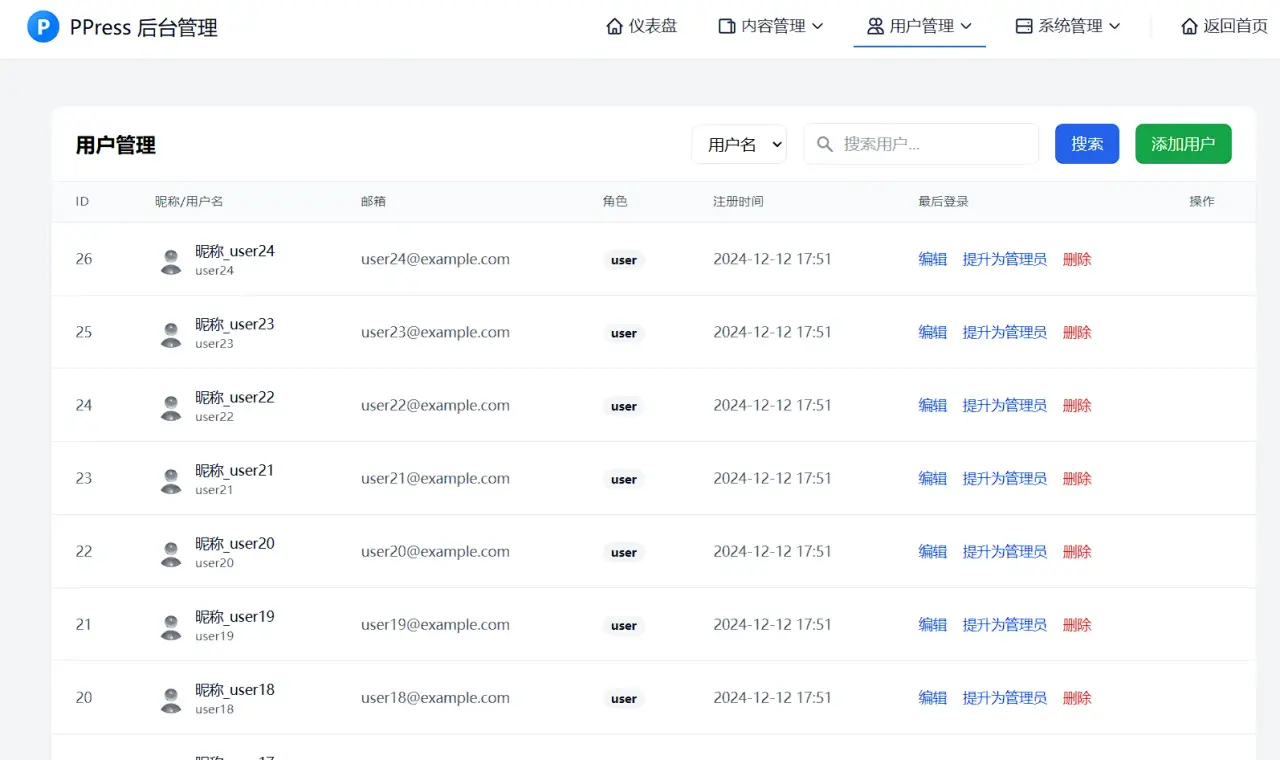 | 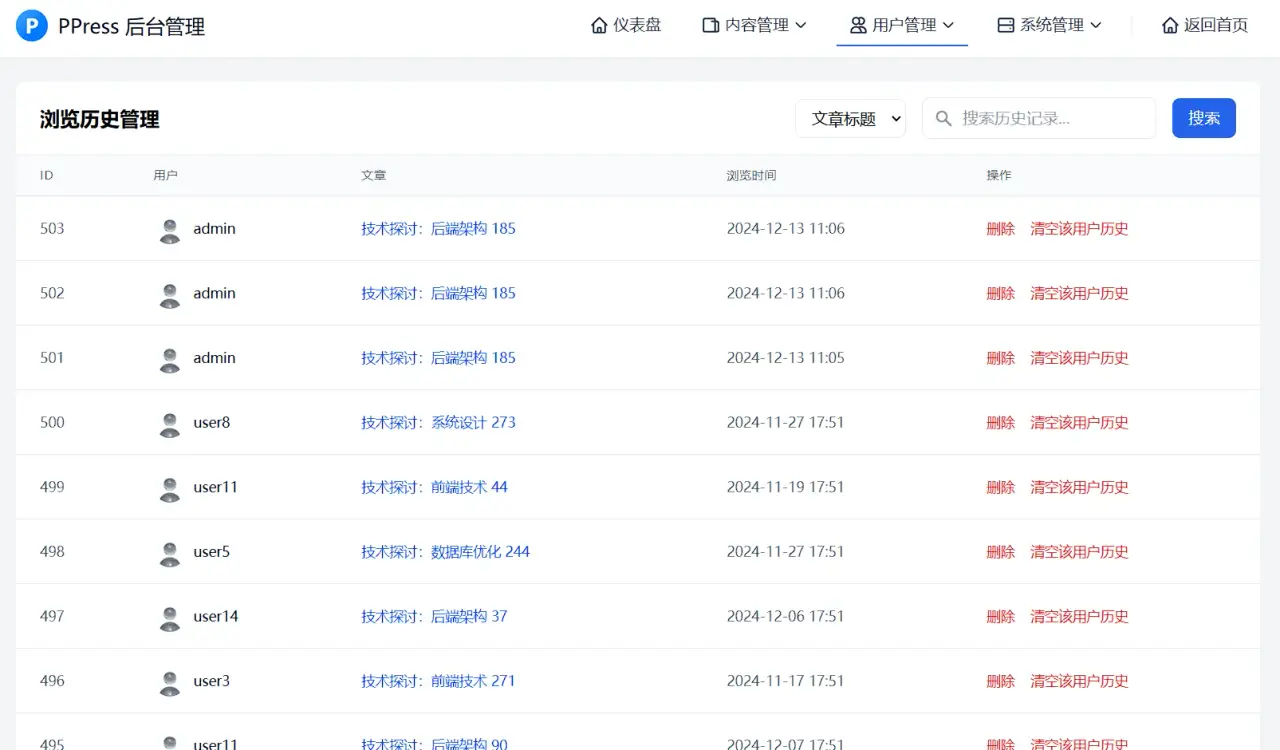 |
| 后台页面10 | 后台页面11 | 后台页面12 |
| 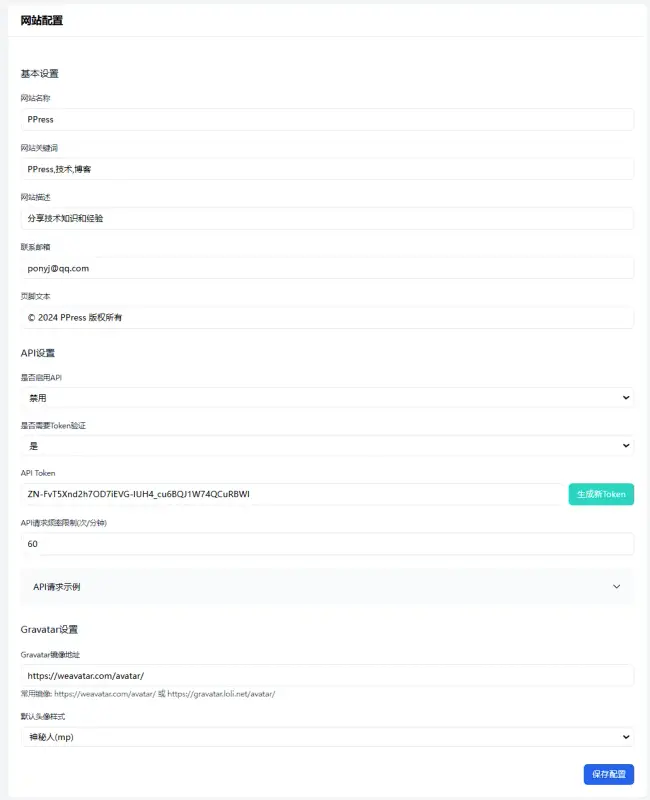 | 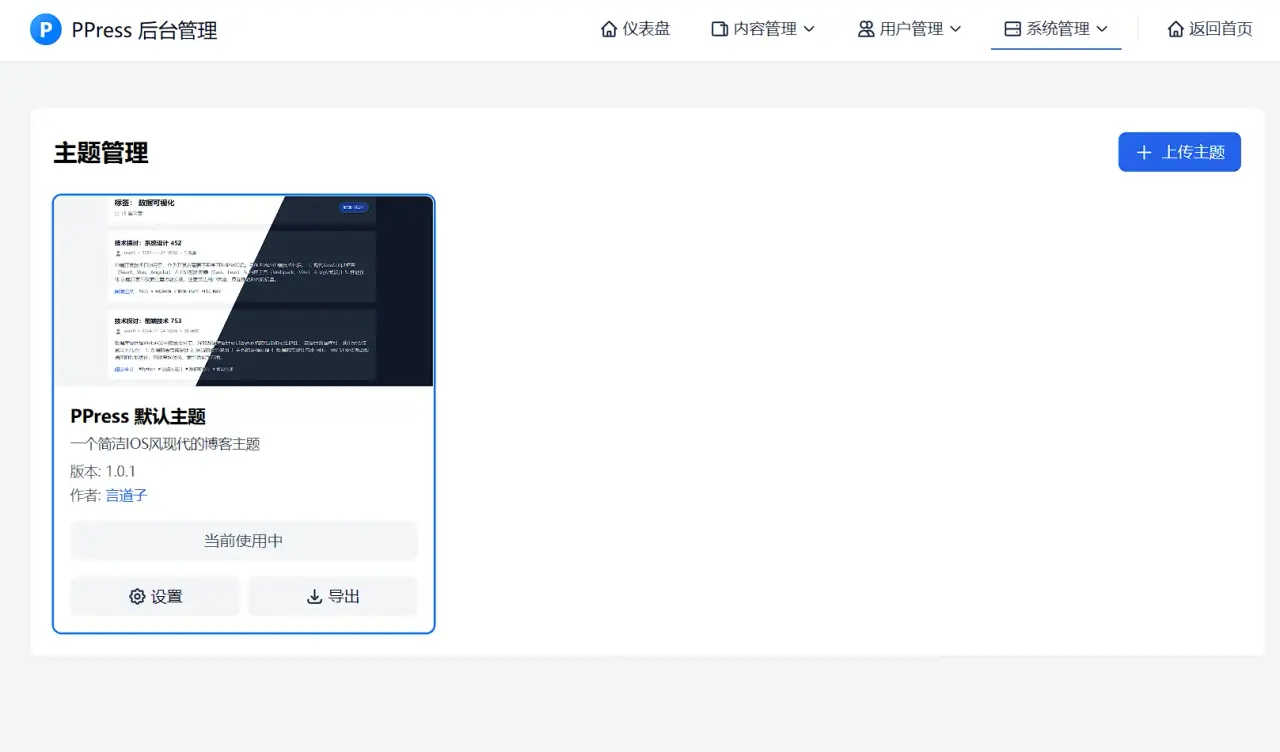 |  |
| 后台页面13 | 后台页面14 | 后台页面15 |
|  |  |  |
| 后台页面16 | 后台页面17 | 后台页面18 |
---
由 PPress 团队用 ❤️ 打造