https://github.com/zalify/worker-saas-admin
https://github.com/zalify/worker-saas-admin
Last synced: 10 months ago
JSON representation
- Host: GitHub
- URL: https://github.com/zalify/worker-saas-admin
- Owner: zalify
- Created: 2025-05-07T12:53:09.000Z (about 1 year ago)
- Default Branch: main
- Last Pushed: 2025-05-07T12:53:12.000Z (about 1 year ago)
- Last Synced: 2025-06-09T00:07:16.519Z (about 1 year ago)
- Language: TypeScript
- Size: 169 KB
- Stars: 0
- Watchers: 1
- Forks: 0
- Open Issues: 0
-
Metadata Files:
- Readme: README.md
Awesome Lists containing this project
README
# SaaS Admin Template
[](https://deploy.workers.cloudflare.com/?url=https://github.com/cloudflare/templates/tree/main/saas-admin-template)
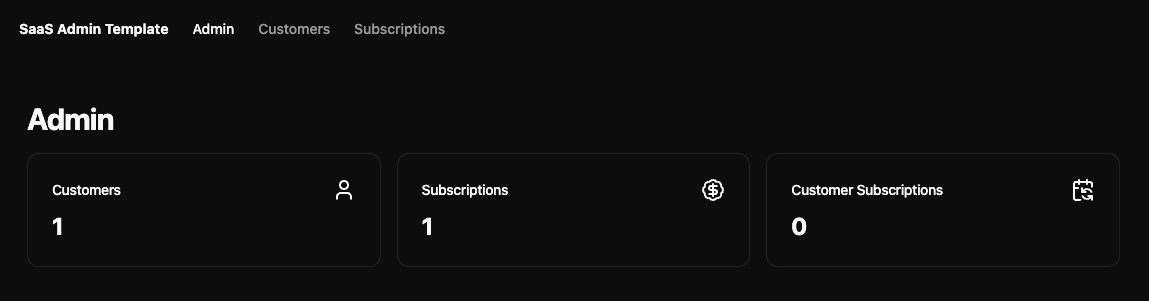
A complete admin dashboard template built with Astro, Shadcn UI, and Cloudflare's developer stack. Quickly deploy a fully functional admin interface with customer and subscription management capabilities.
## Features
- 🎨 Modern UI built with Astro and Shadcn UI
- 🔐 Built-in API with token authentication
- 👥 Customer management
- 💳 Subscription tracking
- 🚀 Deploy to Cloudflare Workers
- 📦 Powered by Cloudflare D1 database
- ✨ Clean, responsive interface
- 🔍 Data validation with Zod
## Tech Stack
- Frontend: [Astro](https://astro.build)
- UI Components: [Shadcn UI](https://ui.shadcn.com)
- Database: [Cloudflare D1](https://developers.cloudflare.com/d1)
- Deployment: [Cloudflare Workers](https://workers.cloudflare.com)
- Validation: [Zod](https://github.com/colinhacks/zod)
> [!IMPORTANT]
> When using C3 to create this project, select "no" when it asks if you want to deploy. You need to follow this project's [setup steps](https://github.com/cloudflare/templates/tree/main/d1-template#setup-steps) before deploying.
## Setup Steps
1. Install dependencies:
```bash
npm install
```
2. Set up your environment variables:
```bash
# Create a .dev.vars file for local development
touch .dev.vars
```
Add your API token:
```
API_TOKEN=your_token_here
```
_An API token is required to authenticate requests to the API. You should generate this before trying to run the project locally or deploying it._
3. Create a [D1 database](https://developers.cloudflare.com/d1/get-started/) with the name "admin-db":
```bash
npx wrangler d1 create admin-db
```
...and update the `database_id` field in `wrangler.json` with the new database ID.
4. Run the database migrations locally:
```bash
$ npm run db:migrate
```
Run the development server:
```bash
npm run dev
```
_If you're testing Workflows, you should run `npm run wrangler:dev` instead._
5. Deploy to Cloudflare Workers:
```bash
npm run deploy
```
6. Run the database migrations remotely:
```bash
$ npm run db:migrate:remote
```
7. Set your production API token:
```bash
npx wrangler secret put API_TOKEN
```
## Usage
This project includes a fully functional admin dashboard with customer and subscription management capabilities. It also includes an API with token authentication to access resources via REST, returning JSON data.
It also includes a "Customer Workflow", built with [Cloudflare Workflows](https://developers.cloudflare.com/workflows). This workflow can be triggered in the UI or via the REST API to do arbitrary actions in the background for any given user. See [`customer_workflow.ts`]() to learn more about what you can do in this workflow.