https://github.com/zfhassaan/contact-form
Contact Form With Google Sheets using Javascript
https://github.com/zfhassaan/contact-form
contact-form email google-sheets html javascript serverless
Last synced: 13 days ago
JSON representation
Contact Form With Google Sheets using Javascript
- Host: GitHub
- URL: https://github.com/zfhassaan/contact-form
- Owner: zfhassaan
- License: mit
- Created: 2018-08-17T15:12:43.000Z (over 6 years ago)
- Default Branch: master
- Last Pushed: 2022-10-30T12:33:51.000Z (over 2 years ago)
- Last Synced: 2025-03-25T16:15:36.075Z (30 days ago)
- Topics: contact-form, email, google-sheets, html, javascript, serverless
- Language: CSS
- Homepage: https://zfhassaan.github.io/contact-form/
- Size: 244 KB
- Stars: 8
- Watchers: 1
- Forks: 2
- Open Issues: 0
-
Metadata Files:
- Readme: README.md
- Contributing: CONTRIBUTING.md
- License: LICENSE
- Code of conduct: CODE_OF_CONDUCT.md
Awesome Lists containing this project
README
#### Send Email from a *Static* HTML Form using Google Apps Mail!
A ***Step-by-Step Example*** of using an **HTML Form** to send a "Contact Us" Message via Email without a Backend Server using a Google Script - No PHP, Python, Ruby, Java, Node.js etc.
### Sample Response:
https://docs.google.com/spreadsheets/d/1nH6qllUsNLBHXv9LXEhvhmID_nYATuf8SwpcFxbpxoM/edit#gid=0
**_Note:_** With EU's GDPR, we strongly advise [researching recommendations on user privacy;](https://cloud.google.com/privacy/gdpr) you may be held _responsible_ for the safekeeping of users' personal data and should provide them a way to contact you.
**_Warning:_** Google's API has limits on how many emails it can send in a day.
This may vary on your Google account, see [the limits here](https://developers.google.com/apps-script/guides/services/quotas).
We recommend implementing this tutorial through Part 3, since the data will
always be added to the spreadsheet first, then emailed if possible.
## Why?
We needed a way of sending an email from a "*static*" HTML page
when you don't (*want* to) *have* a *server*.
### *Key Advantages*
+ No "*Backend*" to Deploy/Maintain/Pay for
+ ***Fully Customisable*** - every aspect is customisable!
+ Email *sent via* ***Google Mail*** which is ***Whitelisted Everywhere*** (*high deliverability success*)
+ **Collect/Store** any **form data** in a ***Spreadsheet*** for easy viewing
(*perfect if you need to share it with non-technical people*)
## What?
Instead of using a server to send your email,
which is *easy* but requires *maintenance*,
use Google to send mail on your behalf
and use Google Spreadsheets to keep track of the data!
> You *could* use a "*free*" service like https://formspree.io/ to process your form submissions
if you don't care where you are sending your data and want to manage the data submitted
in your email inbox (*messy ... yuck*!)
*Or*... you can *invest* a few minutes and keep data private/manageable.
*Take your pick*.
## *How*?
### 1. Make a Copy of the Sample Spreadsheet
> Sample: https://docs.google.com/spreadsheets/d/1Bn4m6iA_Xch1zzhNvo_6CoQWqOAgwwkOWJKC-phHx2Q/copy
Sign in to your Google account and click on "**Make a copy**..."
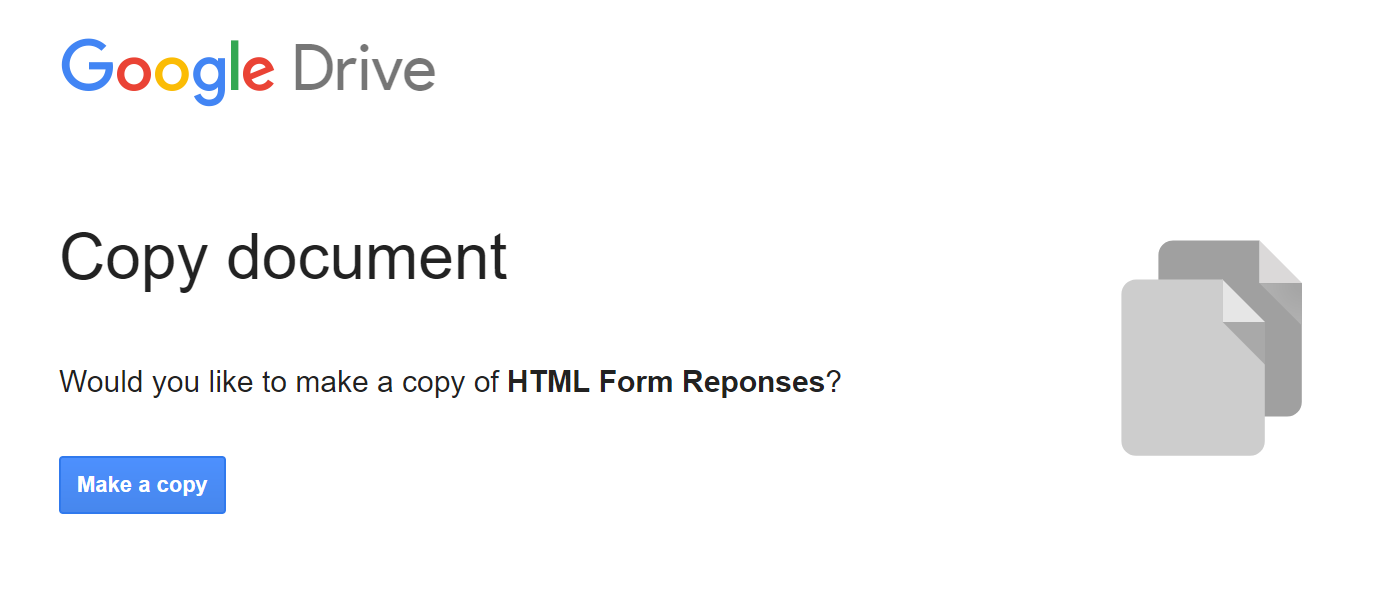
This should give you something like this:

> Note: Feel free to change the name of the Copy to anything you want,
it will not affect the outcome.
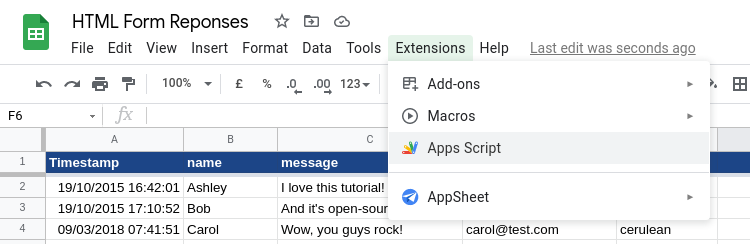
### 2. Open the Script Editor
Open the **Apps Script editor** by clicking "**Extensions**" > "**Apps Script**"
Here's a *snapshot* of the script you need (*at this point in the exercise*): [google-script-just-email.js](https://raw.githubusercontent.com/dwyl/learn-to-send-email-via-google-script-html-no-server/1d1c6727f69dec64a6b7f6bd6ff0dd72d0374210/google-script-just-email.js)
### 3. Set the `TO_ADDRESS` in the Script
**_Warning:_** If you do not uncomment and set your email as the value of
`TO_ADDRESS`, it is possible for someone who has web skills to alter your form
and send emailed data to an arbitrary email address.
This risk may not be very likely. Instead, if you wish, you can leave this
variable commented out if you accept this possible risk but want the added
convenience of setting this email variable inside your HTML form as a
`data-email` attribute. This allows you to easily change where to send emails
inside your HTML form without going back through steps 2-6. This functionality
does **require** you to use the provided JS file in Part Two, Step 10.
If you do not want to accept that potential risk, please uncomment the code for
the variable `TO_ADDRESS`, and set this value equal to the email which should
receive the form's data when submitted.

### 4. Save changes to your Script
After making any code changes, you must first save them in the editor using the save icon.

### 5. Publish the *Updated* Script as a Web App

:warning: Note: You *must* select the `Anyone` option for the 'Who has access' dropdown or form responses will not go through! :warning:

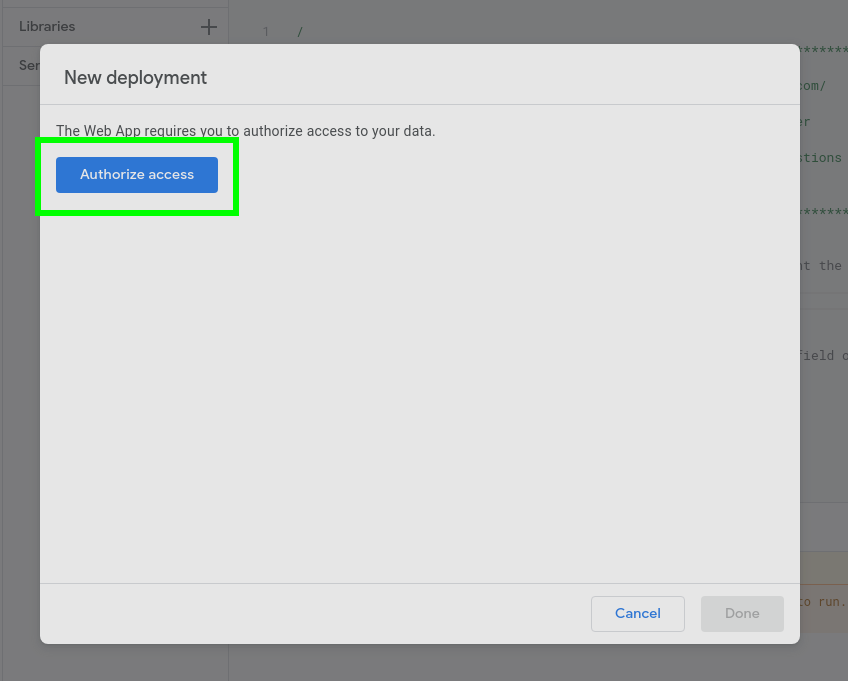
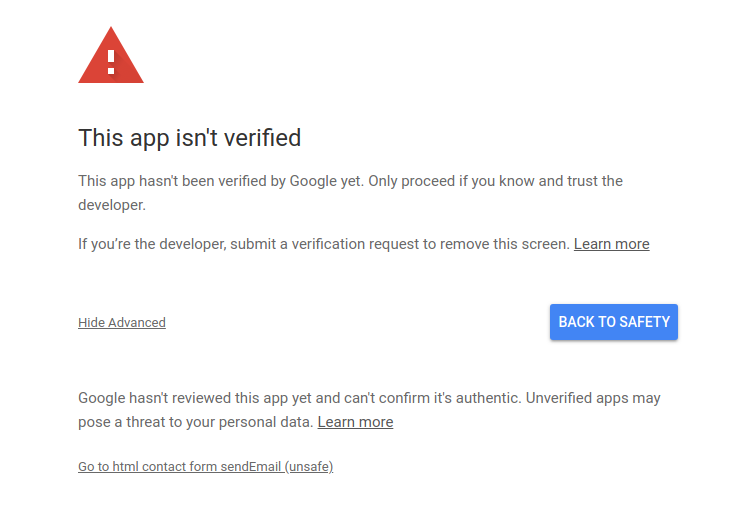
### 6. Authorize the Script to Send Emails
Unless you [verify your script with Google](https://developers.google.com/apps-script/guides/client-verification#requesting_verification), you will need to click on "Advanced" and "Go to ... (unsafe)" to give this app permissions.

Copy the web app URL to your clip board / note pad.
Then Click "OK".

### 7. Create your *basic* HTML Form
Using the template in `index.html` in this repo,
create your own html file with the basic form. (*save the file*)
:warning: If you're already trying to use *your own form* by this step rather than the example one in this repo:
+ Each of your form elements must have a `name` attribute equal to that of your column name in the Google sheet
+ The form's `class` must be `gform`, i.e. ``
+ If you want to alter this later, you will need to create your
own version of `form-submission-handler.js` and amend the expected `class`
> Remember to change the Form `action` URL to the one you copied in
the previous step:

### 8. Open the HTML Form (*page*) in your Browser
Fill in some sample data in the HTML Form:

Submit the form. You should see a confirmation that it was sent:

### 9. Check the email inbox for the address you set
Open the inbox for the email address you set in **Step 3** (*above*)

> ***Done***. That's it. You just created an HTML form that sends email!
# *Part Two - Make It Look Good* ...
We are going to keep this ***Super Lean*** by using [**PURE CSS**](https://purecss.io/start/)
for our Style (*fix the "ugly" HTML Form in step 8*).
And `submit` the form using [**JQuery** "***AJAX***"](https://api.jquery.com/jquery.ajax/) to keep the person
on your page/site (*avoid "ugly" response page*)
### 10. Submit the Form using **JavaScript** "***AJAX***"
To *prevent* the page from changing to the `JSON` response/result
we need to submit the form using ***AJAX***.
Download [the following Javascript file](form-submission-handler.js) and update your `index.html` to point to it at the *end* of your file
(*before the closing `