https://github.com/basvdijk/capacitor4-firebase-analytics-example-project-capawesome-team
Capacitor4 with Firebase Analytics example project
https://github.com/basvdijk/capacitor4-firebase-analytics-example-project-capawesome-team
List: capacitor4-firebase-analytics-example-project-capawesome-team
capacitor firebase firebaseanalytics ionic vue
Last synced: 7 months ago
JSON representation
Capacitor4 with Firebase Analytics example project
- Host: GitHub
- URL: https://github.com/basvdijk/capacitor4-firebase-analytics-example-project-capawesome-team
- Owner: basvdijk
- Created: 2022-09-23T08:13:11.000Z (over 2 years ago)
- Default Branch: main
- Last Pushed: 2023-10-12T14:06:00.000Z (over 1 year ago)
- Last Synced: 2024-05-23T08:16:53.686Z (about 1 year ago)
- Topics: capacitor, firebase, firebaseanalytics, ionic, vue
- Language: Vue
- Homepage:
- Size: 625 KB
- Stars: 7
- Watchers: 1
- Forks: 0
- Open Issues: 0
-
Metadata Files:
- Readme: README.md
Awesome Lists containing this project
- ultimate-awesome - capacitor4-firebase-analytics-example-project-capawesome-team - Capacitor4 with Firebase Analytics example project. (Other Lists / Julia Lists)
README
This is an example project in order to test the [@capacitor-firebase/analytics](https://github.com/capawesome-team/capacitor-firebase/tree/main/packages/analytics) made by [capawesome-team](https://github.com/capawesome-team)
For me as a web developer it was quite some work to setup the native SDKs. Therefore I've made an Ionic VUE project to test the Capacitor Firebase Analytics plugin.
Below you'll find how to setup the SDK for Android and iOS after you've configured your project in Firebase.
# Ionic App
This repo contains an example Ionic VUE project with the Capacitor Firebase Analytics plugin. It was generated using the side-menu boilerplate.
I've added the `@capacitor-firebase/analytics` and `fireabase` package
```
npm install @capacitor-firebase/analytics firebase
npx cap sync
```
In `main.ts` I've added some code to initialise Firebase Analytics:
```typescript
const setEnabled = async () => {
await FirebaseAnalytics.setEnabled({
enabled: true,
});
};
const setCurrentScreen = async () => {
await FirebaseAnalytics.setCurrentScreen({
screenName: "Login",
screenClassOverride: "LoginPage",
});
};
const initAnalytics = async () => {
await setEnabled();
await setCurrentScreen();
};
initAnalytics();
```
In `router/index.ts` I've added code to capture the view changes and send these as screen_view to Analytics
```typescript
router.beforeEach(async (to, from, next) => {
await FirebaseAnalytics.setCurrentScreen({
screenName: to.path as string,
screenClassOverride: to.path as string,
});
return next();
});
```
# Setting up Firebase Analytics SDK for iOS - XCode Version 13.4.1 (13F100)
⚠️ DO NOT ADD THE FIREBASE SDK TO YOUR PROJECT VIA XCODE!!!
## Add FirebaseAnalytics to podfile
Open `ios/App/Podfile` in your favorite editor
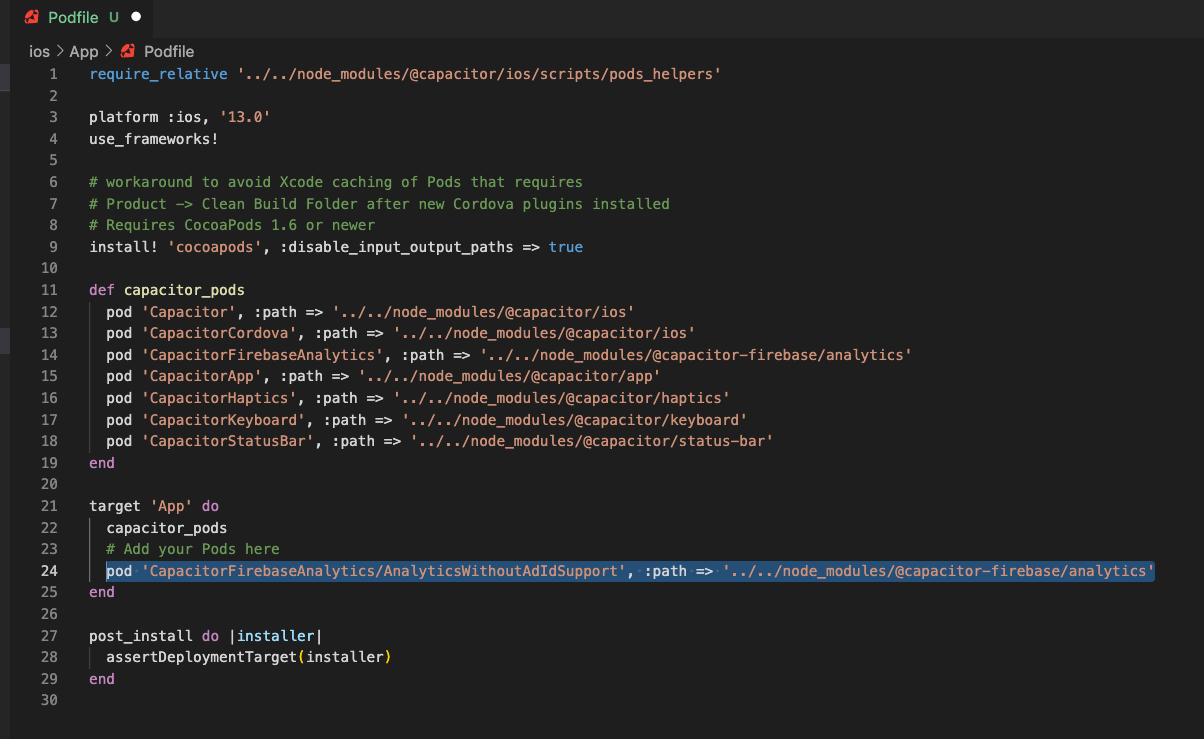
Add the line
`pod 'CapacitorFirebaseAnalytics/AnalyticsWithoutAdIdSupport', :path => '../../node_modules/@capacitor-firebase/analytics'`
or
`pod 'CapacitorFirebaseAnalytics/Analytics', :path => '../../node_modules/@capacitor-firebase/analytics'`
If you want to have the IDFA collection capability enabled
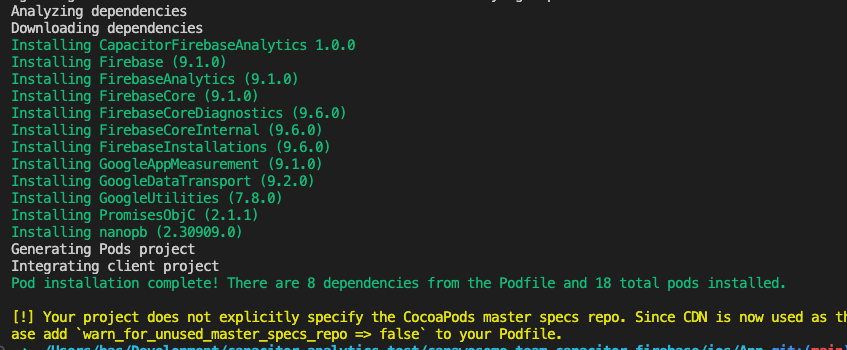
## Installing Pods
In your terminal navigate to the `ios/App` folder (the one with the podfile you've edit)
Run `pod install` You should see something like:
## Add GoogleService-Info.plist
This section assumes that you have already [set up a Firebase project](https://firebase.google.com/docs/ios/setup) or [a Google Analytics iOS stream](https://support.google.com/analytics/answer/9304153#stream).
Download `GoogleService-Info.plist` from Firebase or Google Analytics console.
* **Firebase**: see [Firebase Help](https://support.google.com/firebase/answer/7015592#ios) for instructions.
* **Google Analytics**: go to [Google Analytics console](https://analytics.google.com/analytics/), then navigate to "⚙ Admin (sidebar)" -> "Data streams" -> Your iOS App -> "Download GoogleService-Info.plist".
Open XCode by running `npx cap open ios` from the root of your project
Right click on the `App` folder and choose `Add files to "App"`. I've read that dragging the file in could cause issues.
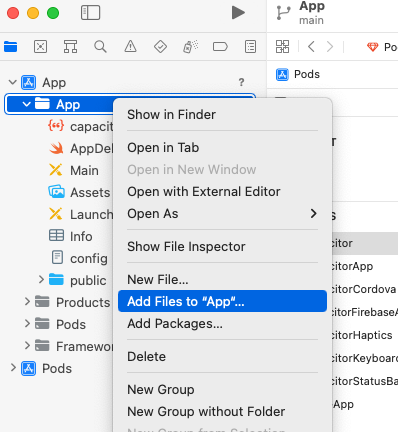
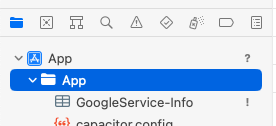
In the file picker navigate to your `GoogleService-Info.plist` and add it
It should now appear in the file tree
## Enable debugging
From the menu open Product -> Scheme -> Edit scheme
Click the + button and add `-FIRDebugEnabled` (more info at https://firebase.google.com/docs/analytics/debugview)
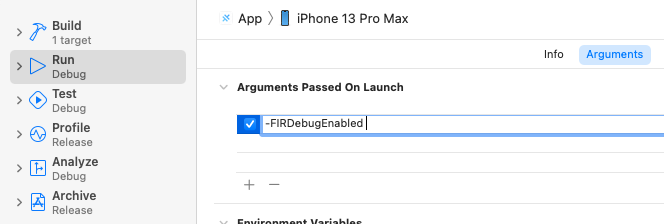
Click "close"
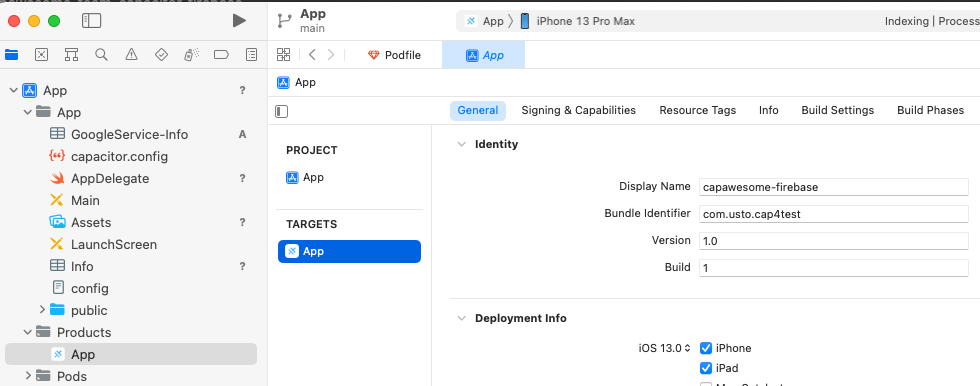
## Package name
Select "App" under the Products folder in the tree. Make sure you have the correct package name set
Also set the correc team in the "Signing & Capabilities" tab
## Run the project
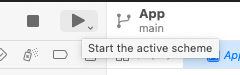
Run the project
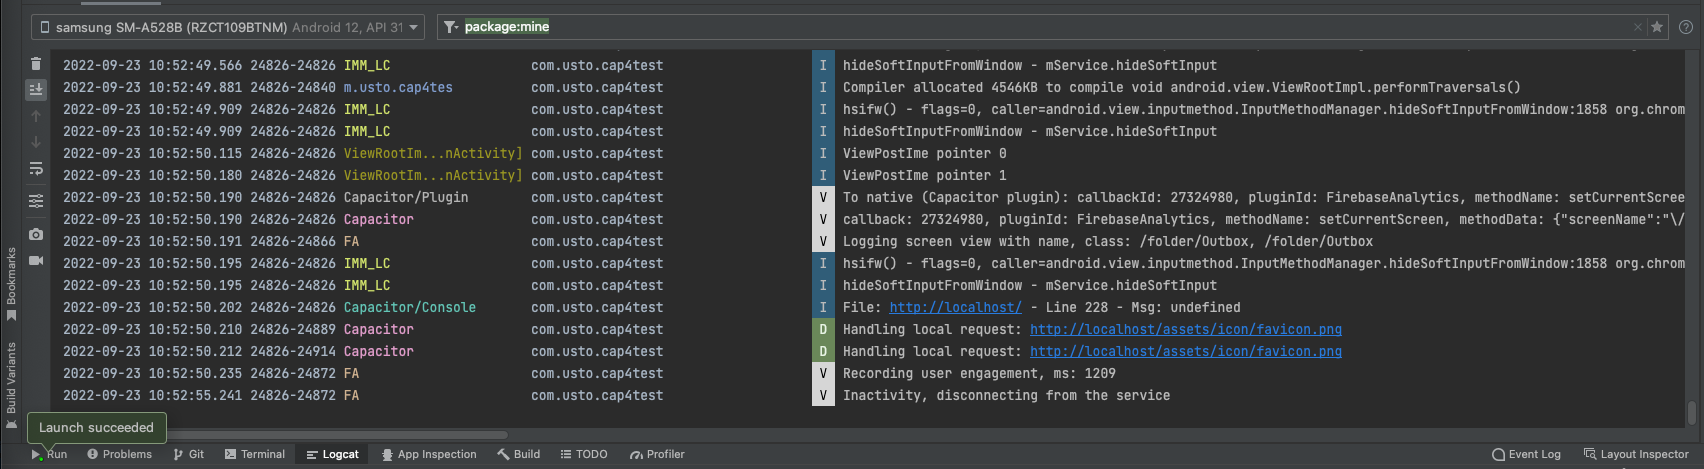
Change screens via the hamburger menu on your iOS device. The output should show:
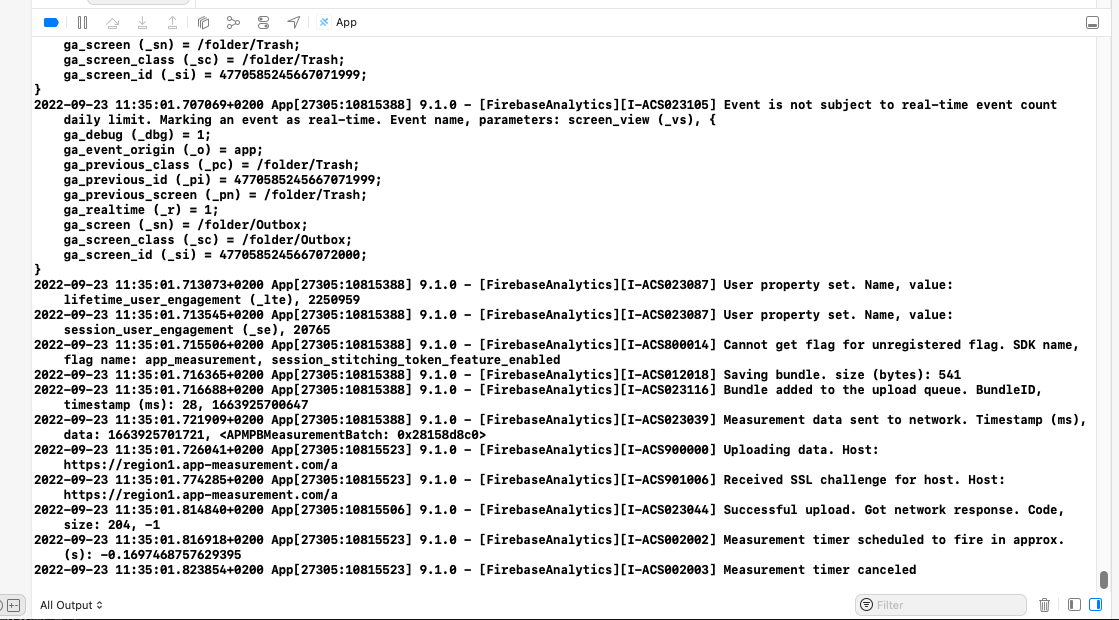
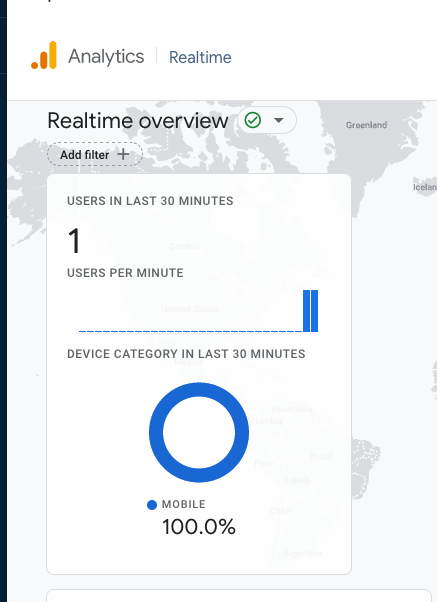
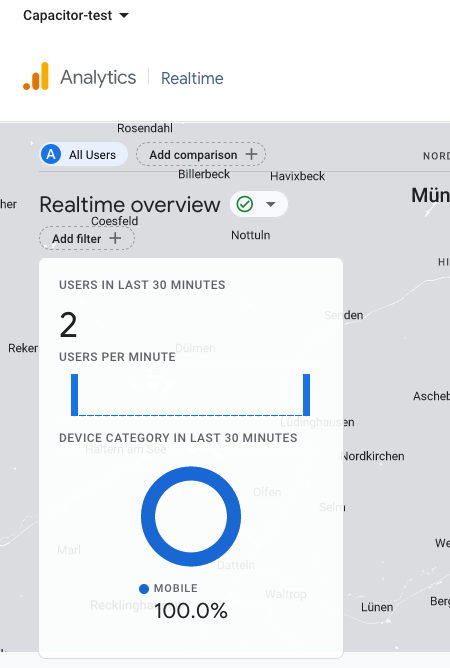
Your Firebase Analytics should see the events:
⚠️ Make sure to disable debugging before releasing your project
# Setting up Firebase Analytics SDK for Android - Android Studio Dolphin | 2021.3.1
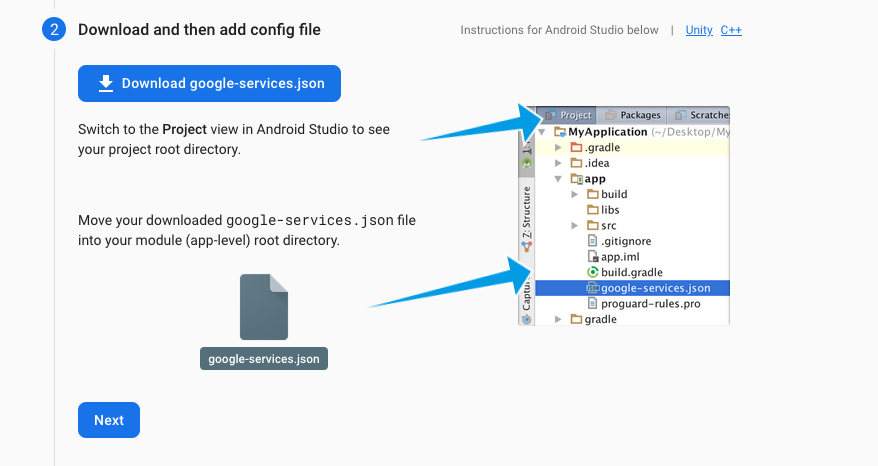
## Add google-services.json
This section assumes that you have already [set up a Firebase project](https://firebase.google.com/docs/android/setup) or [a Google Analytics Android stream](https://support.google.com/analytics/answer/9304153#stream).
Download `google-services.json` from Firebase or Google Analytics console.
* **Firebase**: see [Firebase Help](https://support.google.com/firebase/answer/7015592#android) for instructions.
* **Google Analytics**: go to [Google Analytics console](https://analytics.google.com/analytics/), then navigate to "⚙ Admin (sidebar)" -> "Data streams" -> Your Android App -> "Download google-services.json".
Open Android Studio with `npx cap open android`
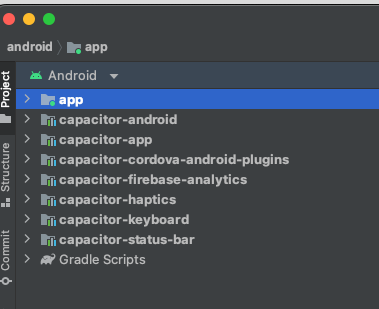
Android Studio probably opens in the "Android" view instead of the project view like the "Add Firebase to your Android app" instruction shows
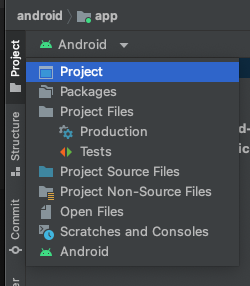
Switch to the project view via the dropdown
The second android folder shows the structure as shown in the Firebase instructions
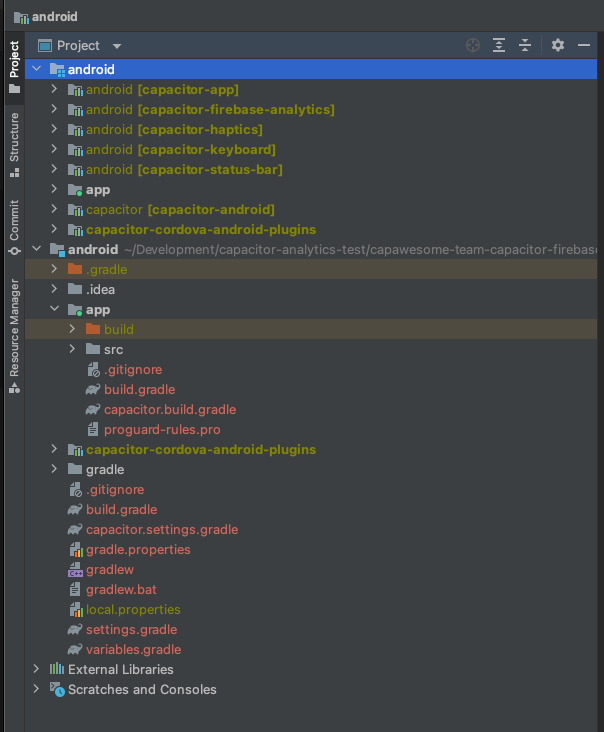
Drag the `google-services.json` file into the app folder. You'll get a prompt
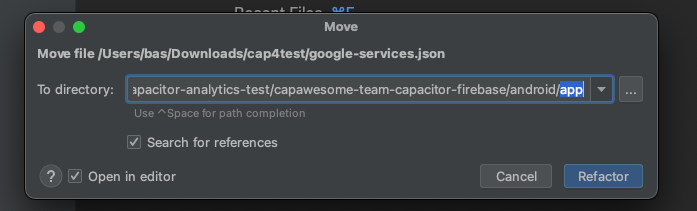
Choose `refactor`
## Add Android Firebase SDK
Open the `build.gradle` at the root of the project
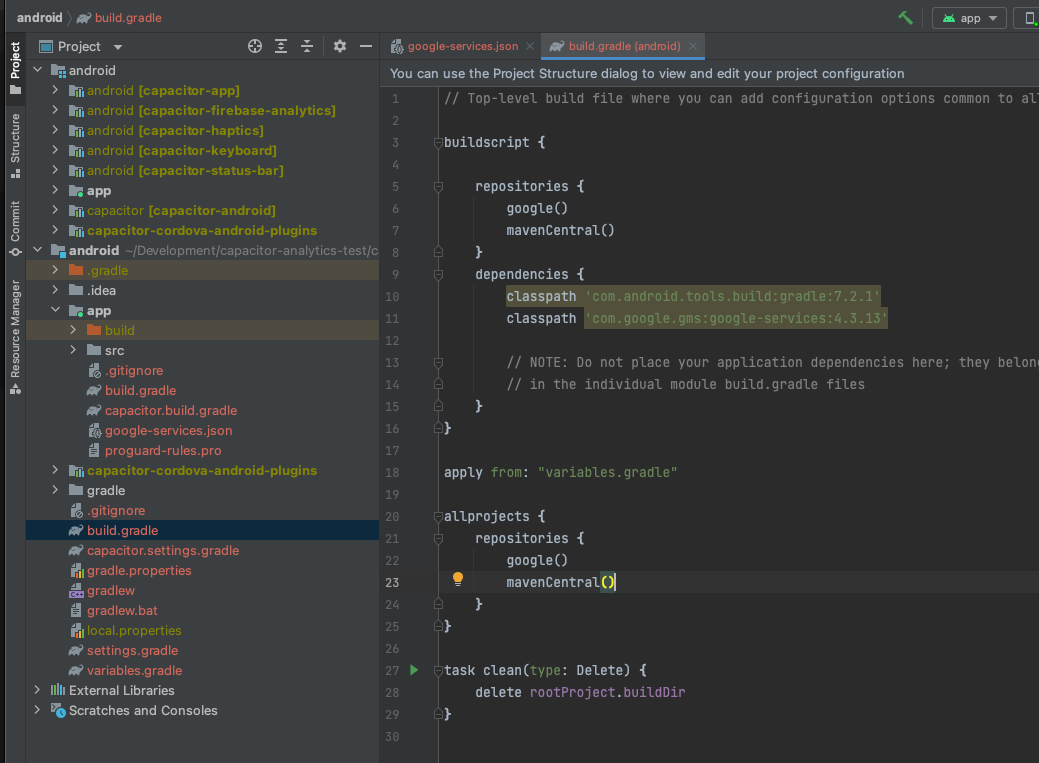
The Google instruction says:
> // Add the dependency for the Google services Gradle plugin
> `classpath 'com.google.gms:google-services:4.3.13'`
However in my `build.gradle` it was already added
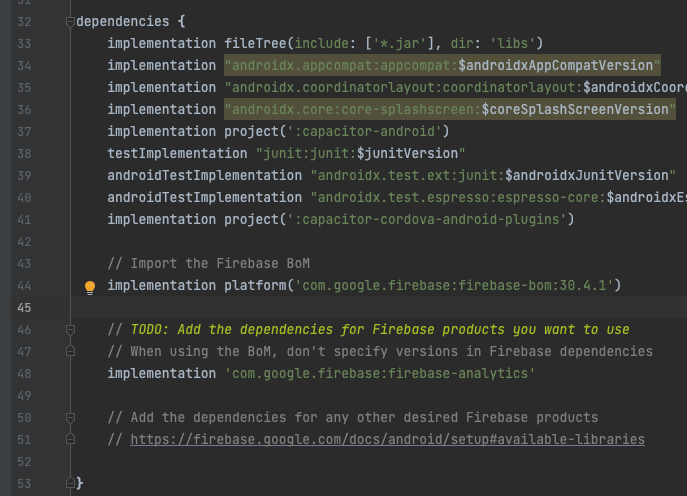
Open the `build.gradle` in your project
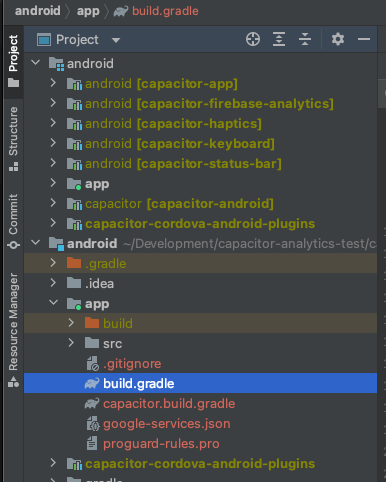
Add this code to the `dependencies` section
```
// Import the Firebase BoM
implementation platform('com.google.firebase:firebase-bom:30.4.1')
// TODO: Add the dependencies for Firebase products you want to use
// When using the BoM, don't specify versions in Firebase dependencies
implementation 'com.google.firebase:firebase-analytics'
// Add the dependencies for any other desired Firebase products
// https://firebase.google.com/docs/android/setup#available-libraries
```
Sync Gradle manually

You should see:

Then `make the project`

## Setting the correct JDK
I got this error:
```
A problem occurred evaluating project ':app'.
> Failed to apply plugin 'com.android.internal.application'.
> Android Gradle plugin requires Java 11 to run. You are currently using Java 1.8.
Your current JDK is located in /Library/Java/JavaVirtualMachines/jdk1.8.0_231.jdk/Contents/Home/jre
You can try some of the following options:
- changing the IDE settings.
- changing the JAVA_HOME environment variable.
- changing `org.gradle.java.home` in `gradle.properties`.
```
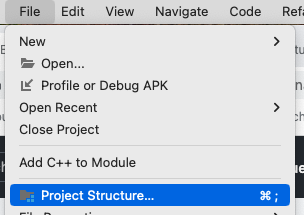
Goto file -> Project structure
SDK location -> Gradle Settings
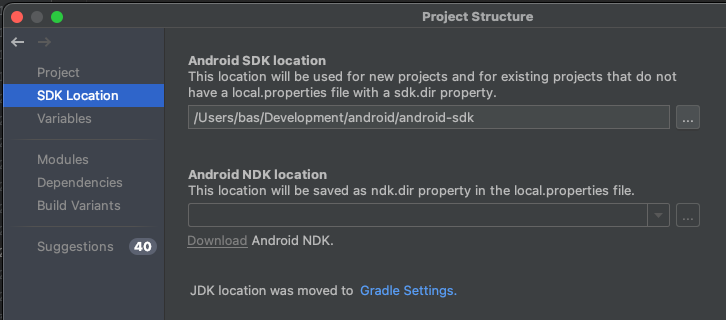
I chose "embedded JDK"

Click "OK" twice to close the Gradle Settings and Project Strucure dialogs
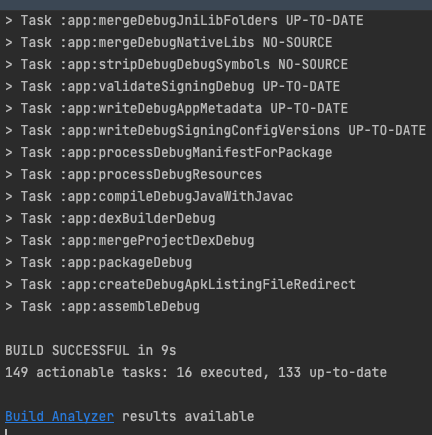
Then `make the project` again

If everything ran fine you should see
## Run on Android device
Connect your Android device via USB if you don't have already
You should see your device in the dropdown:

Now run the app via the green arrow icon or menu

On your Android device, in the app navigate to screens via the hamburger menu.
You should now see the event showing up in Firebase Analytics
## Enable Firebase Analytics debugging
On the command line run (replace com.usto.cap4test) with your own:
```bash
adb shell setprop debug.firebase.analytics.app com.usto.cap4test
```
Open the "Logcat" tab at the bottom of your IDE and select in the dropdown on the top right "Firebase" to see the debug events:
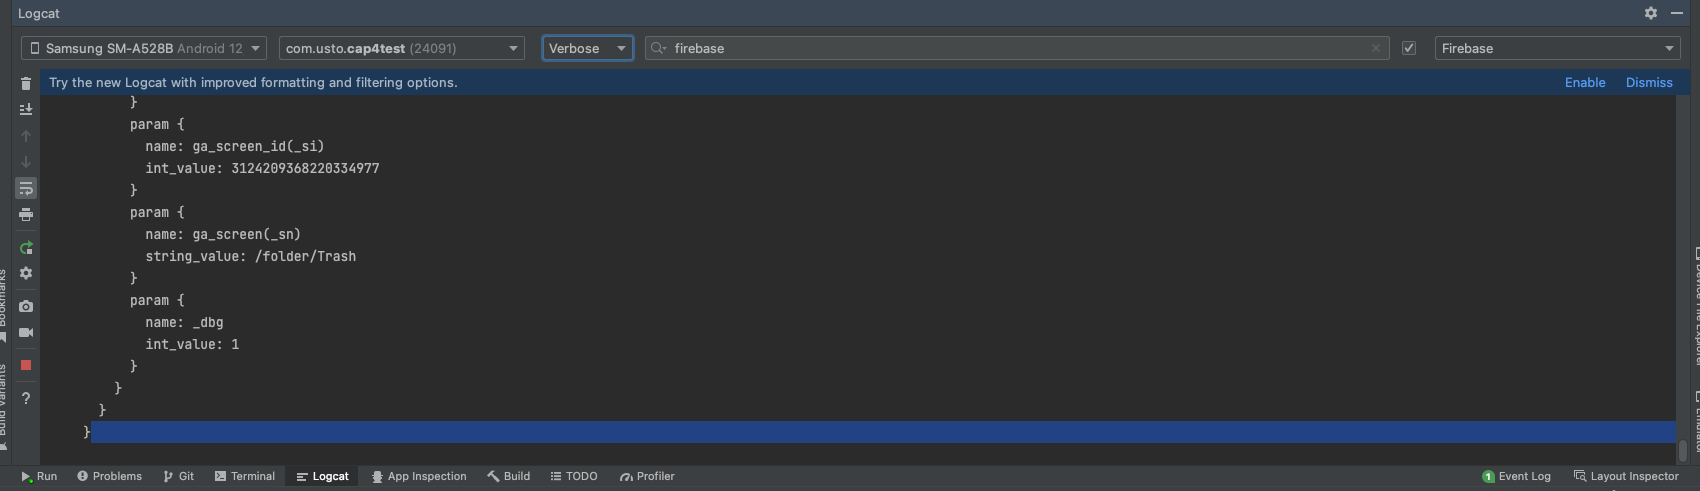
Or if you have the new Logcat view you can just open Logcat to see the debug events
⚠️ Make sure to disable debugging before releasing your project with
`adb shell setprop debug.firebase.analytics.app .none.`